1. 웹 프로그래밍 개발 환경 구축
1.1 웹 서버, 웹 어플리케이션 서버 설치 (톰캣, tomcat)
https://eunoia3jy.tistory.com/31
[ macOS 맥북 ] 톰캣 (tomcat) 설치 및 실행
macOS 맥북에서 톰캣 (tomcat) 를 설치하고 실행하는 방법 입니다. 1. 톰캣 (tomcat) 설치 tomcat.apache.org/ Apache Tomcat® - Welcome! The Apache Tomcat® software is an open source implementation of th..
eunoia3jy.tistory.com
1.2 이클립스와 톰캣 연동하기
https://eunoia3jy.tistory.com/32
[ macOS 맥북 ] 이클립스(eclipse)에 톰캣 (tomcat) 서버 구성 및 연동
지난 게시물에 이어 톰캣(tomcat) 을 이클립스(eclipse) 에 연동하여 서버를 구성하는 방법 입니다. 톰캣(Tomcat) 설치방법은 지난 게시물을 확인해 주세요~~ eunoia3jy.tistory.com/31 [ macOS 맥북 ] 톰캣 (tomc..
eunoia3jy.tistory.com
📌 이클립스에 톰캣 연동시 'Starting Tomcat v8.5 Server at localhost' has encountered a problem. Port 8080 required by ~.
팝업이 뜬다면 포트번호 충돌이 원인이므로 포트 번호 변경을 해줘야 함
https://diyall.tistory.com/575
[이클립스] eclipse에서 아파치 톰캣 포트 변경하기
[이클립스] eclipse에서 아파치 톰캣 포트 변경하기 이클립스에서 아파치 톰캣의 포트를 변경하기 쉽을 때는 어떻게 하는지 알아보고자 한다. 우선 서버 설정이 되어 있는 상태에서 1. 이클립스에
diyall.tistory.com
1.3 인코딩 방식 변경 (UTF-8)

Preferences에서 encoding으로 검색 후 뜨는 Workspace, CSS Files, HTML Files, JSP Files, XML Files에서 Encoding을 ISO 10646/Unicode(UTF-8)로 설정해줘야 함
개쓰레기같은 티스토리
쓰다가 날라감 반응형 왜 지원 안해주시는데요
또 날라감 진짜 미치겠음 아ㅏ아아아ㅏ아아 반응형 제발!!
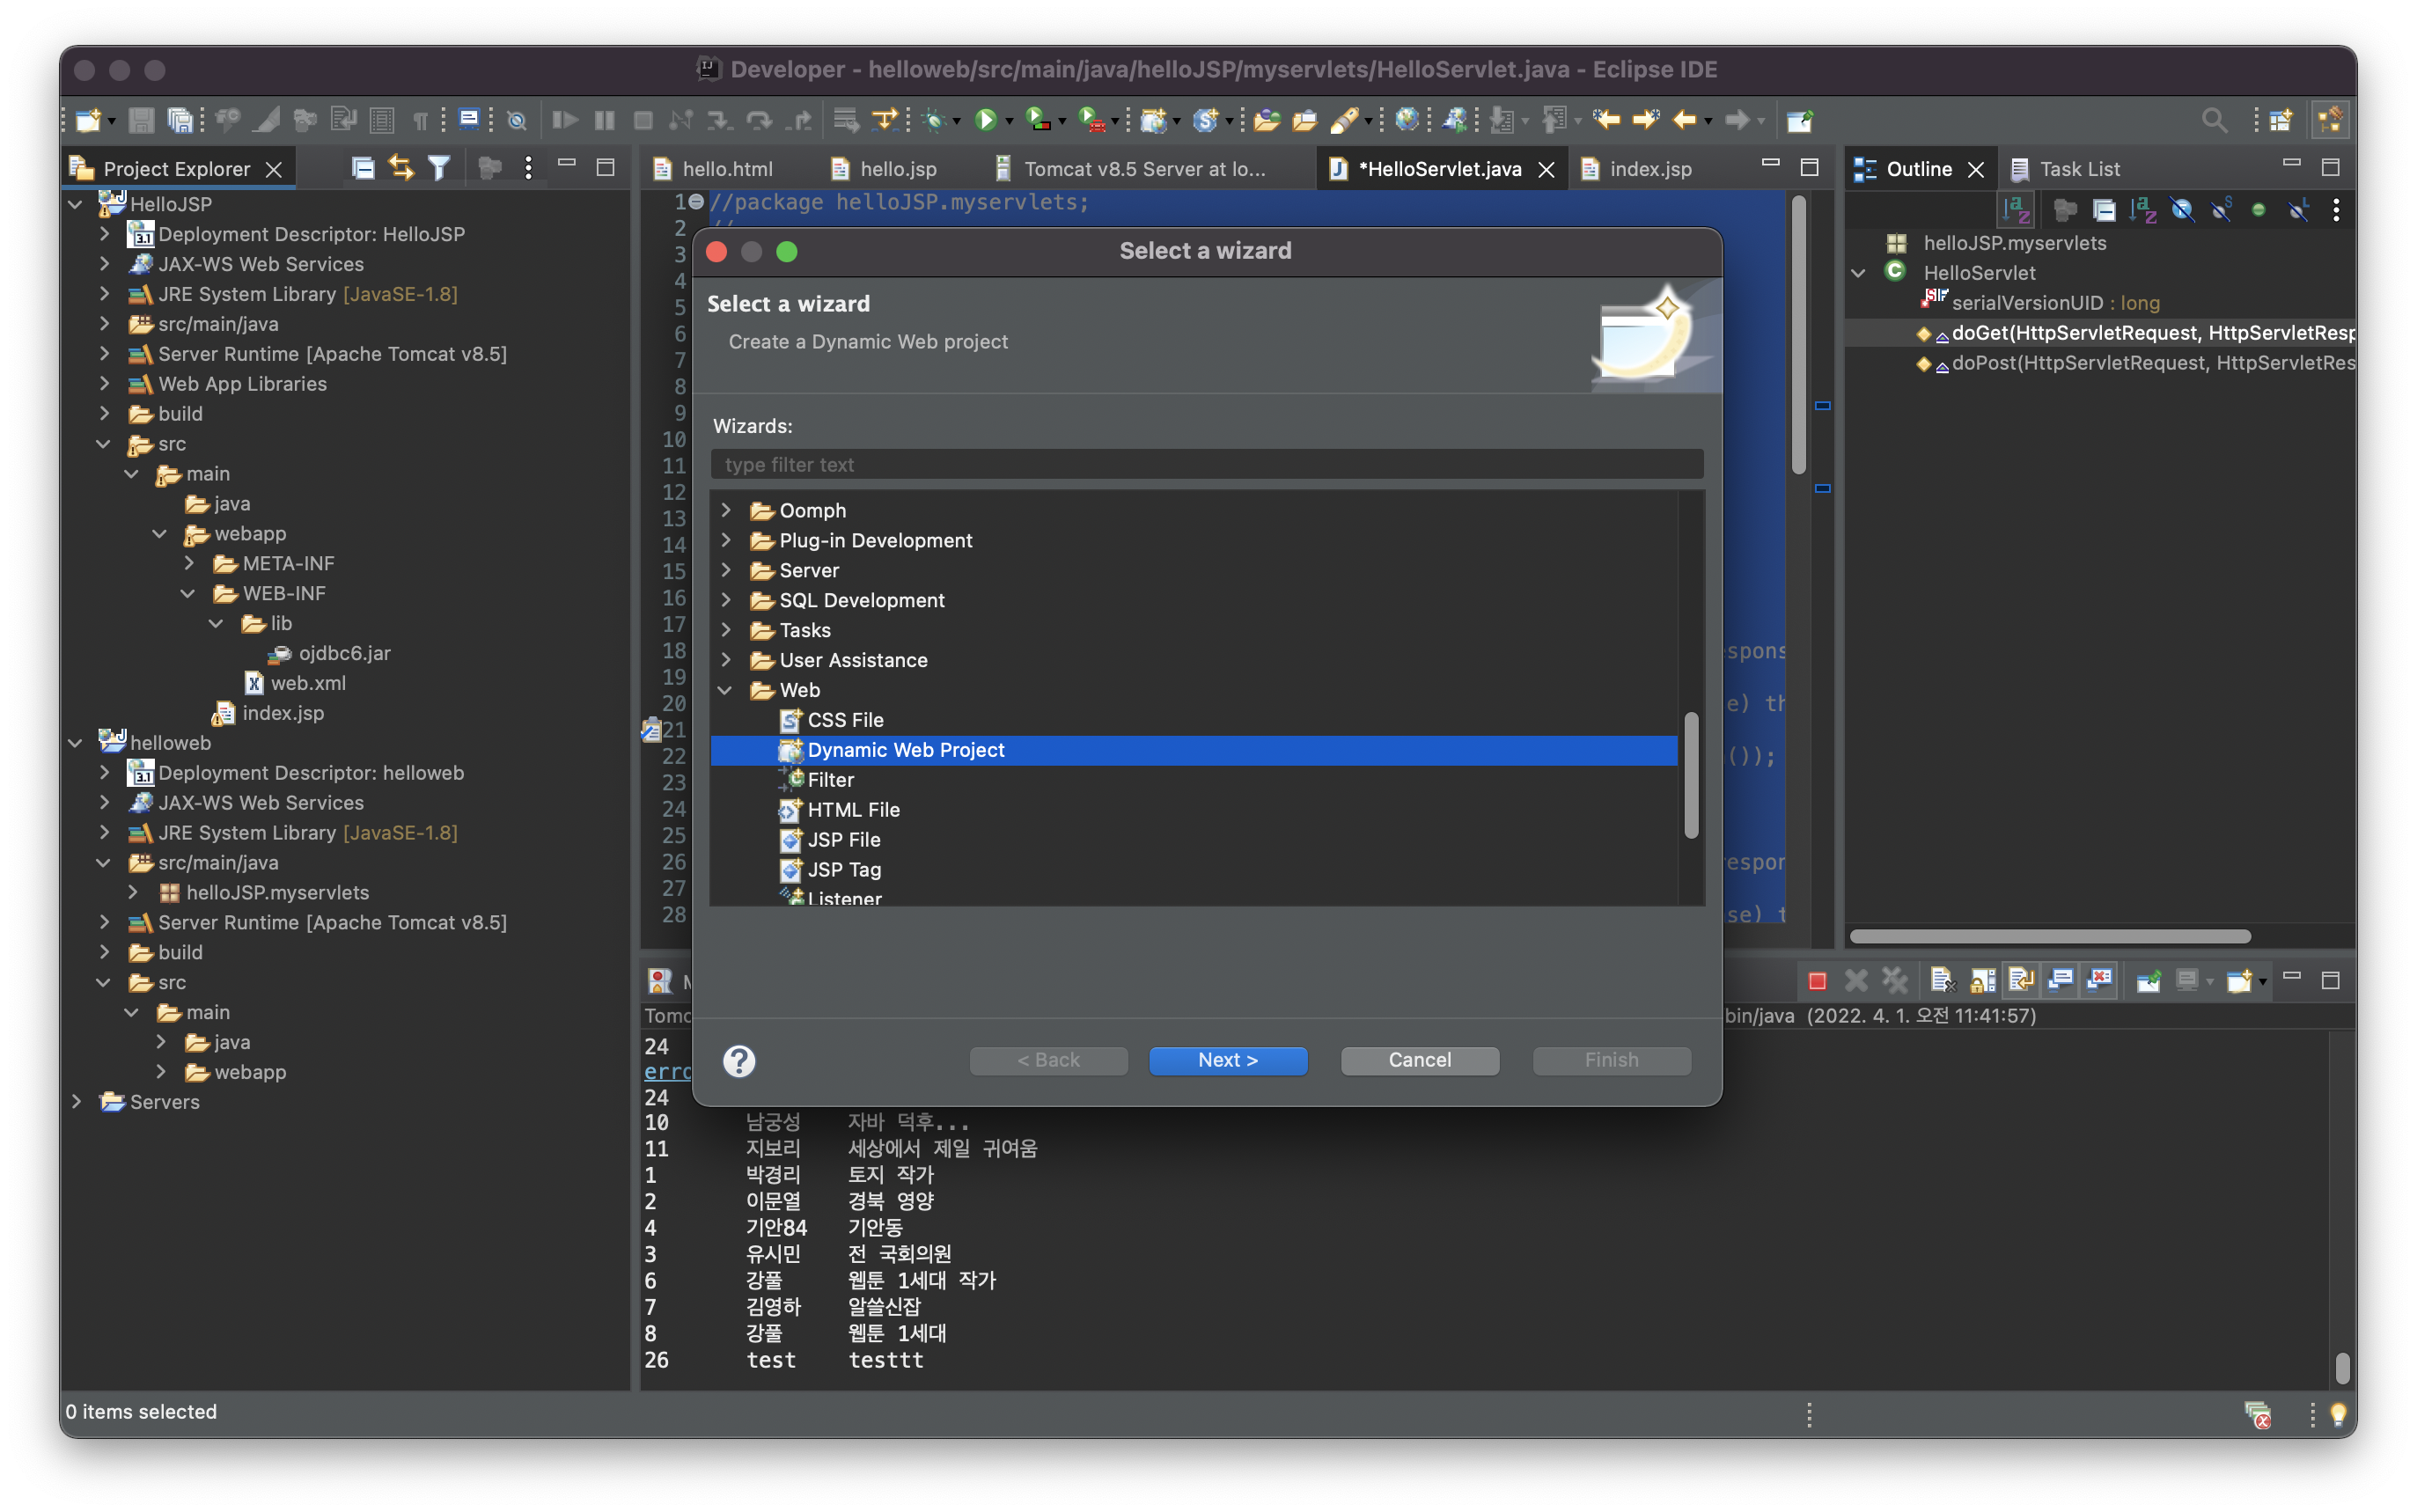
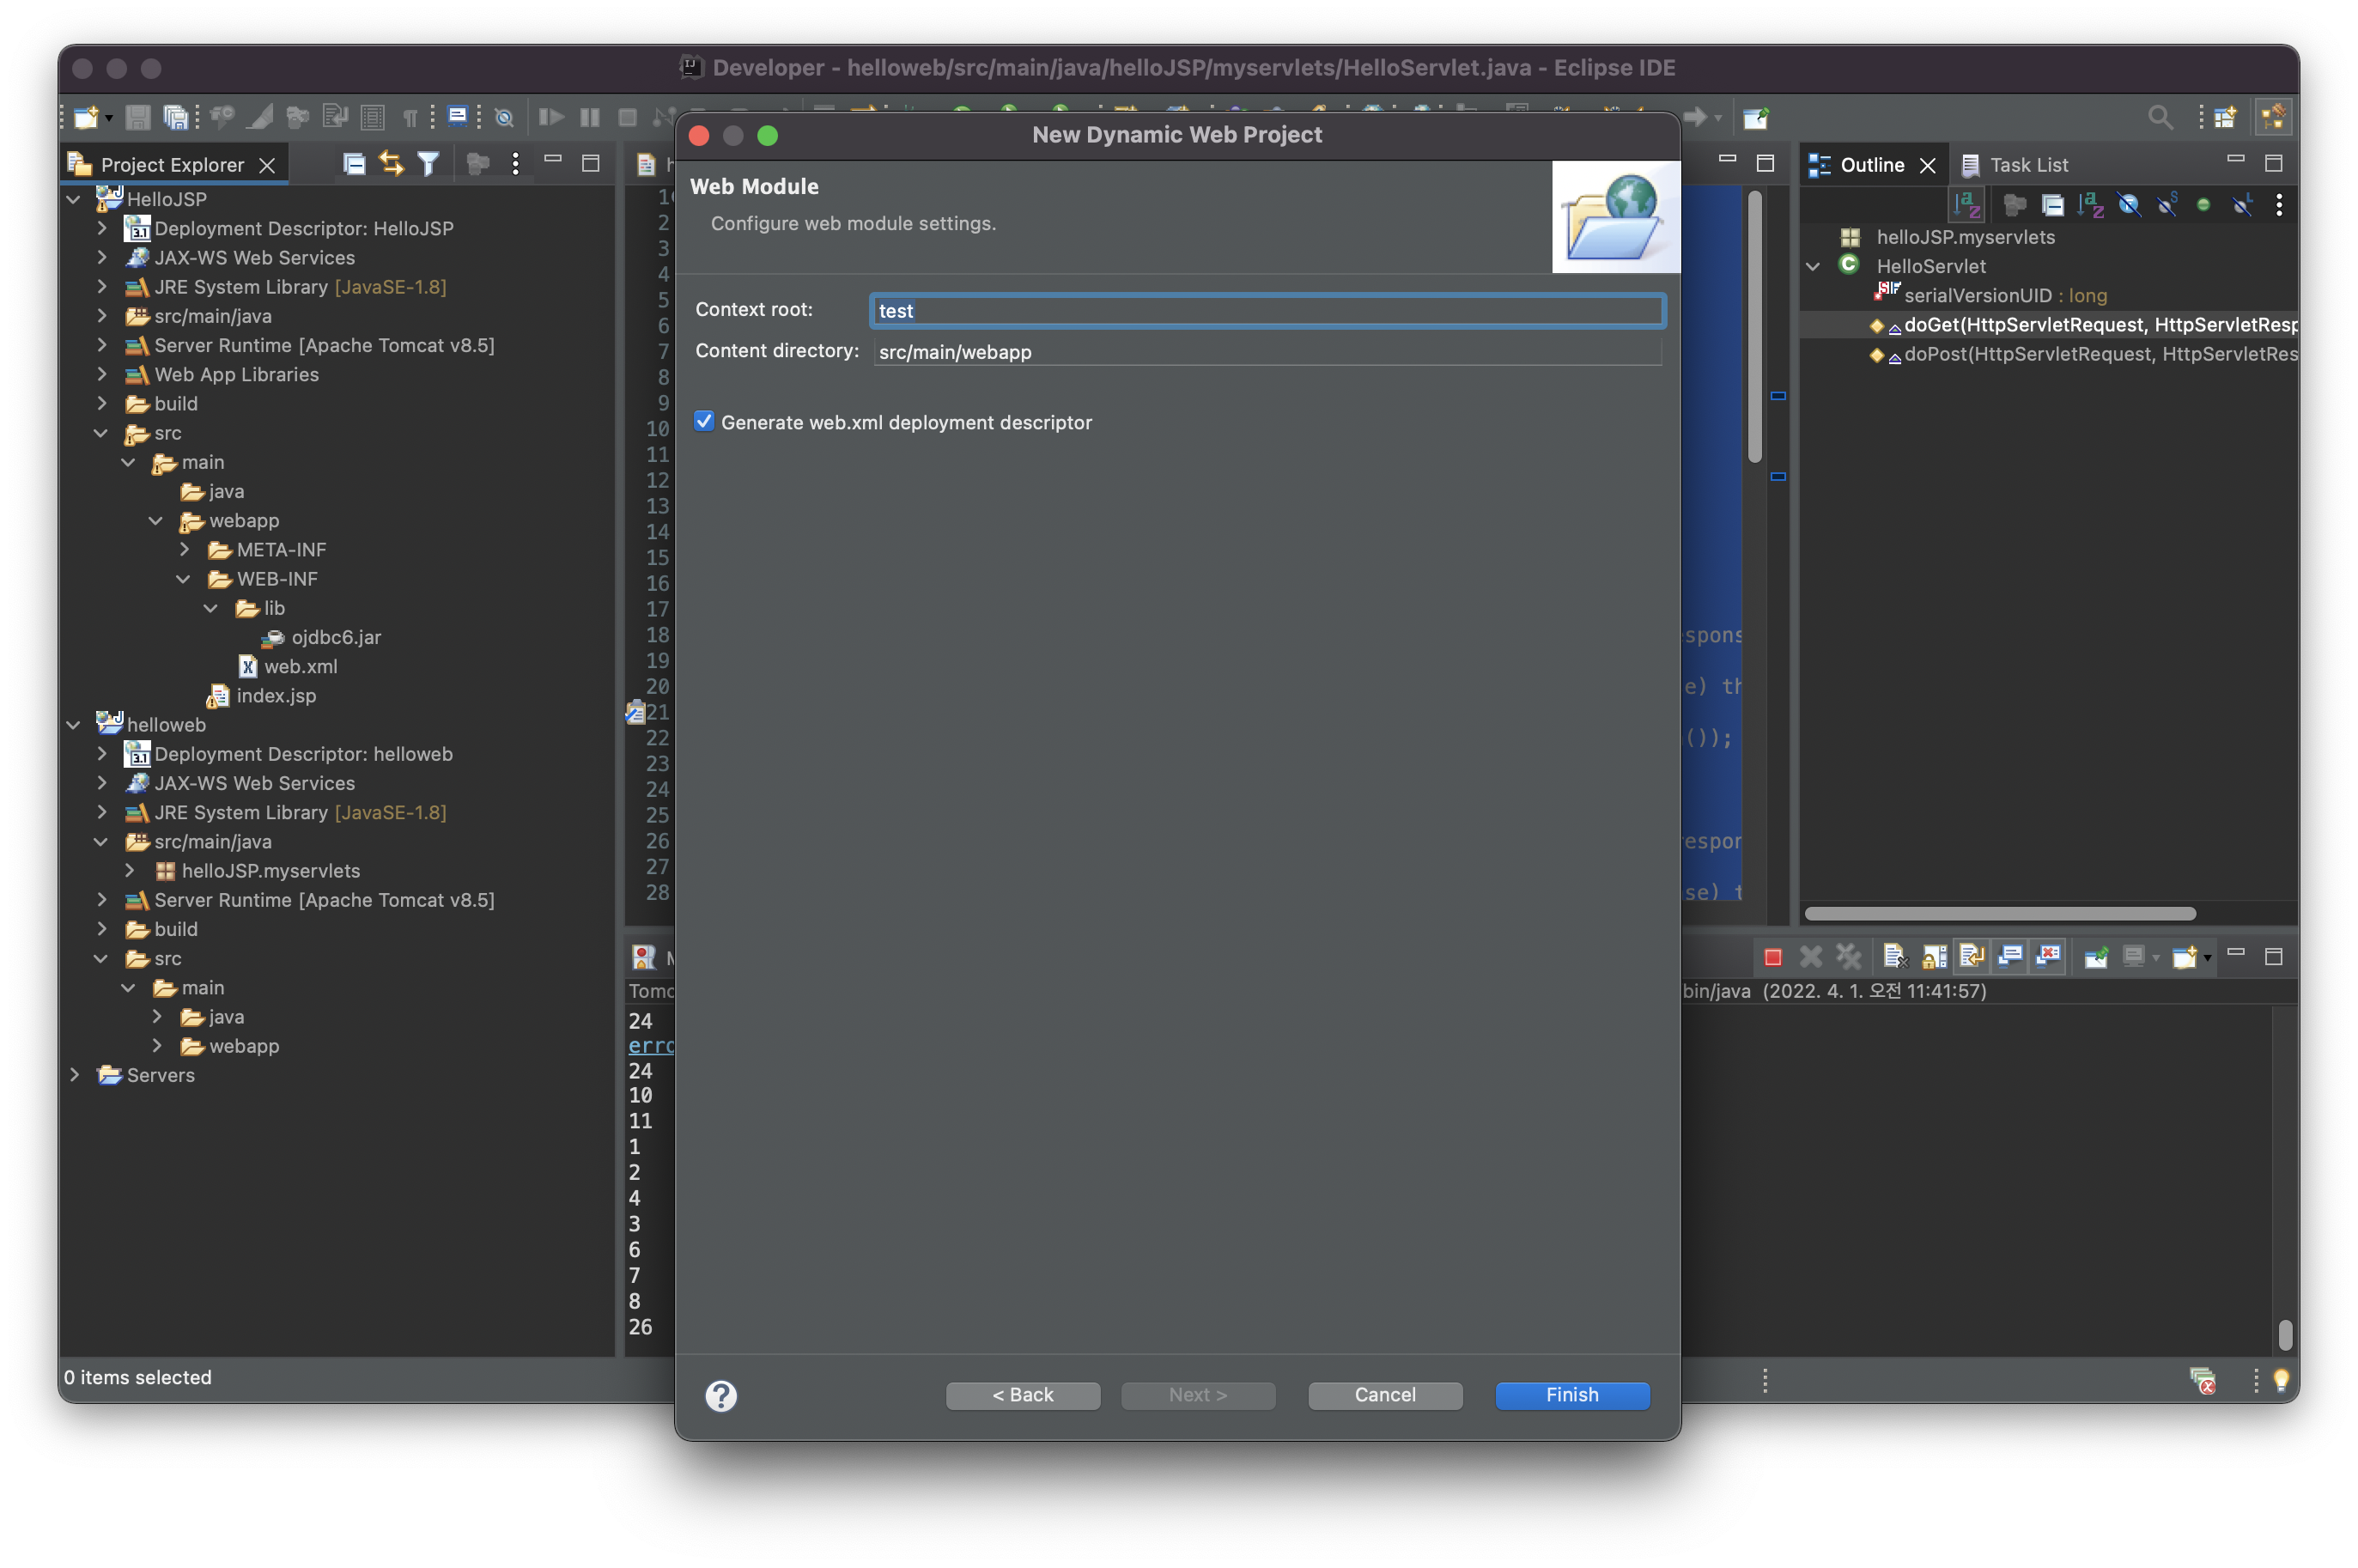
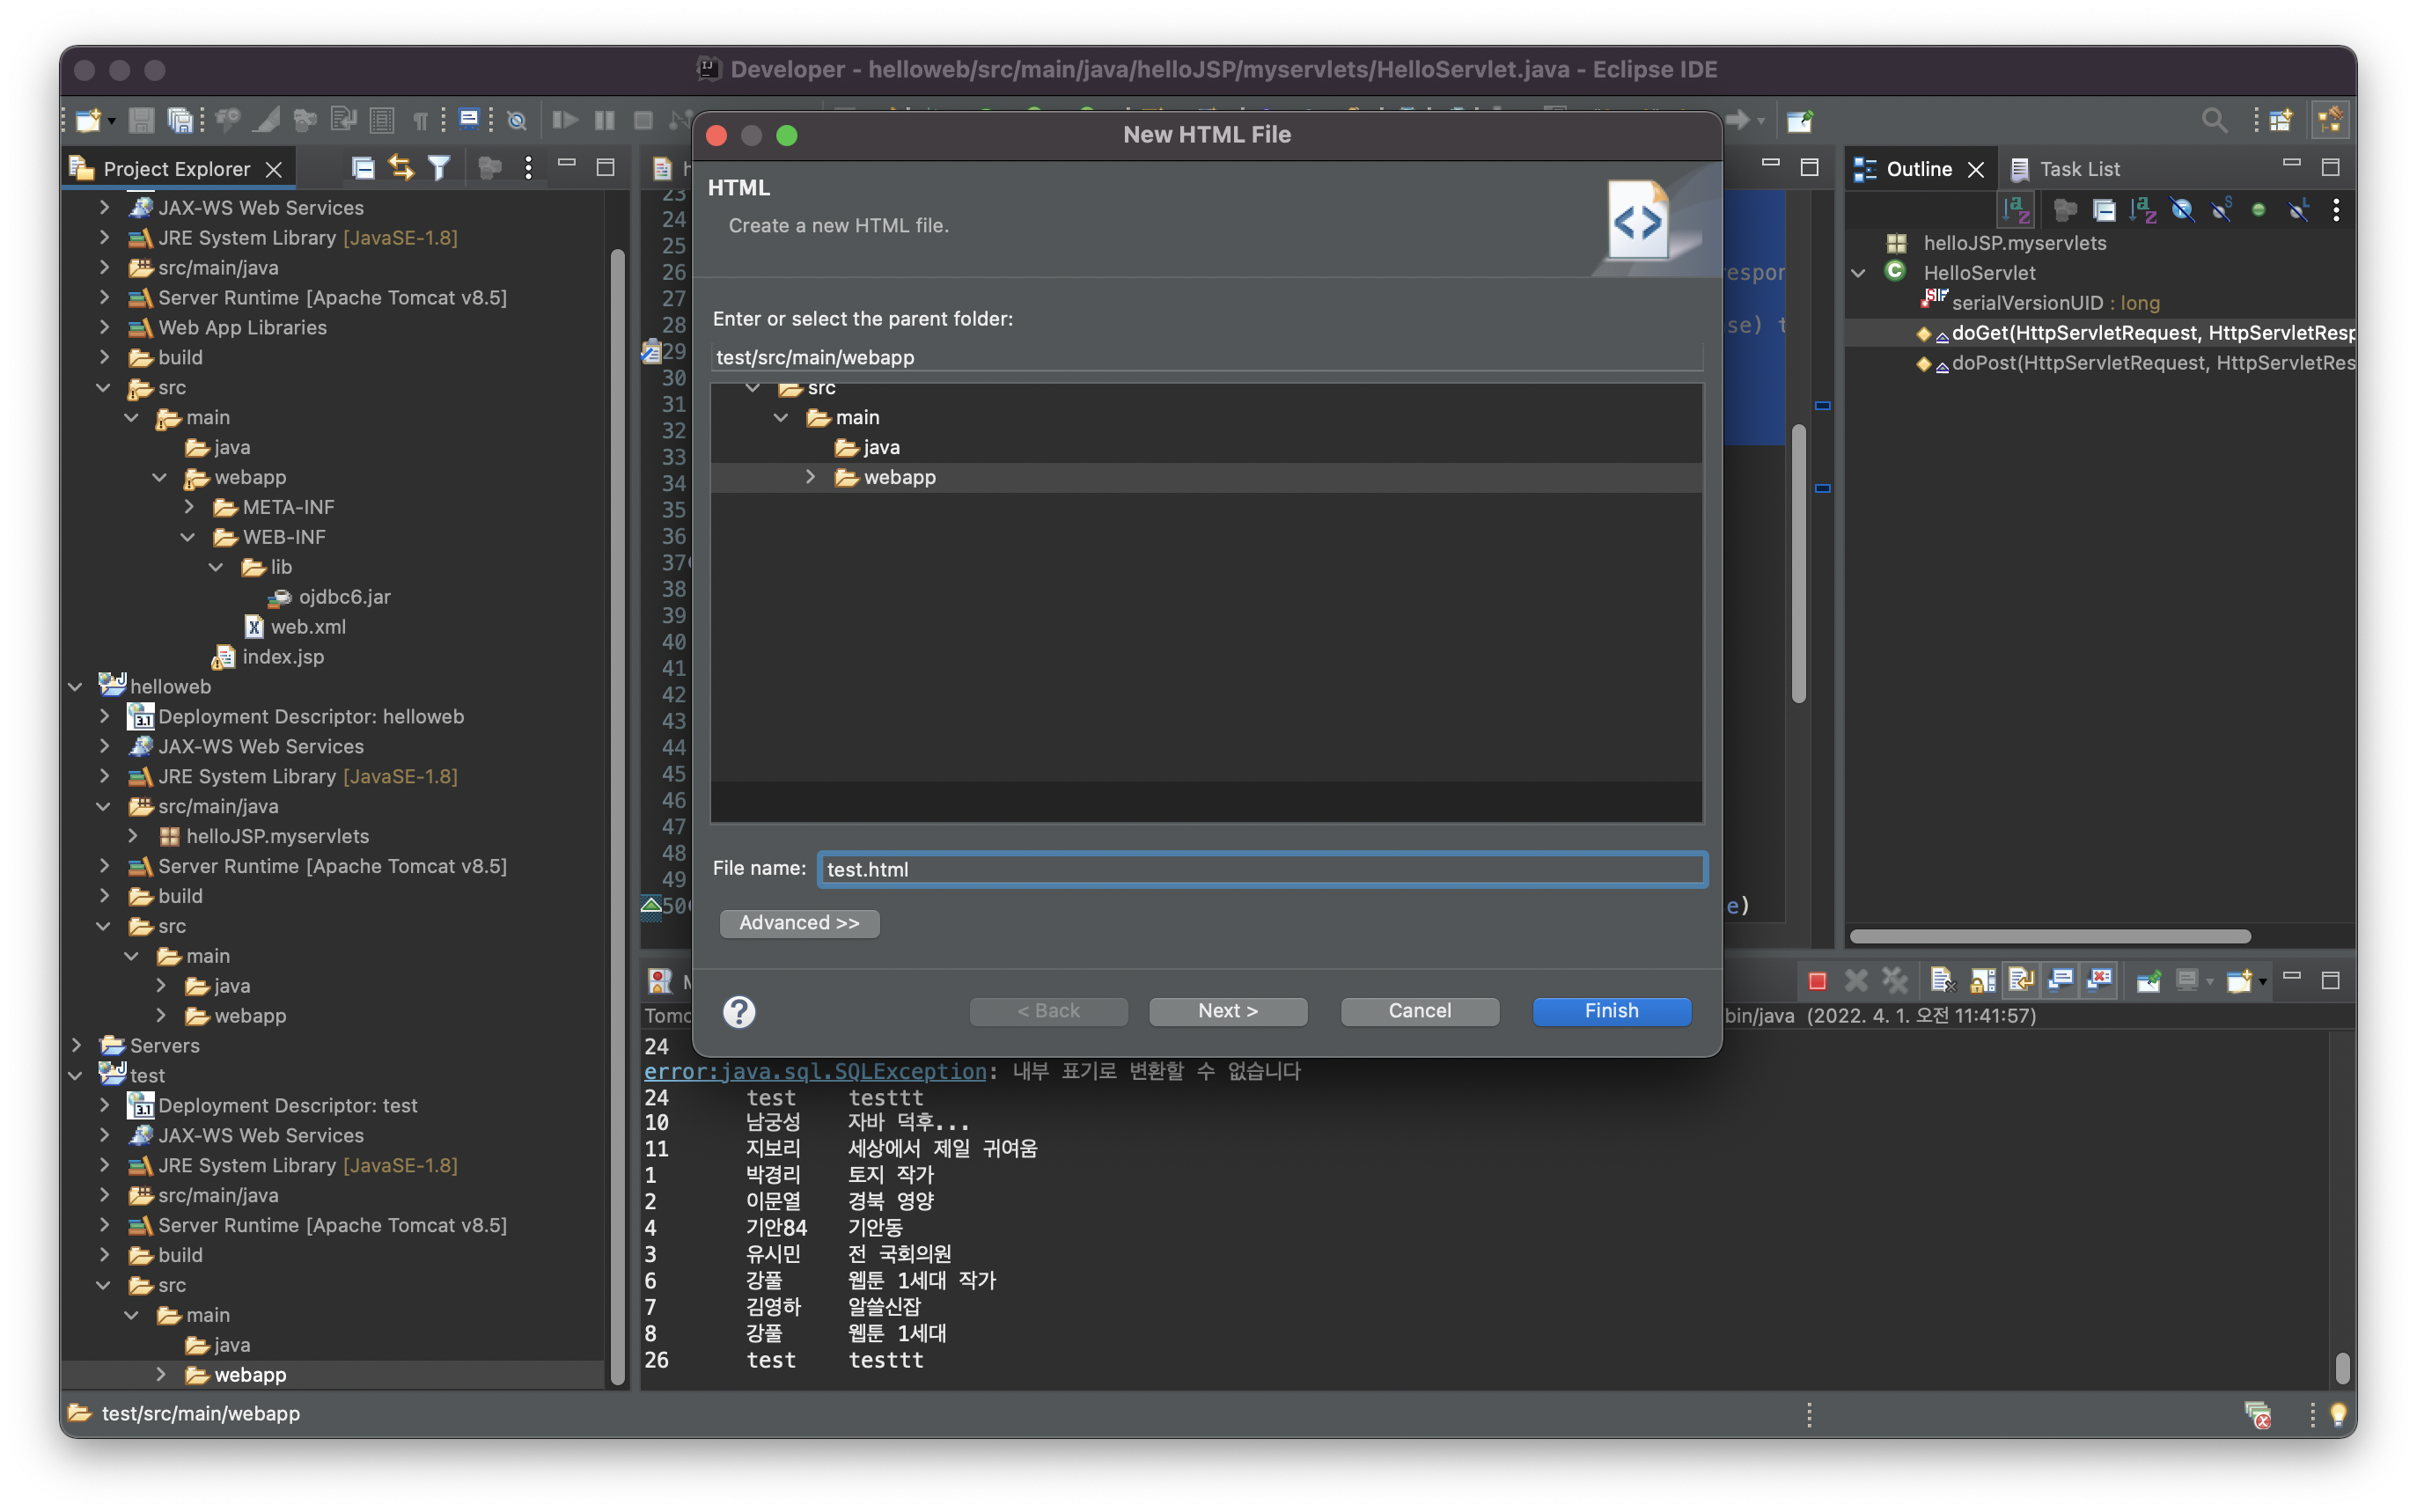
1.4 프로젝트 만들기


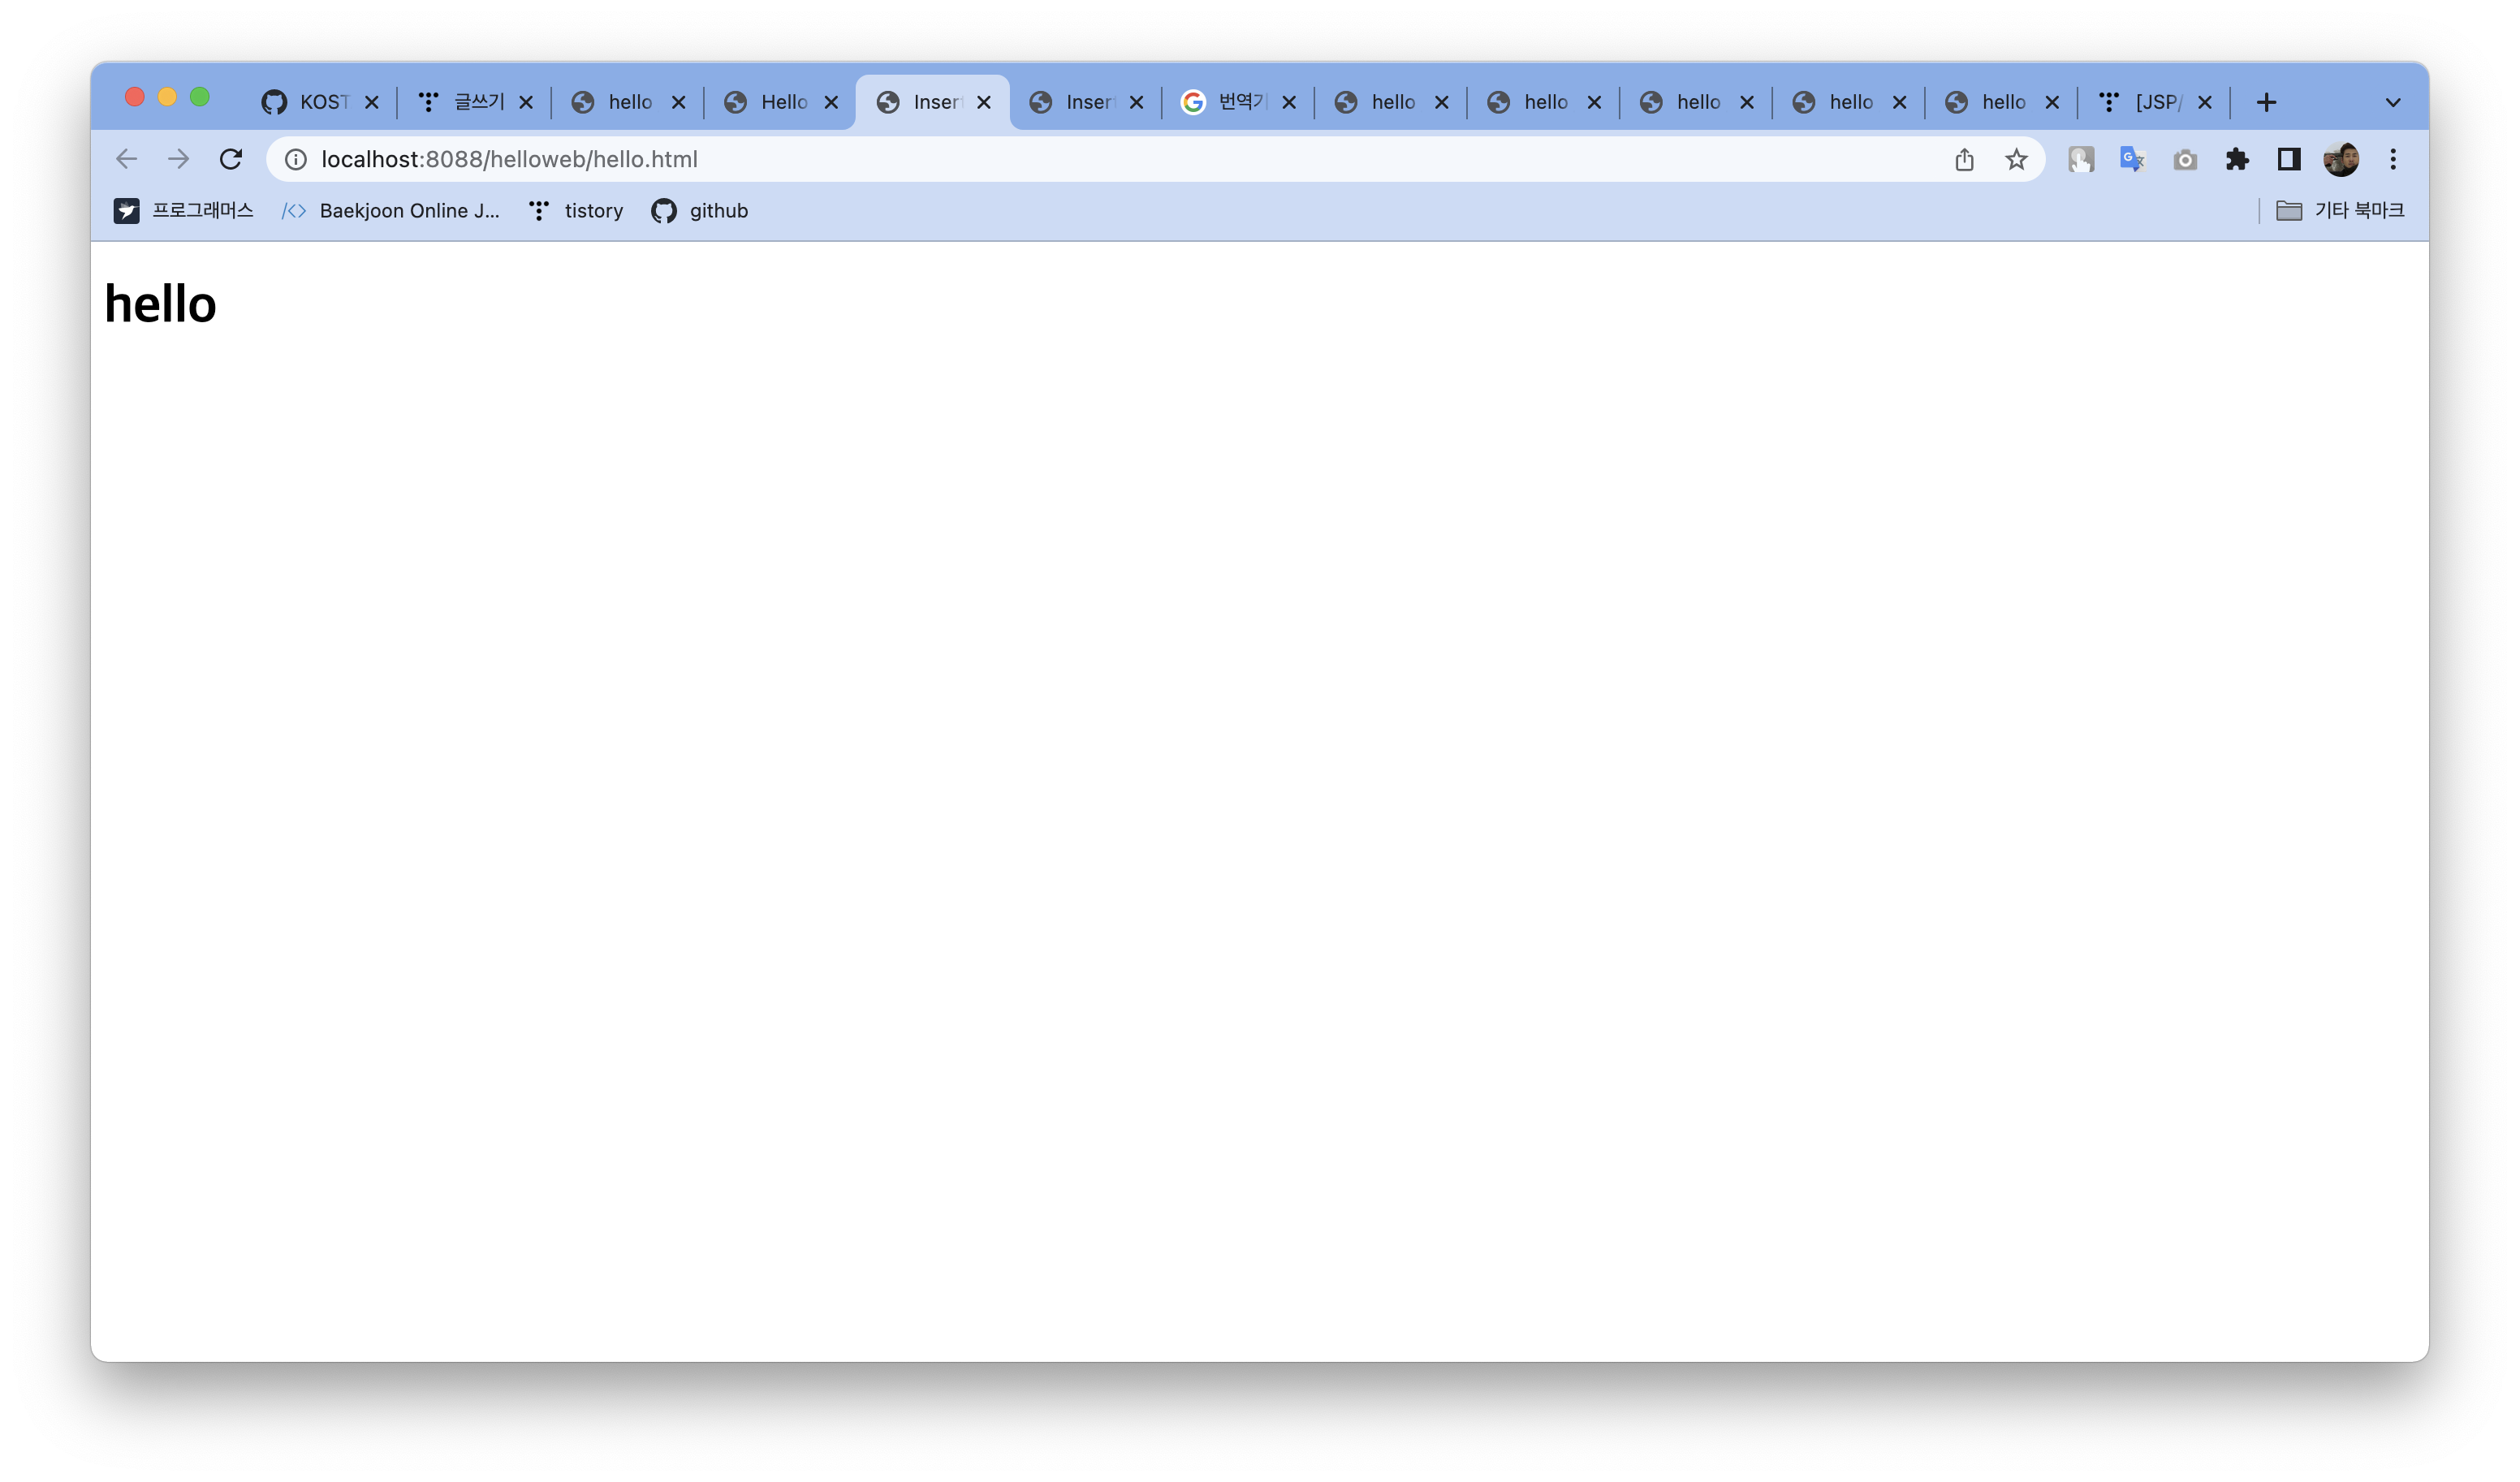
- html 문서 작성하기

<!DOCTYPE html>
<html>
<head>
<meta charset="UTF-8">
<title>Insert title here</title>
</head>
<body>
<h1>hello</h1>
</body>
</html>
코드 작성 후 결과 확인

- jsp로 만들기


<%@ page language="java" contentType="text/html; charset=UTF-8"
   pageEncoding="UTF-8" %>
<!DOCTYPE html>
<html>
<head>
<meta charset="UTF-8">
<title>hello jsp</title>
</head>
<body>
<%
int i=1;
int j=2;
int sum = i+j;
%>
<h1><%= sum %></h1>
</body>
</html>
코드 작성 후 결과 확인 (실행 방법은 html 파일 실행 방법과 동일)

- Servlet으로 만들기
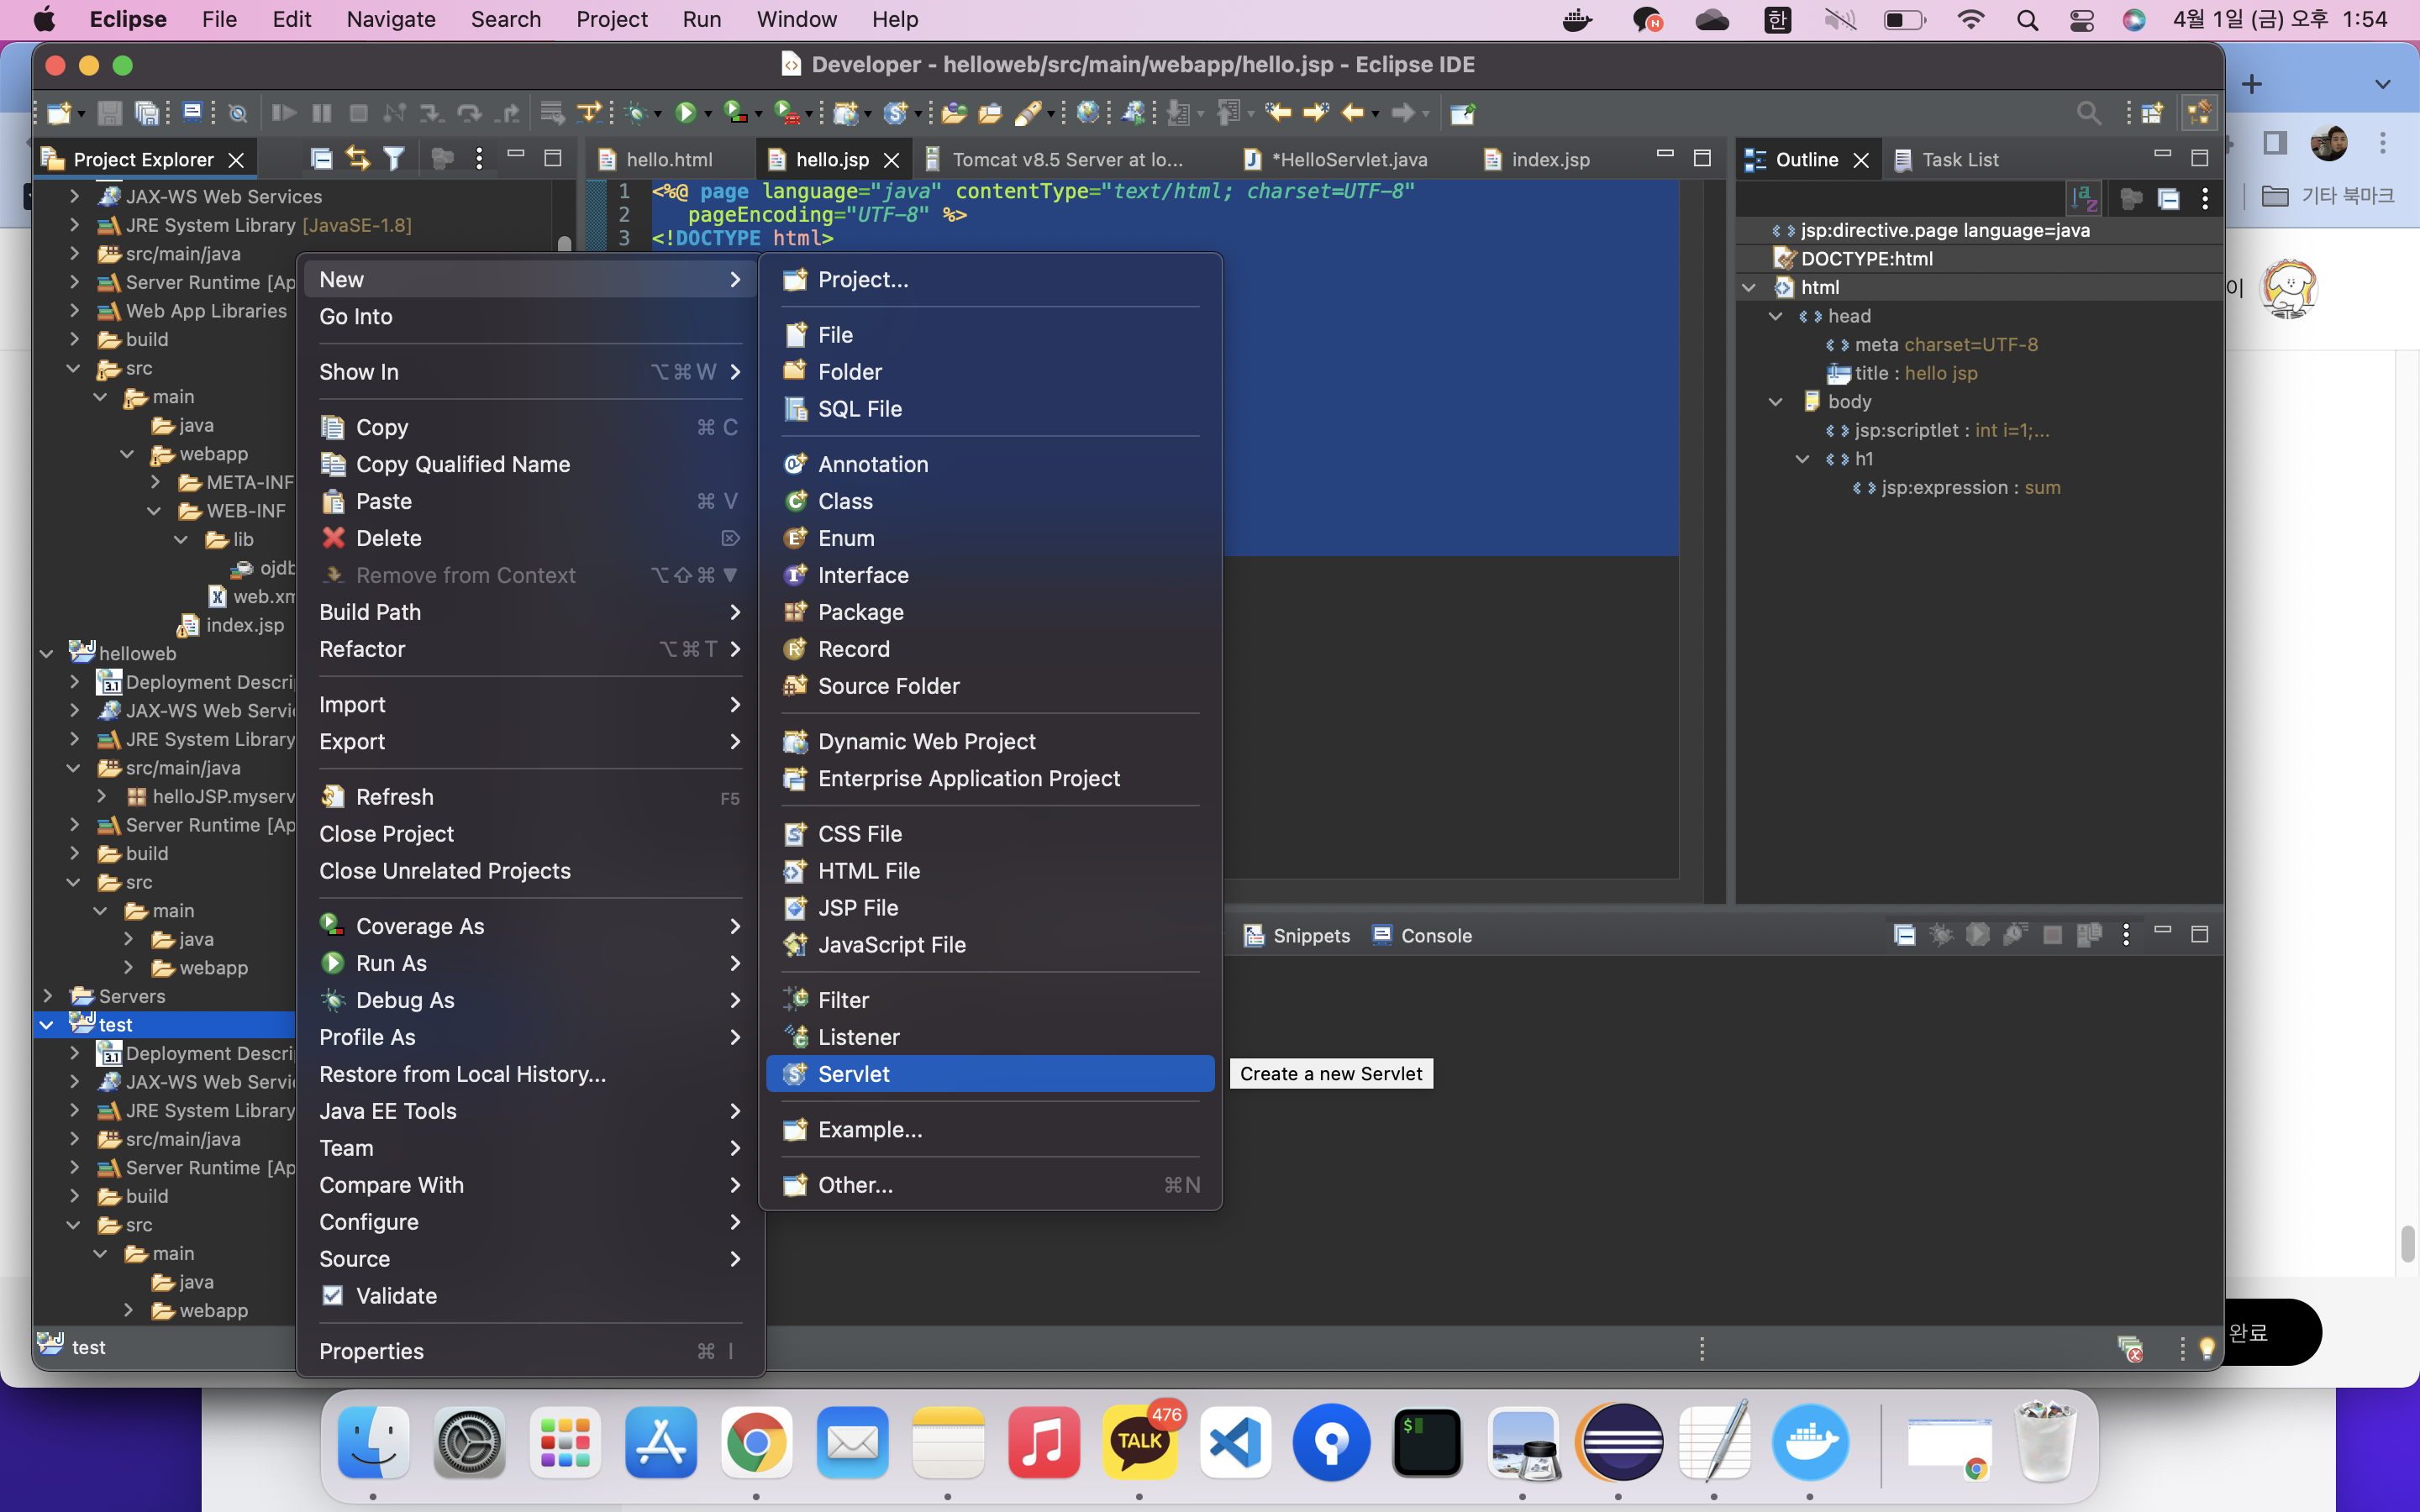
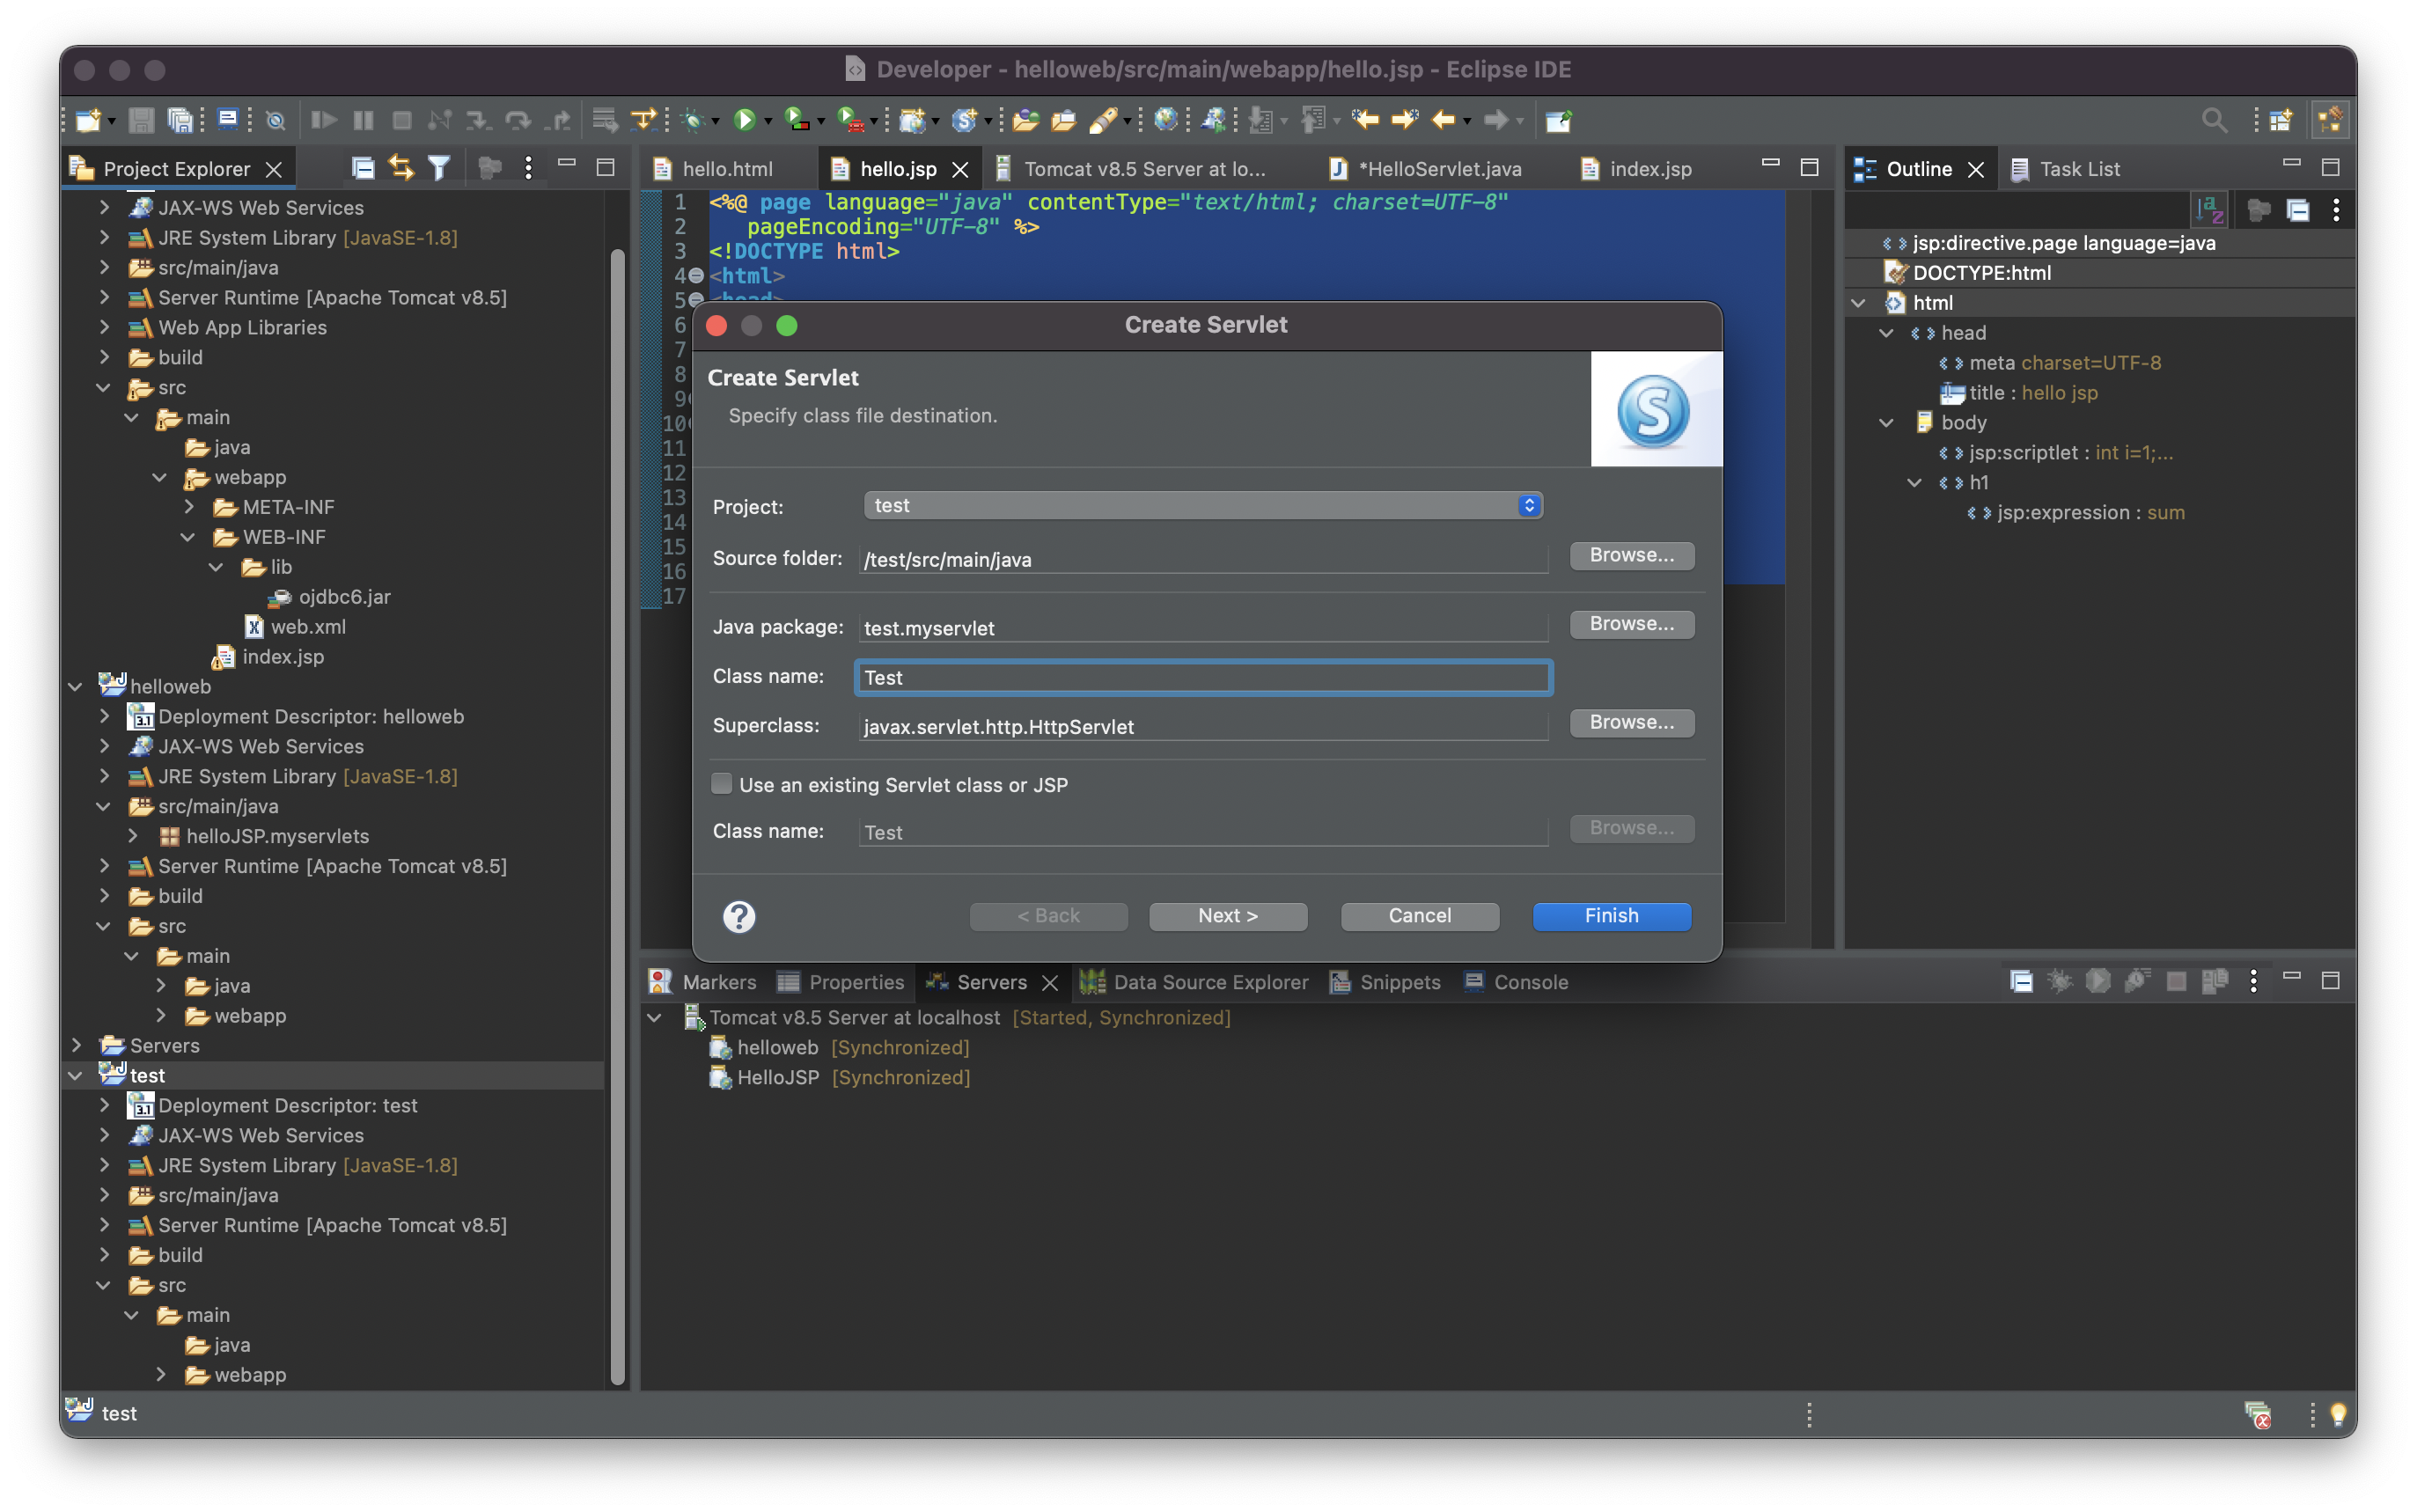
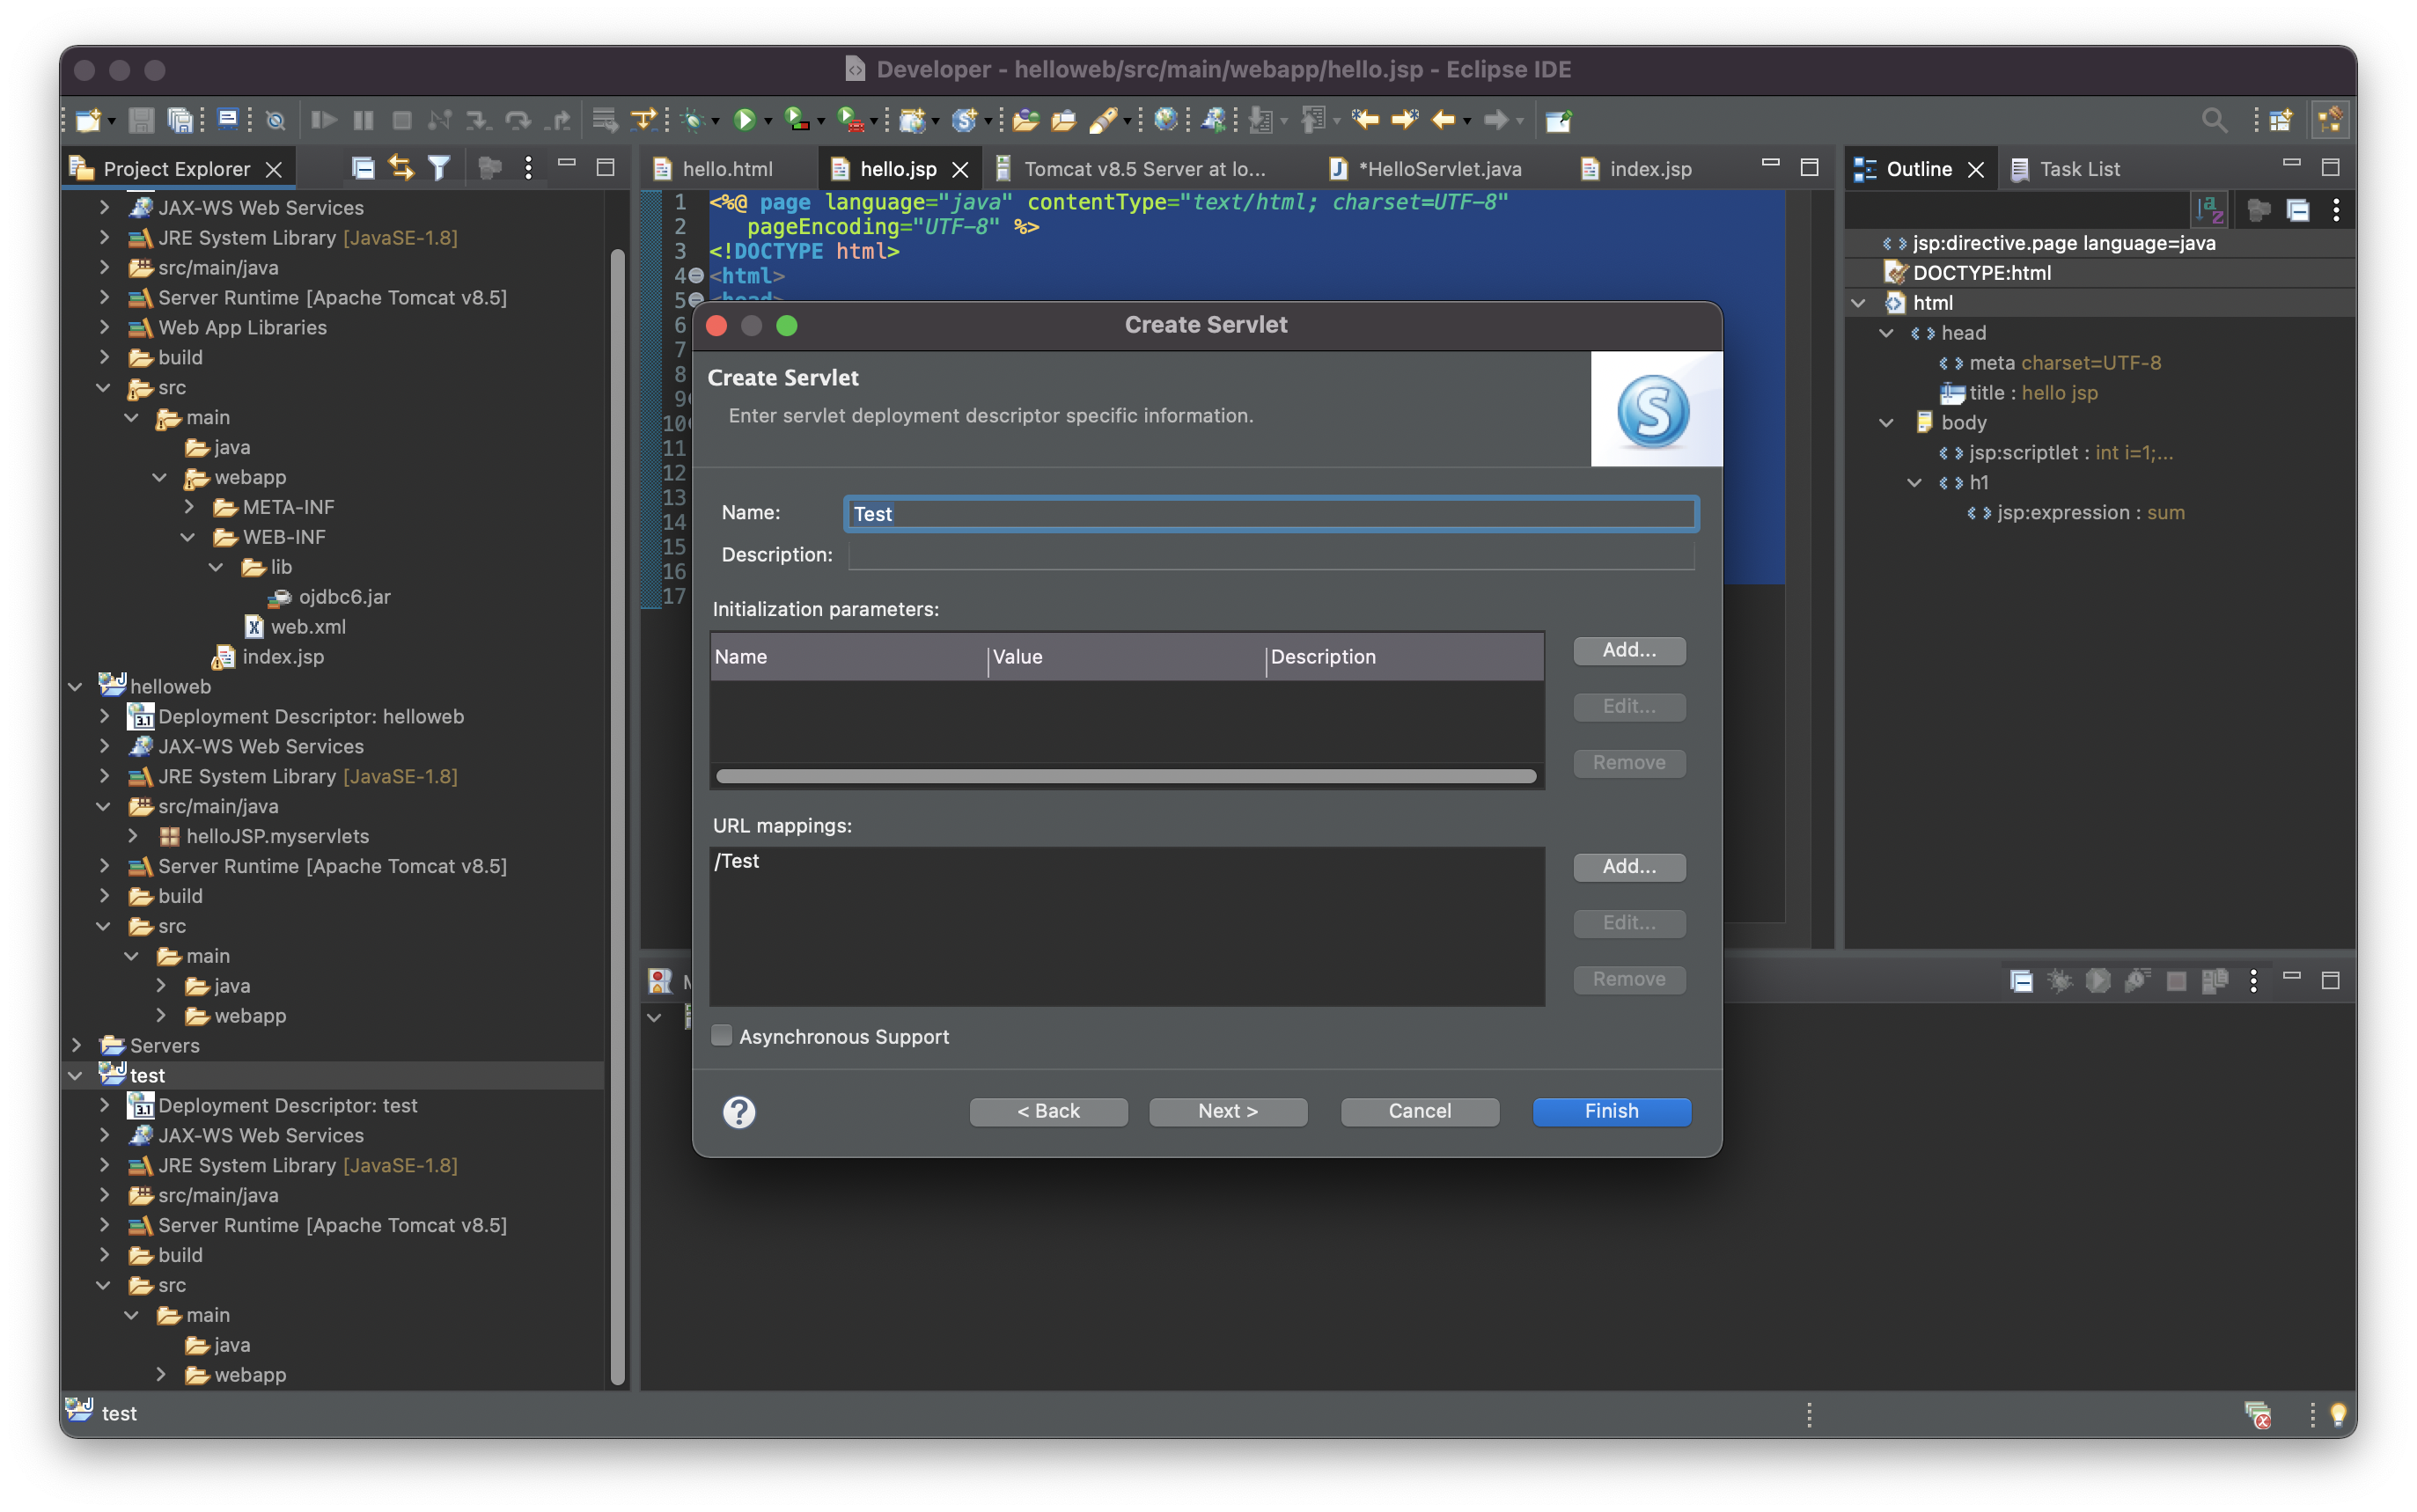
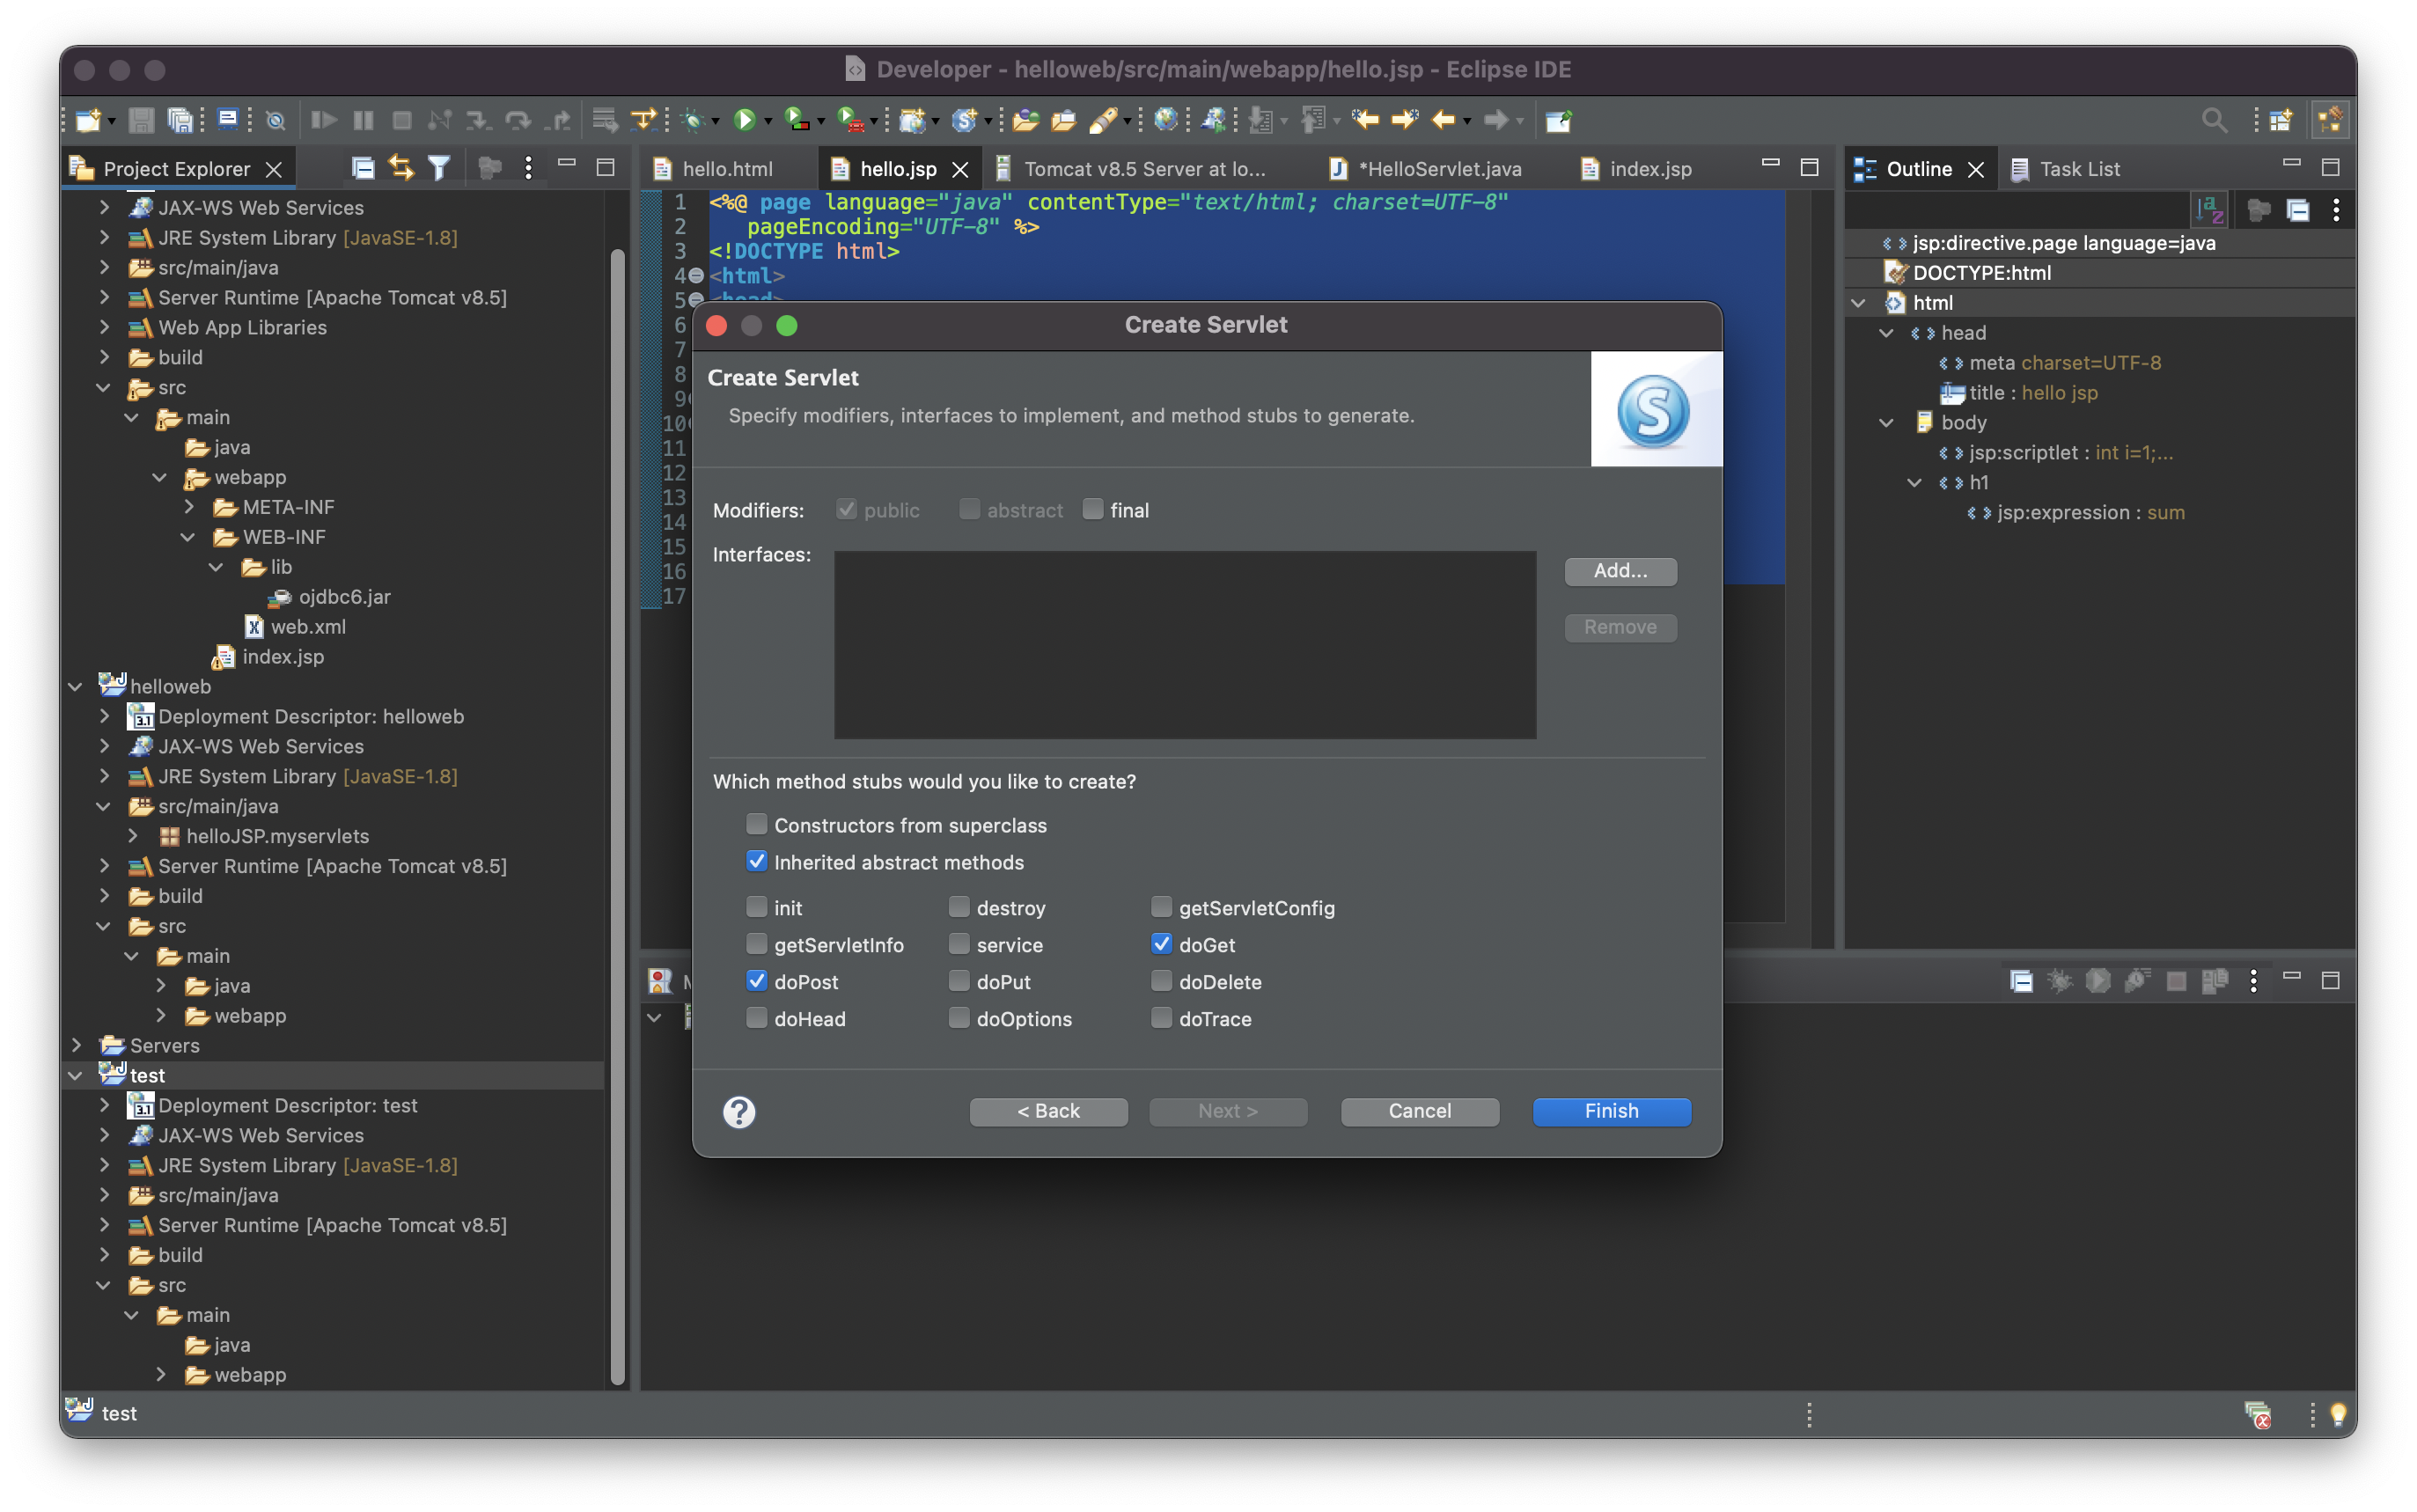
생성시 기본으로 나오는 서블릿 코드
package helloJSP.myservlets;
import java.io.IOException;
import javax.servlet.ServletException;
import javax.servlet.annotation.WebServlet;
import javax.servlet.http.HttpServlet;
import javax.servlet.http.HttpServletRequest;
import javax.servlet.http.HttpServletResponse;
/**
* Servlet implementation class HelloServlet
*/
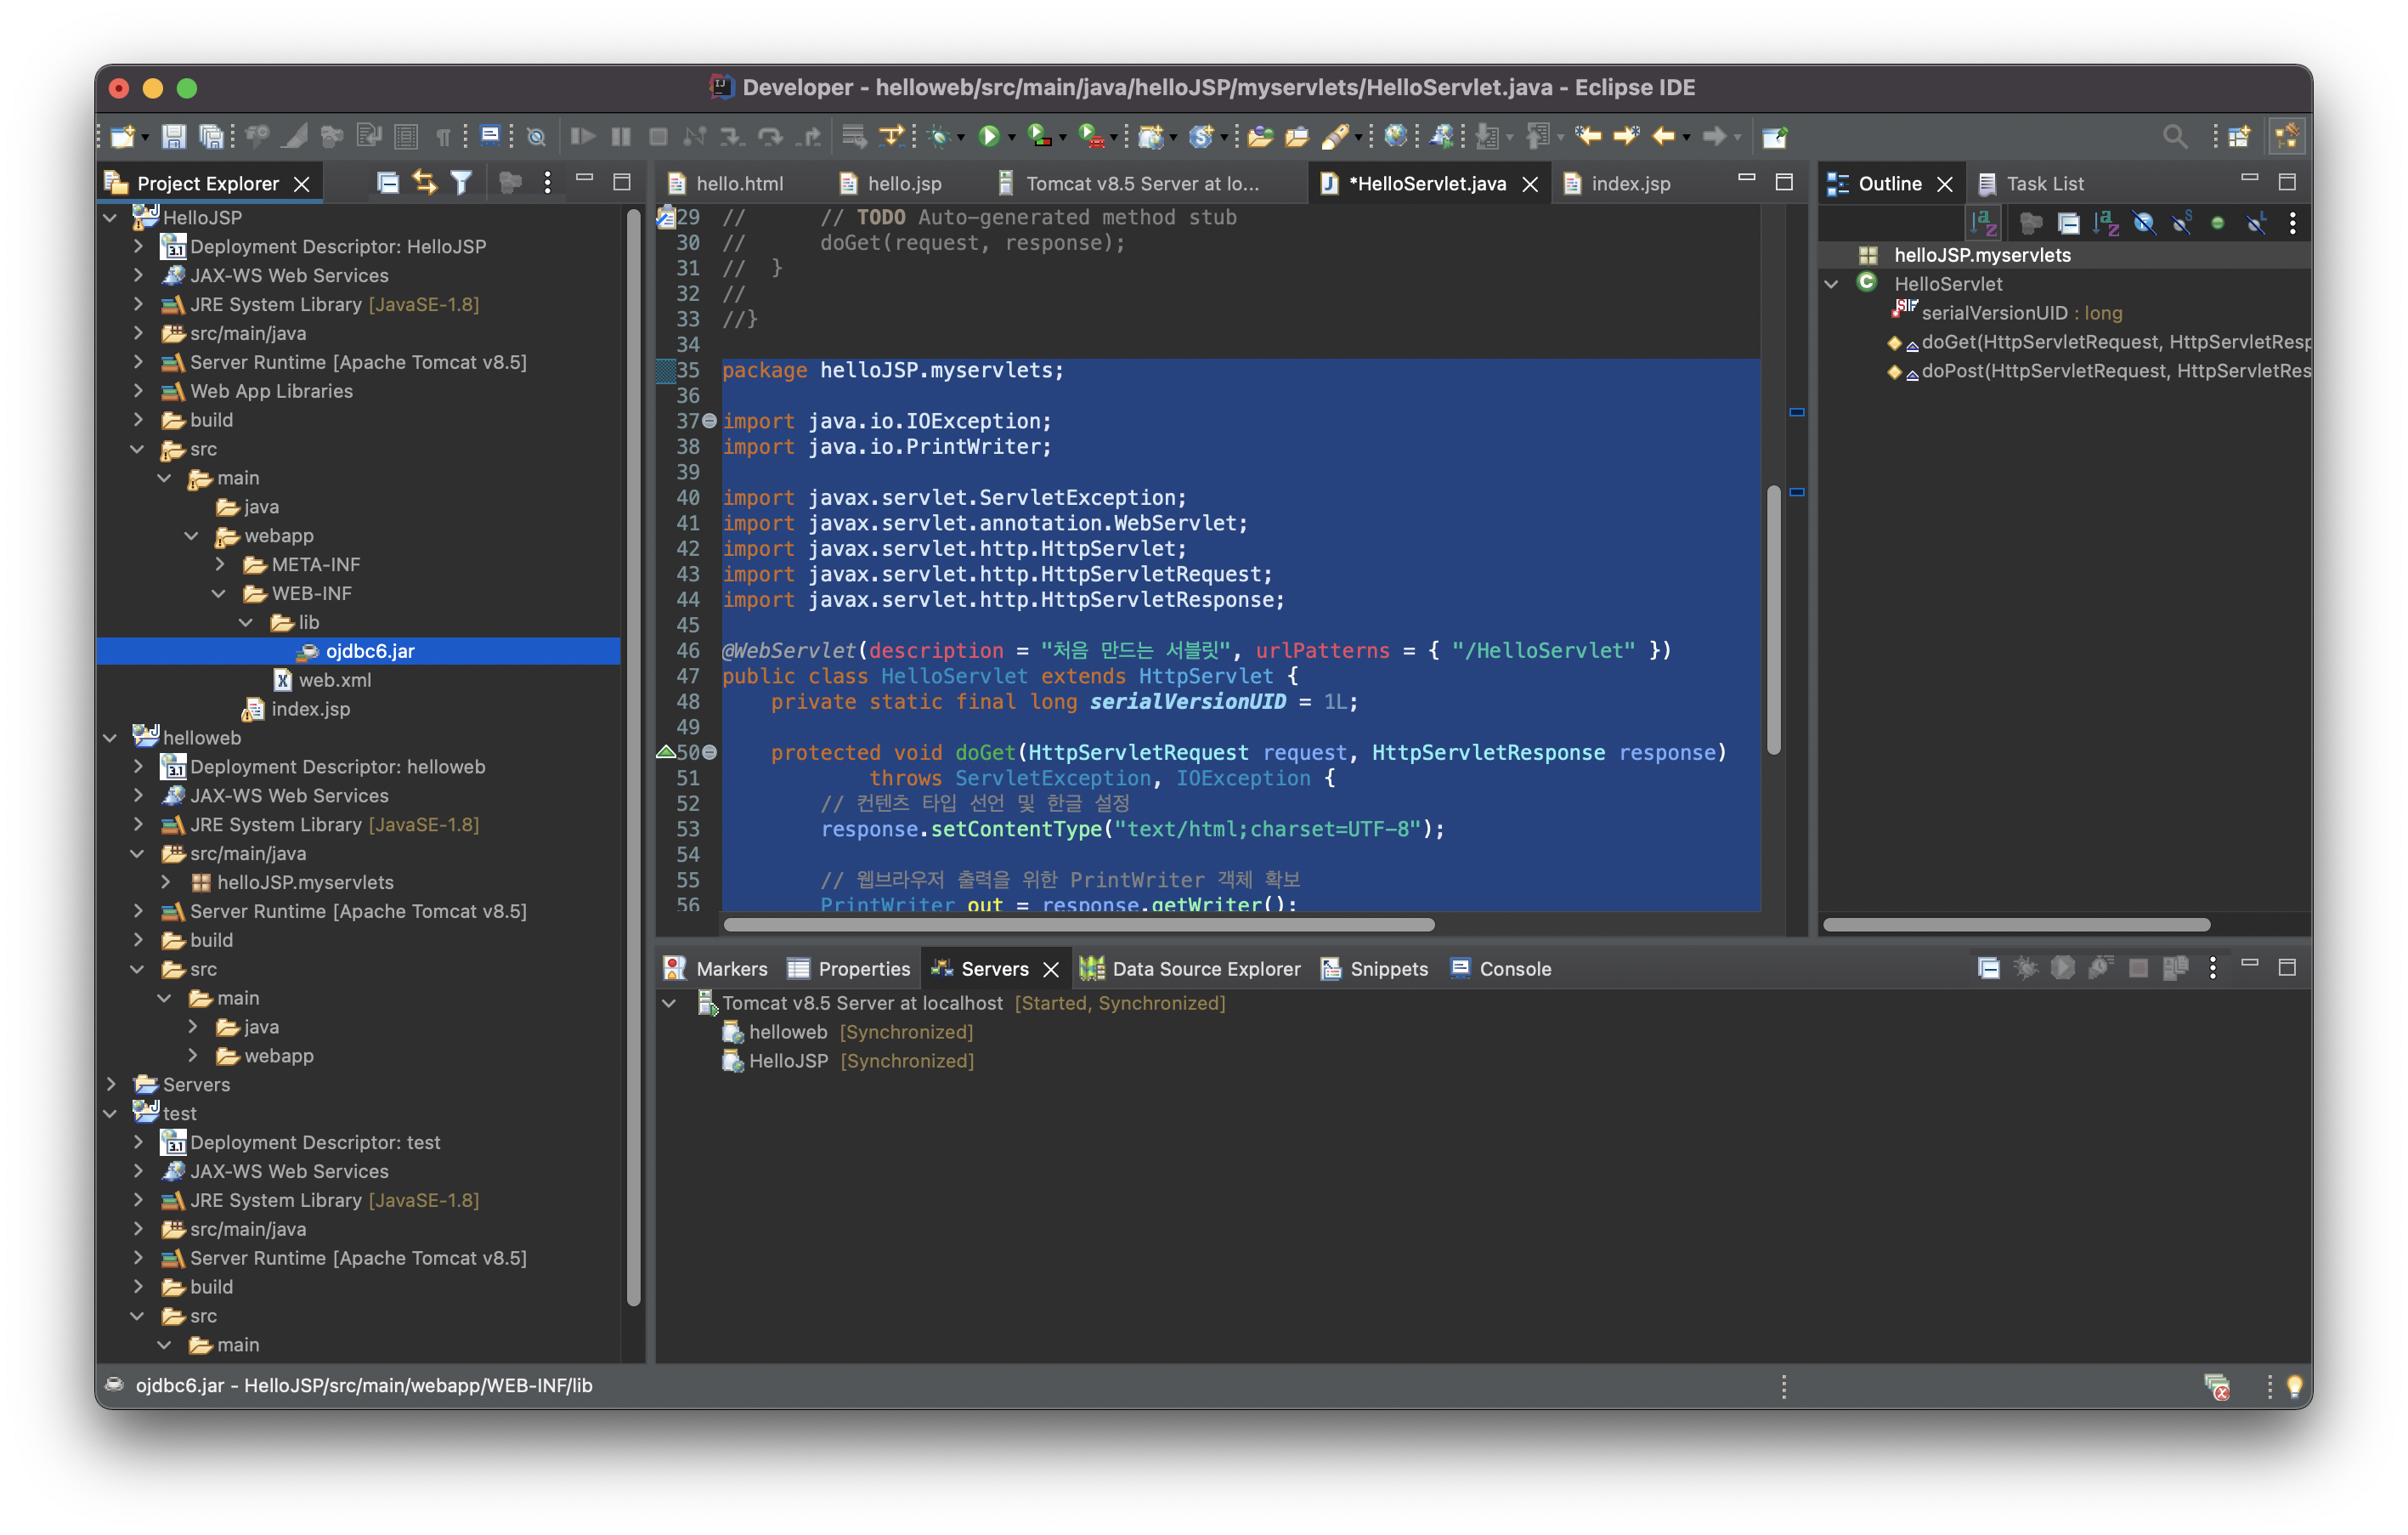
@WebServlet(description = "first time", urlPatterns = { "/HelloServlet" })
public class HelloServlet extends HttpServlet {
private static final long serialVersionUID = 1L;
/**
* @see HttpServlet#doGet(HttpServletRequest request, HttpServletResponse response)
*/
protected void doGet(HttpServletRequest request, HttpServletResponse response) throws ServletException, IOException {
// TODO Auto-generated method stub
response.getWriter().append("Served at: ").append(request.getContextPath());
}
/**
* @see HttpServlet#doPost(HttpServletRequest request, HttpServletResponse response)
*/
protected void doPost(HttpServletRequest request, HttpServletResponse response) throws ServletException, IOException {
// TODO Auto-generated method stub
doGet(request, response);
}
}
소스 코드 분석하기
- 서블릿 패키지 import: 서블릿 클래스 API 사용을 위해 필요한 패키지
import java.io.*;
import javax.servlet.*;
import javax.servlet.http.*;
- 서블릿 클래스 선언
- @WebServlet: 컨테이너에 서블릿임을 알리는 애너테이션
- urlPatterns={"/HelloServlet"}: 서블릿 실행을 위한 요청 URL
- javax.servlet.http.HttpServlet 클래스를 상속해서 필요한 라이프 사이클 메소드 구현
@WebServlet(description = "처음 만드는 서블릿", urlPatterns={"/HelloServlet"})
public class HelloServlet extends HttpServlet {
    private static final long serialVersionUID = 1L;
}
- doGet(), doPost() 메소드 구현
- 요청 방식에 따른 메소드 구현
- 반드시 doGet(), doPost() 메소드를 오버라이딩 해야 함
- doPost()에서 doGet()을 호출하도록 해서 GET, POST 모두 doGet()에서 처리하도록 함
public doGet(HttpServletRequest req, HttpServletResponse res)
throws ServletException, IOException {
}

public doPost(HttpServletRequest req, HttpServletResponse res)
throws ServletException, IOException {
    doGet(req, res);
}
- 구현부 작성: doGet() 메소드
- 클라이언트로 전달하게 될 컨텐츠 타입과 캐릭터셋 지정
- 브라우저 출력을 위한 출력 스트림 객체(java.io.PrintWriter)를 가져옴
res.setContentType(“text/html;charset=UTF-8”);PrintWriter out = response.getWriter();
out.println("<HTML>");
out.println("<HEAD><TITLE>Hello World</TITLE></HEAD>");
out.println("<BODY><H2>Hello World : 헬로월드</H2>");
out.println("</BODY></HTML>");
전체 코드
package helloJSP.myservlets;
import java.io.IOException;
import java.io.PrintWriter;
import javax.servlet.ServletException;
import javax.servlet.annotation.WebServlet;
import javax.servlet.http.HttpServlet;
import javax.servlet.http.HttpServletRequest;
import javax.servlet.http.HttpServletResponse;
@WebServlet(description = "처음 만드는 서블릿", urlPatterns = { "/HelloServlet" })
public class HelloServlet extends HttpServlet {
private static final long serialVersionUID = 1L;
protected void doGet(HttpServletRequest request, HttpServletResponse response)
throws ServletException, IOException {
// 컨텐츠 타입 선언 및 한글 설정
response.setContentType("text/html;charset=UTF-8");
// 웹브라우저 출력을 위한 PrintWriter 객체 확보
PrintWriter out = response.getWriter();
// HTML 형식으로 브라우저 출력 컨텐츠 작성
out.println("<HTML>");
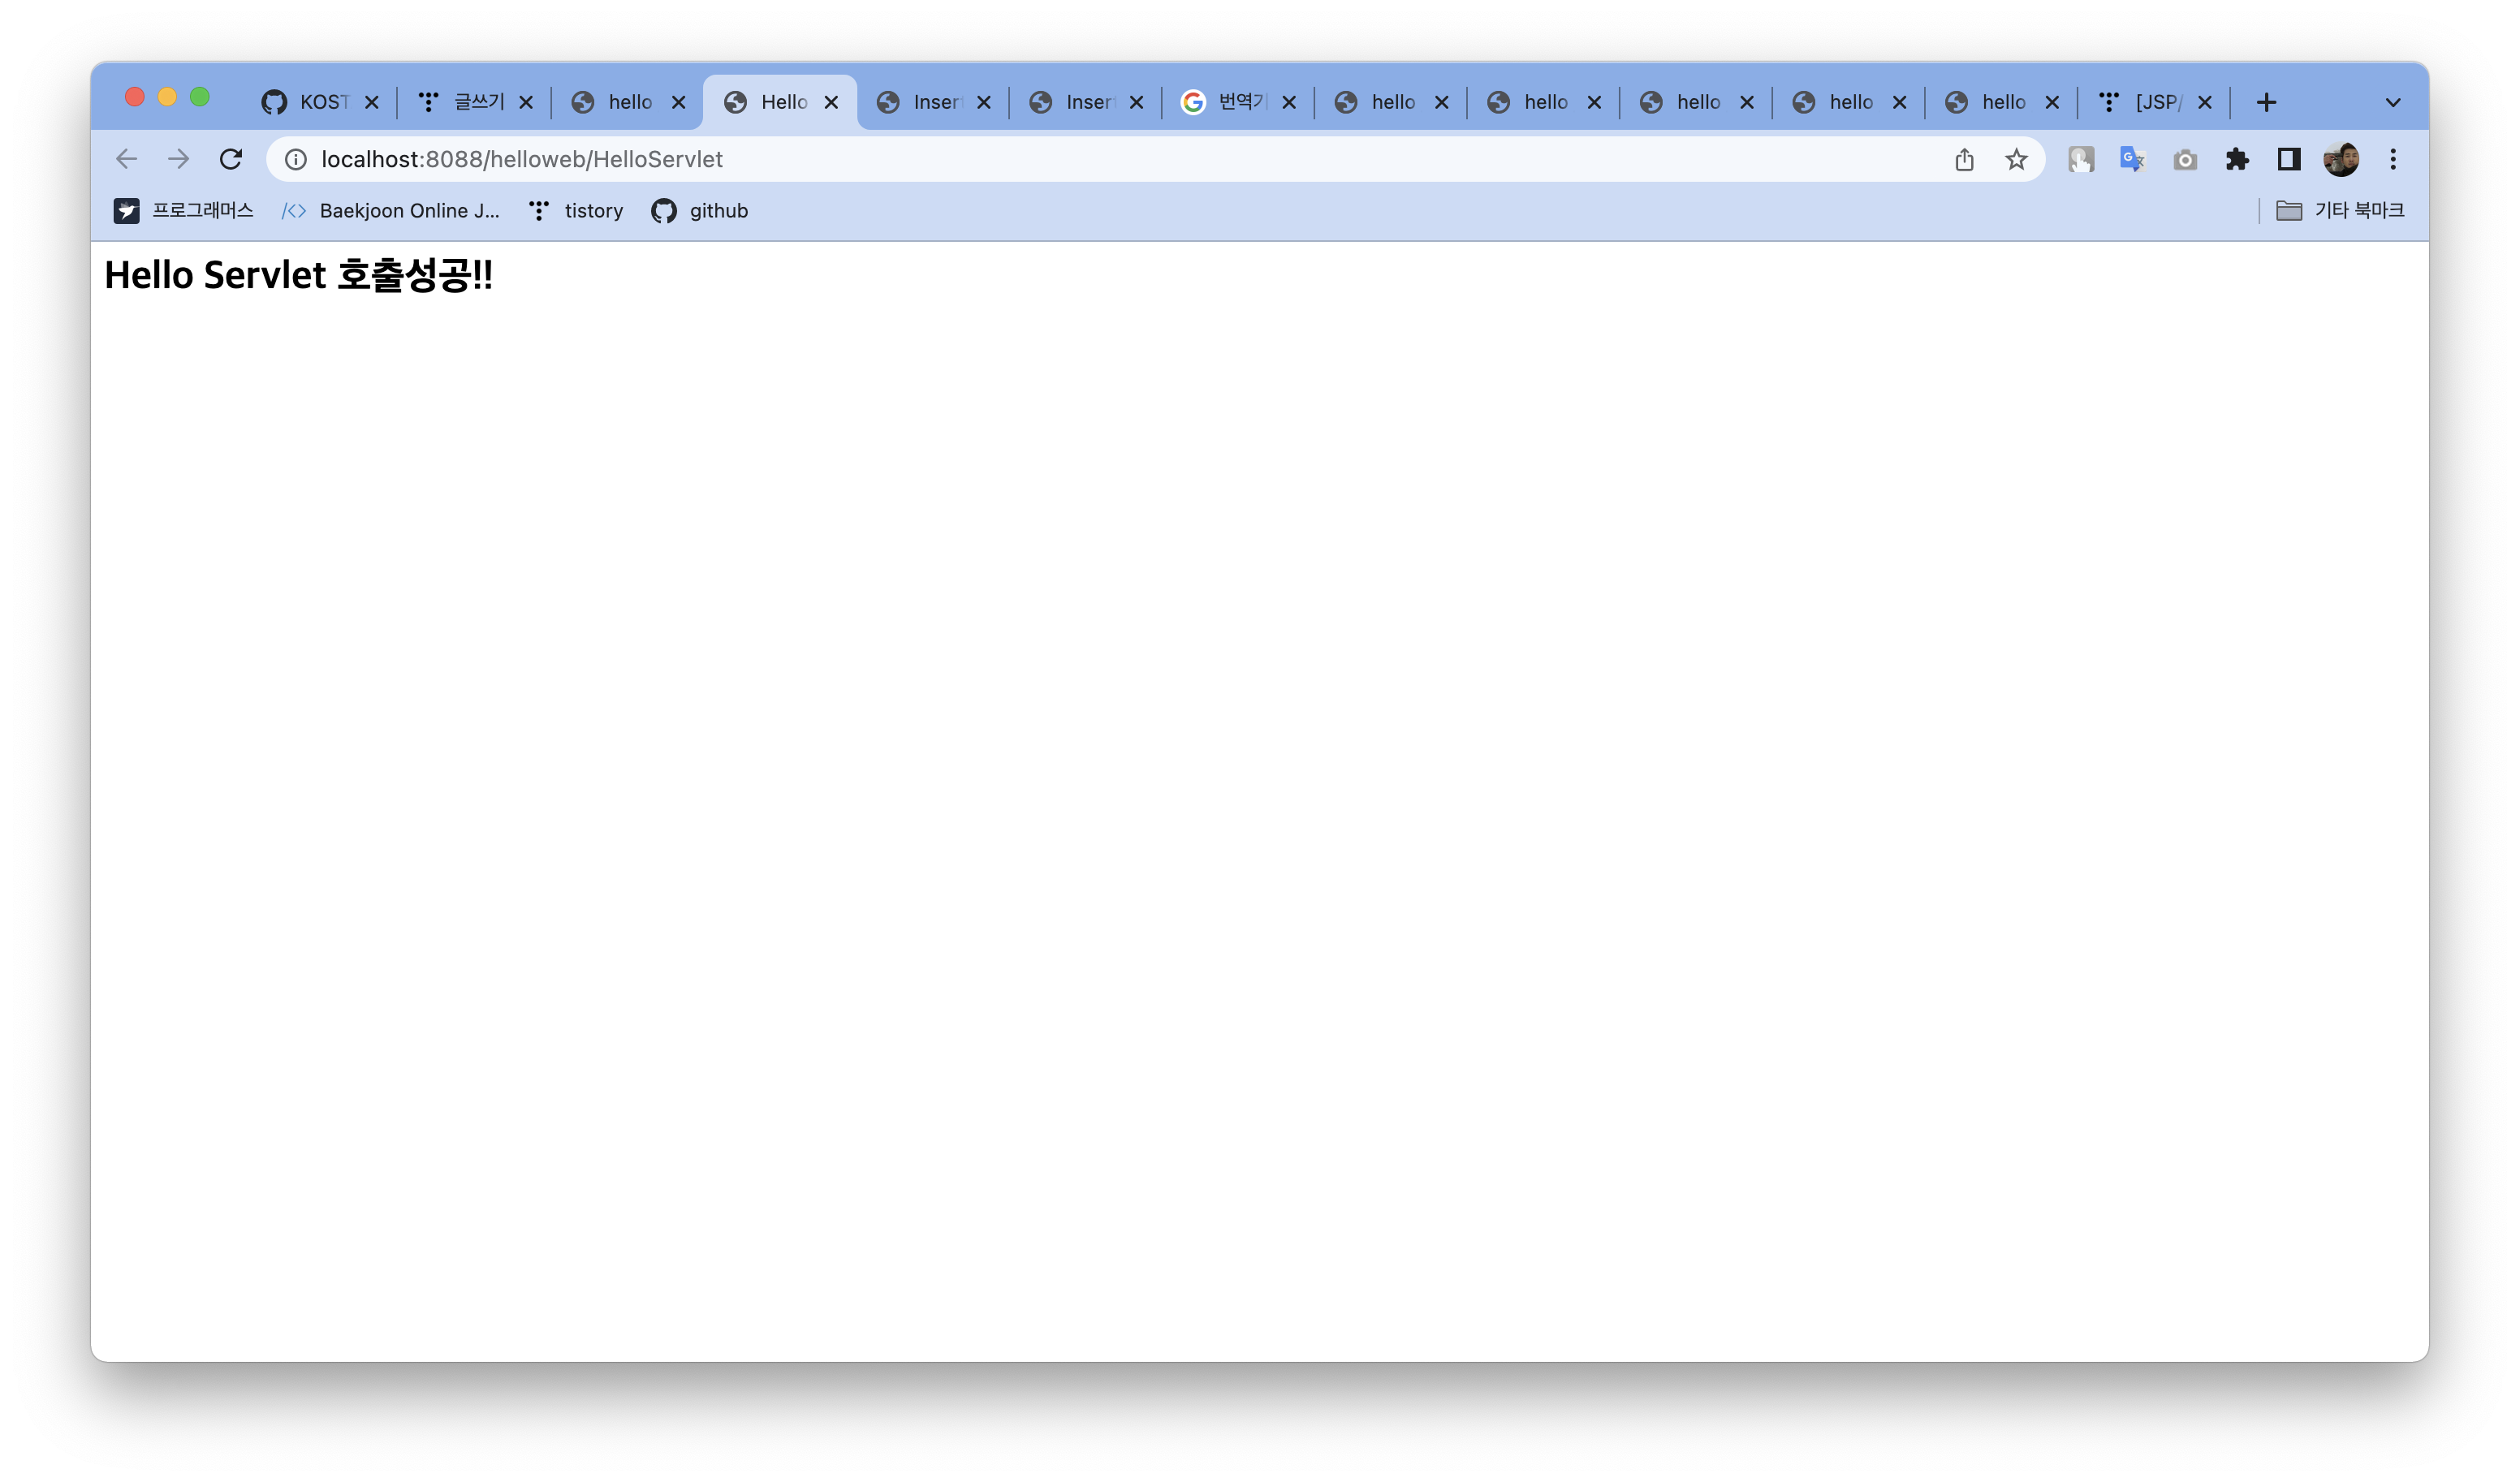
out.println("<HEAD><TITLE>Hello Servlet</TITLE></HEAD>");
out.println("<BODY><H2>Hello Servlet 호출성공!!</H2></BODY>");
out.println("</HTML>");
System.out.println("HelloServlet 동작 완료");
}
protected void doPost(HttpServletRequest request, HttpServletResponse response)
throws ServletException, IOException {
doGet(request, response);
}
}
실행시 Run on Server 선택

2. JSP에서 Oracle DB 연동
이전 Java 수업 시간에 작성한 AuthorSelect.java를 jsp파일로 변환하기
기존 AuthorSelect.java 코드
package com.kosta.jdbc;

import java.sql.*;

public class AuthorSelect {

	public static void main(String[] args) {
		// TODO Auto-generated method stub

		// import java.sql.*;
		Connection conn = null; // 데이터베이스를 연동할 객체
		PreparedStatement pstmt = null; // sql을 넣고 실행할 객체
		ResultSet rs = null; // 데이터가 있을 때 데이터를 가져오는 객체

		try {
		      // 1. JDBC 드라이버 (Oracle) 로딩
		      Class.forName("oracle.jdbc.driver.OracleDriver");

		      // 2. Connection 얻어오기
		      // 예시는 로컬, 로컬이 아니라면 oracle ip와 포트번호, 서비스 아이디를 알아야함
		      String url = "jdbc:oracle:thin:@localhost:1521:xe";
		      conn = DriverManager.getConnection(url, "webdb", "1234");

		      // 3. SQL문 준비 / 바인딩 / 실행
		      String sql = " select * from author ";
		      pstmt = conn.prepareStatement(sql);

		      rs = pstmt.executeQuery();

		      // 4.결과처리
		      while (rs.next()) {
		          int authorId = rs.getInt("author_id");
		          String authorName = rs.getString("author_name");
		          String authorDesc = rs.getString("author_desc");
		          System.out.println(authorId + "\t" + authorName + "\t" + authorDesc + "\t");
		      }

		    } catch (ClassNotFoundException e) {
		        System.out.println("error: 드라이버 로딩 실패 - " + e);
		    } catch (SQLException e) {
		        System.out.println("error:" + e);
		    } finally {
		        // 5. 자원정리
		        try {
		            if (rs != null) {
		                rs.close();
		            }
		            if (pstmt != null) {
		                pstmt.close();
		            }
		            if (conn != null) {
		                conn.close();
		            }
		        } catch (SQLException e) {
		            System.out.println("error:" + e);
		        }
		 }
	}
}
jsp 코드로 변환
<%@page language="java" contentType="text/html; charset=UTF-8"
   pageEncoding="UTF-8" %>
<%@page import="java.sql.Connection" %>
<%@page import="java.sql.DriverManager" %>
<%@page import="java.sql.PreparedStatement" %>
<%@page import="java.sql.ResultSet" %>
<%@page import="java.sql.SQLException" %>

<%!
Connection conn = null;
PreparedStatement pstmt = null;
ResultSet rs = null;

String url = "jdbc:oracle:thon:@localhost:1521:XE";
String user = "webdb";
String pass = "webdb";

String sql = " select author_id, author_name, author_desc from author"
        + " order by author_id " ;
%>
<!DOCTYPE html>
<html>
<head>
<meta charset="UTF-8">
<title>hello jsp</title>
</head>
<body>
	<table width="800" border="1">
		<tr>
			<th>저자 번호</th>
			<th>저자</th>
			<th>설명</th>
		</tr>
		<%
		try {
		      // 1. JDBC 드라이버 (Oracle) 로딩
		      Class.forName("oracle.jdbc.driver.OracleDriver");

		      // 2. Connection 얻어오기
		      // 예시는 로컬, 로컬이 아니라면 oracle ip와 포트번호, 서비스 아이디를 알아야함
		      String url = "jdbc:oracle:thin:@localhost:1521:xe";
		      conn = DriverManager.getConnection(url, "webdb", "1234");

		      // 3. SQL문 준비 / 바인딩 / 실행
		      String sql = " select * from author ";
		      pstmt = conn.prepareStatement(sql);

		      rs = pstmt.executeQuery();

		      // 4.결과처리
		      while(rs.next()){
		    	  int authorId = rs.getInt("author_id");
		          String authorName = rs.getString("author_name");
		          String authorDesc = rs.getString(3);

		          System.out.println(authorId + "\t" + authorName + "\t" + authorDesc + "\t");


		          out.print("<tr>");
		          out.print("<td>"+authorId+"</td>");
		          out.print("<td>"+rs.getString("author_name")+"</td>");
		          out.print("<td>"+rs.getString(3)+"</td>");
		          out.print("</tr>");
		       }

		    } catch (ClassNotFoundException e) {
		        System.out.println("error: 드라이버 로딩 실패 - " + e);
		    } catch (SQLException e) {
		        System.out.println("error:" + e);
		    } finally {
		        // 5. 자원정리
		        try {
		            if (rs != null) {
		                rs.close();
		            }
		            if (pstmt != null) {
		                pstmt.close();
		            }
		            if (conn != null) {
		                conn.close();
		            }
		        } catch (SQLException e) {
		            System.out.println("error:" + e);
		        }
		    }
		%>
	</table>
</body>
</html>
📌 오라클과 연동하기 때문에 실행시 반드시 도커로 오라클에 접속한 상태여야 함
응용하기
사원 정보와 부서 정보 찍어내기 (JOIN 필요)
<%@page language="java" contentType="text/html; charset=UTF-8"
   pageEncoding="UTF-8" %>
<%@page import="java.sql.Connection" %>
<%@page import="java.sql.DriverManager" %>
<%@page import="java.sql.PreparedStatement" %>
<%@page import="java.sql.ResultSet" %>
<%@page import="java.sql.SQLException" %>

<%!
Connection conn = null;
PreparedStatement pstmt = null;
ResultSet rs = null;

String url = "jdbc:oracle:thon:@localhost:1521:XE";
String user = "webdb";
String pass = "webdb";

String sql = " select author_id, author_name, author_desc from author"
        + " order by author_id " ;
%>
<!DOCTYPE html>
<html>
<head>
<meta charset="UTF-8">
<title>hello jsp</title>
</head>
<body>
	<table width="800" border="1">
		<tr>
			<th>사번</th>
			<th>이름</th>
			<th>입사일</th>
			<th>근무부서</th>
			<th>매니저</th>
			<th>급여</th>
		</tr>
		<%
		try {
		      // 1. JDBC 드라이버 (Oracle) 로딩
		      Class.forName("oracle.jdbc.driver.OracleDriver");

		      // 2. Connection 얻어오기
		      // 예시는 로컬, 로컬이 아니라면 oracle ip와 포트번호, 서비스 아이디를 알아야함
		      String url = "jdbc:oracle:thin:@localhost:1521:xe";
		      conn = DriverManager.getConnection(url, "hr", "hr");

		      // 3. SQL문 준비 / 바인딩 / 실행
		      String sql = " SELECT e.EMPLOYEE_ID, e.FIRST_NAME, e.HIRE_DATE, d.DEPARTMENT_NAME , e2.FIRST_NAME as m, e.SALARY " +
                           " FROM EMPLOYEES e, EMPLOYEES e2, DEPARTMENTS d " +
                           " WHERE e.MANAGER_ID = e2.EMPLOYEE_ID and e.DEPARTMENT_ID = d.DEPARTMENT_ID " +
                           " ORDER BY e.EMPLOYEE_ID ";
		      pstmt = conn.prepareStatement(sql);

		      rs = pstmt.executeQuery();

		      // 4.결과처리
		      while(rs.next()){
		    	  int empId = rs.getInt("EMPLOYEE_ID");
		          String empName = rs.getString("FIRST_NAME");
		          String hDate = rs.getString("HIRE_DATE");
		          String dName = rs.getString("DEPARTMENT_NAME");
		          String magName = rs.getNString("m");
		          int salary = rs.getInt("SALARY");

		          System.out.println(empId + "\t" + empName + "\t" + hDate + "\t" + dName + "\t" + magName + "\t" + salary);


		          out.print("<tr>");
		          out.print("<td>"+empId+"</td>");
		          out.print("<td>"+empName+"</td>");
		          out.print("<td>"+hDate+"</td>");
		          out.print("<td>"+dName+"</td>");
		          out.print("<td>"+magName+"</td>");
		          out.print("<td>"+salary+"</td>");
		          out.print("</tr>");
		       }

		    } catch (ClassNotFoundException e) {
		        System.out.println("error: 드라이버 로딩 실패 - " + e);
		    } catch (SQLException e) {
		        System.out.println("error:" + e);
		    } finally {
		        // 5. 자원정리
		        try {
		            if (rs != null) {
		                rs.close();
		            }
		            if (pstmt != null) {
		                pstmt.close();
		            }
		            if (conn != null) {
		                conn.close();
		            }
		        } catch (SQLException e) {
		            System.out.println("error:" + e);
		        }
		    }
		%>
	</table>
</body>
</html>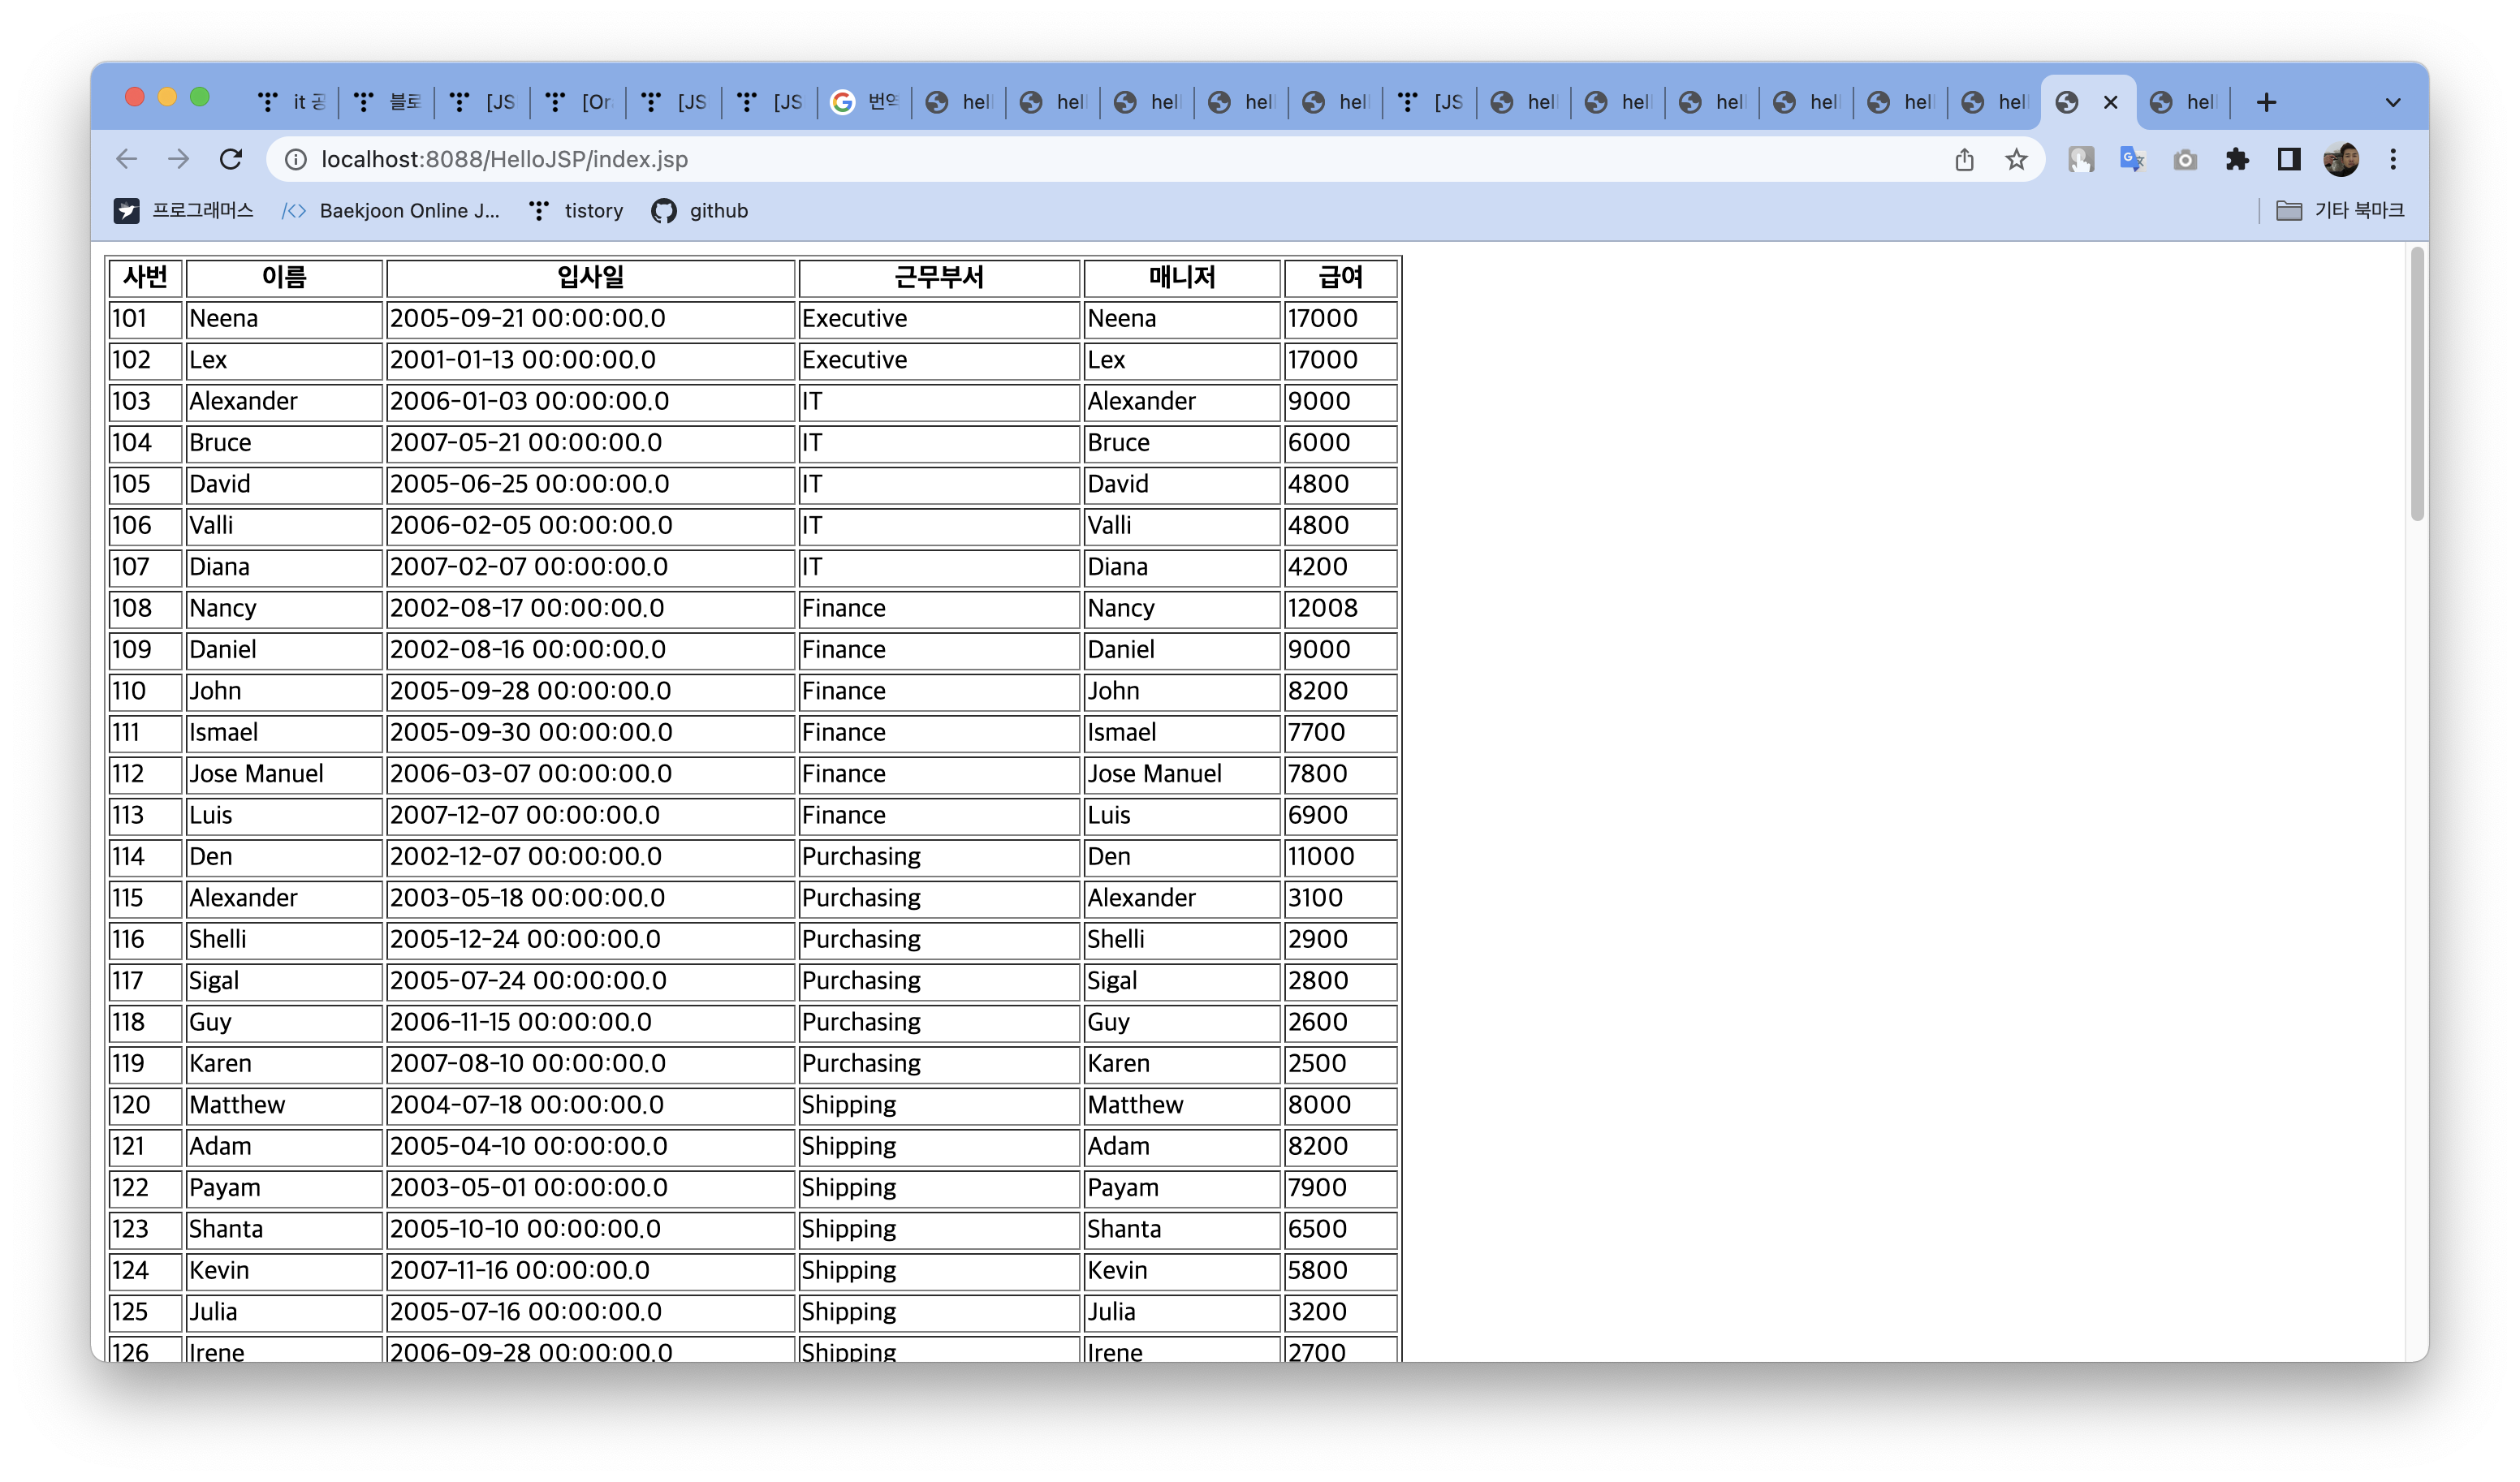
⚠️ 처음 매니저 이름 찍어낼 때 결과 처리 while문 안에서 empName, magName 둘 다 rs.getString("FIRST_NAME")으로 받아오다 보니 직원 이름과 매니저 이름이 같은 것으로 출력 됐었음
이는 SQL 문에서 매니저 이름에 별칭을 부여하여 해결함

3. html 적용하기
3.1 form (폼) 태그
- <form>: 서버로 데이터 전송이 사용되는 태그
- get 방식, post 방식 구분
| 속성 이름 | 설명 |
| method | 입력 데이터의 전달 방식 (get, post) |
| action | 입력 데이터의 전달 위치 |
<form method="get" action="insert.jsp">
<input type="text" name="search" />
<input type="submit" />
</form>
<form method=“post action="insert.jsp">
<input type="text" name="search" />
<input type="submit" />
</form>
form 작성 예시
- insert.jsp
<%@page language="java" contentType="text/html; charset=UTF-8"
pageEncoding="UTF-8" %>
<!DOCTYPE html>
<html>
<head>
<meta http-equiv="Content-Type" content="text/html; charset=UTF-8">
<title>Request.getParameter() 처리</title>
</head>
<body>
<%
request.setCharacterEncoding("utf-8");
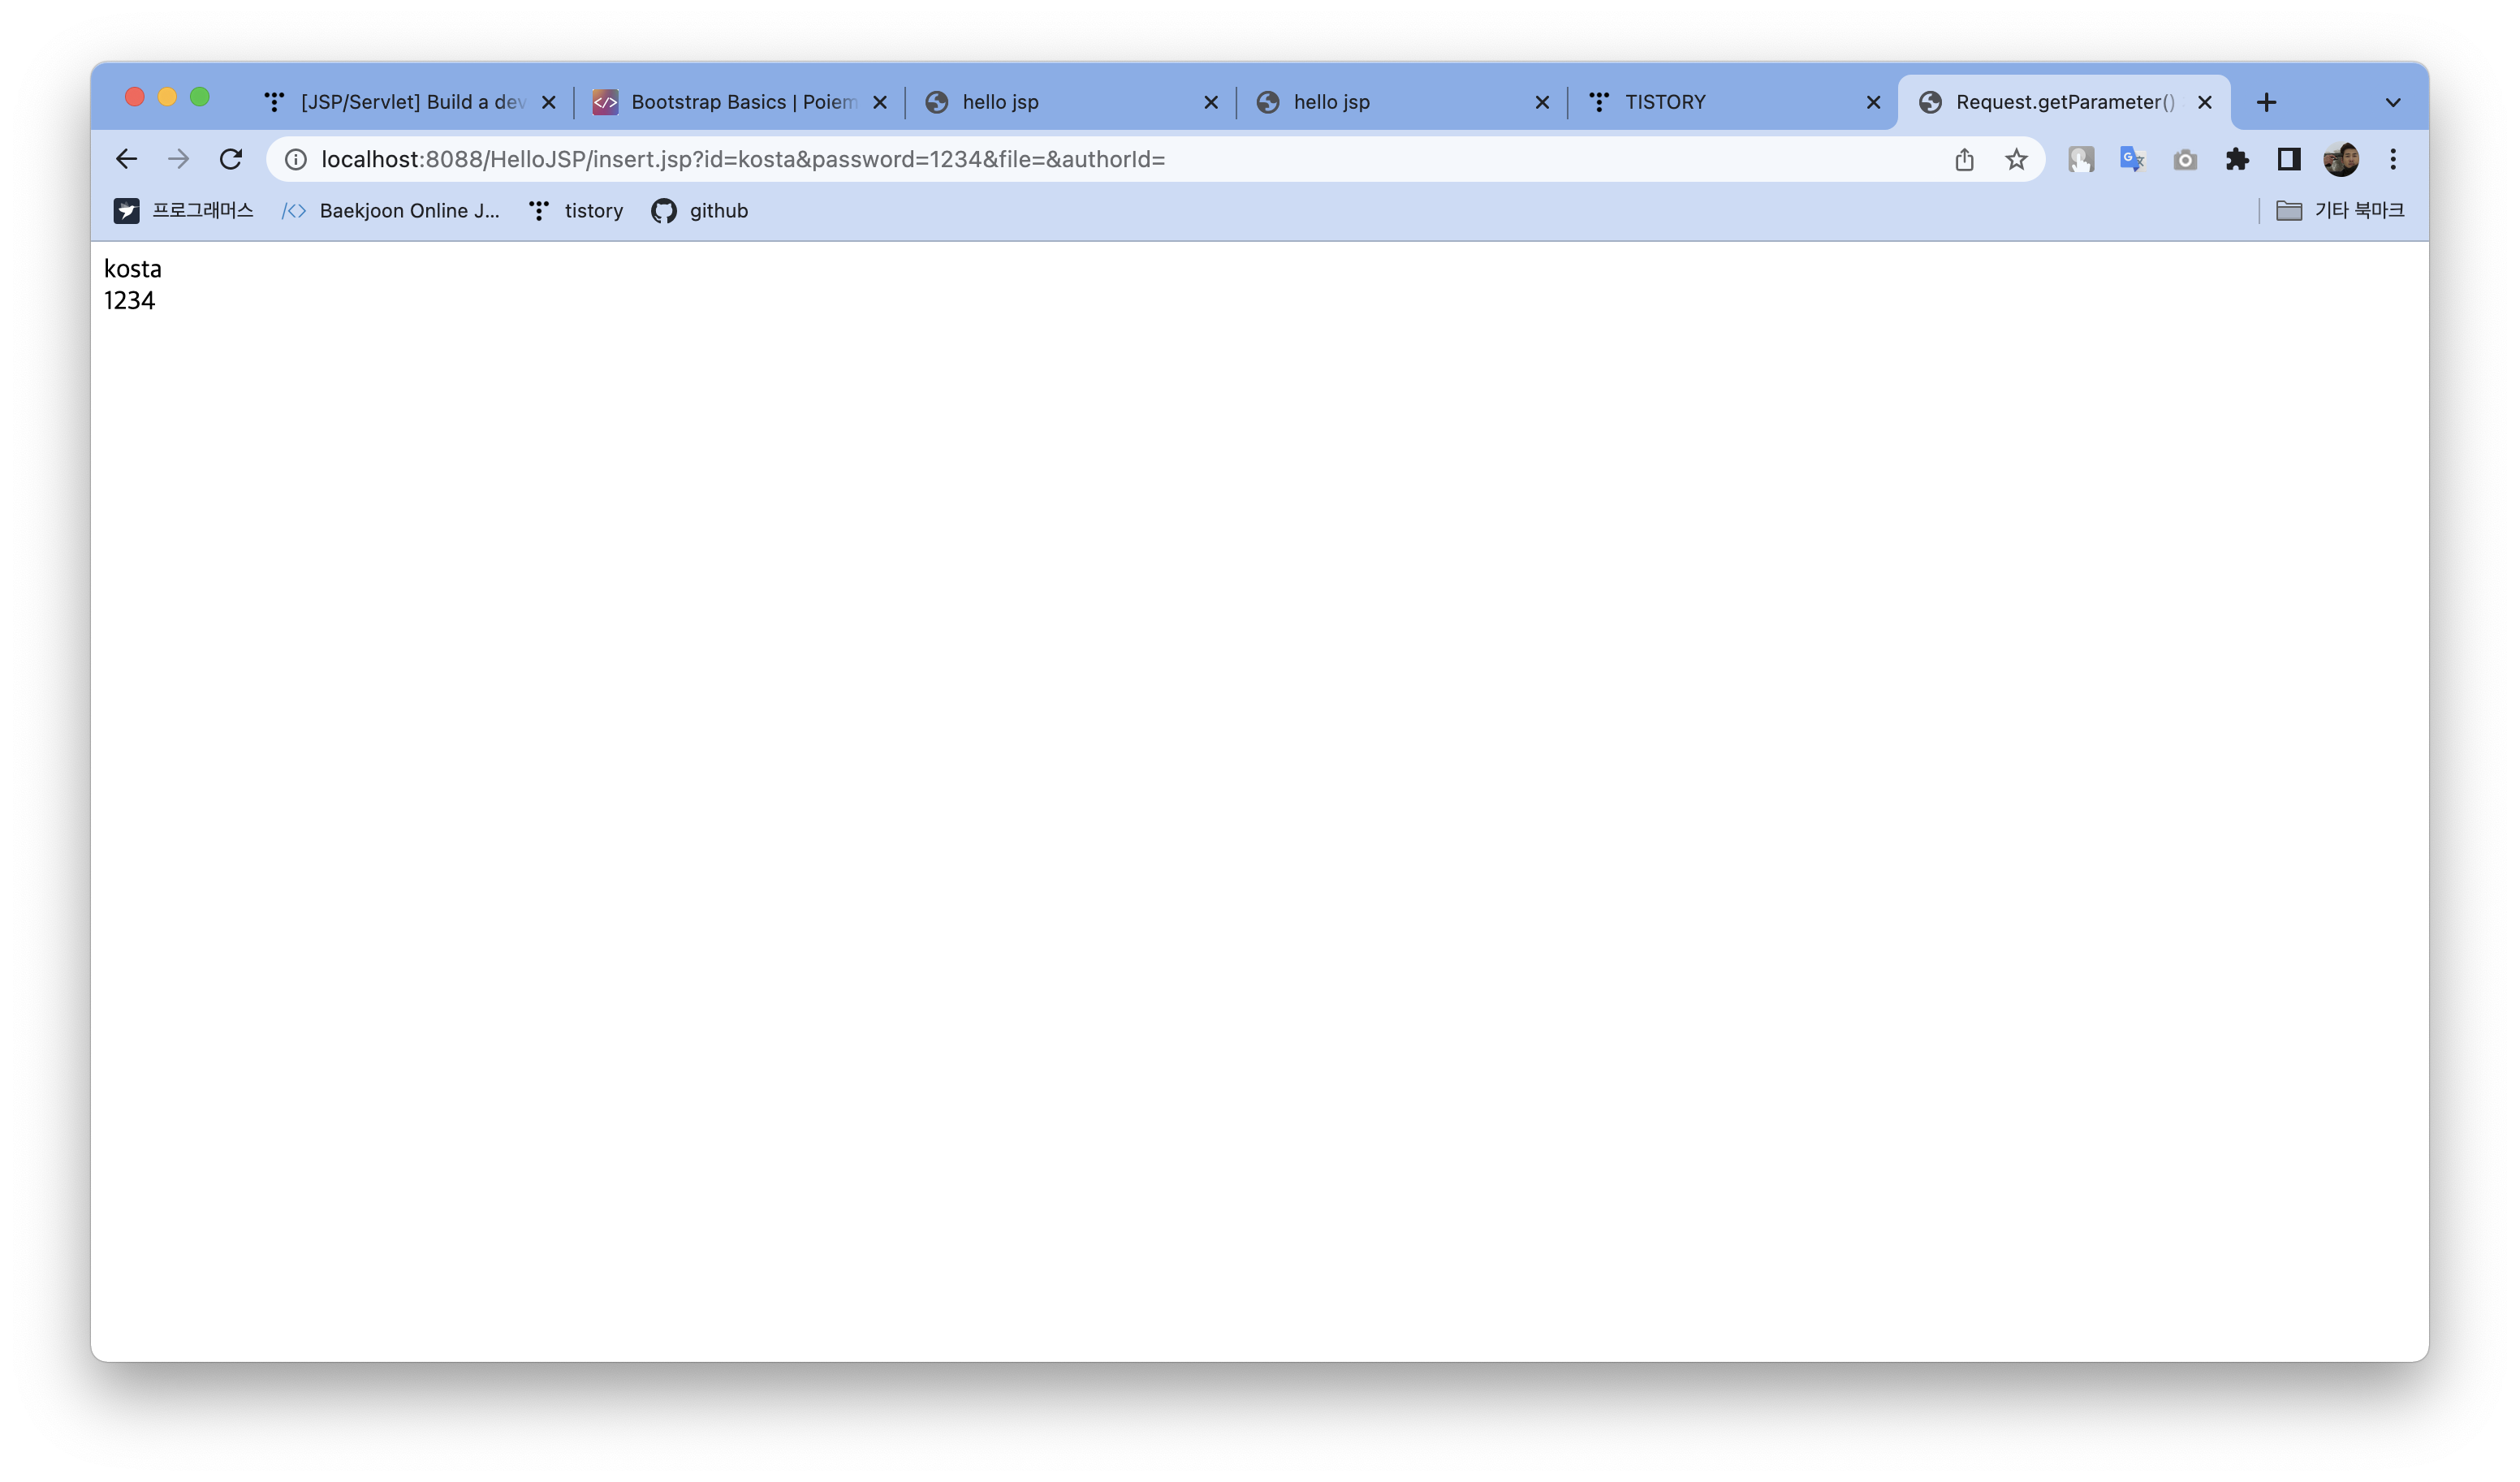
String str = request.getParameter("id");
String password = request.getParameter("password");
out.println("<span>" + str + "</span> <br>");
out.println("<span>" + password + "</span> <br>");
%>
</body>
</html>
- get 방식 이용
<!DOCTYPE html>
<html>
<head>
<meta http-equiv="Content-Type" content="text/html; charset=UTF-8">
<title>form test</title>
</head>
<body>
	<form action = 'insert.jsp' method='get'> <br/>
		<input type ='text' name= 'id' value='kosta'/> <br/>
		<input type= 'password' name='password'/> <br/>
		<input type='file' name='file'/> <br/>
		<input type= 'hidden' name='authorId'/> <br/>
		<input type= 'button' name='button' value='button'/> <br/>
		<input type='submit' value='submit'/>
	</form>
</body>
</html>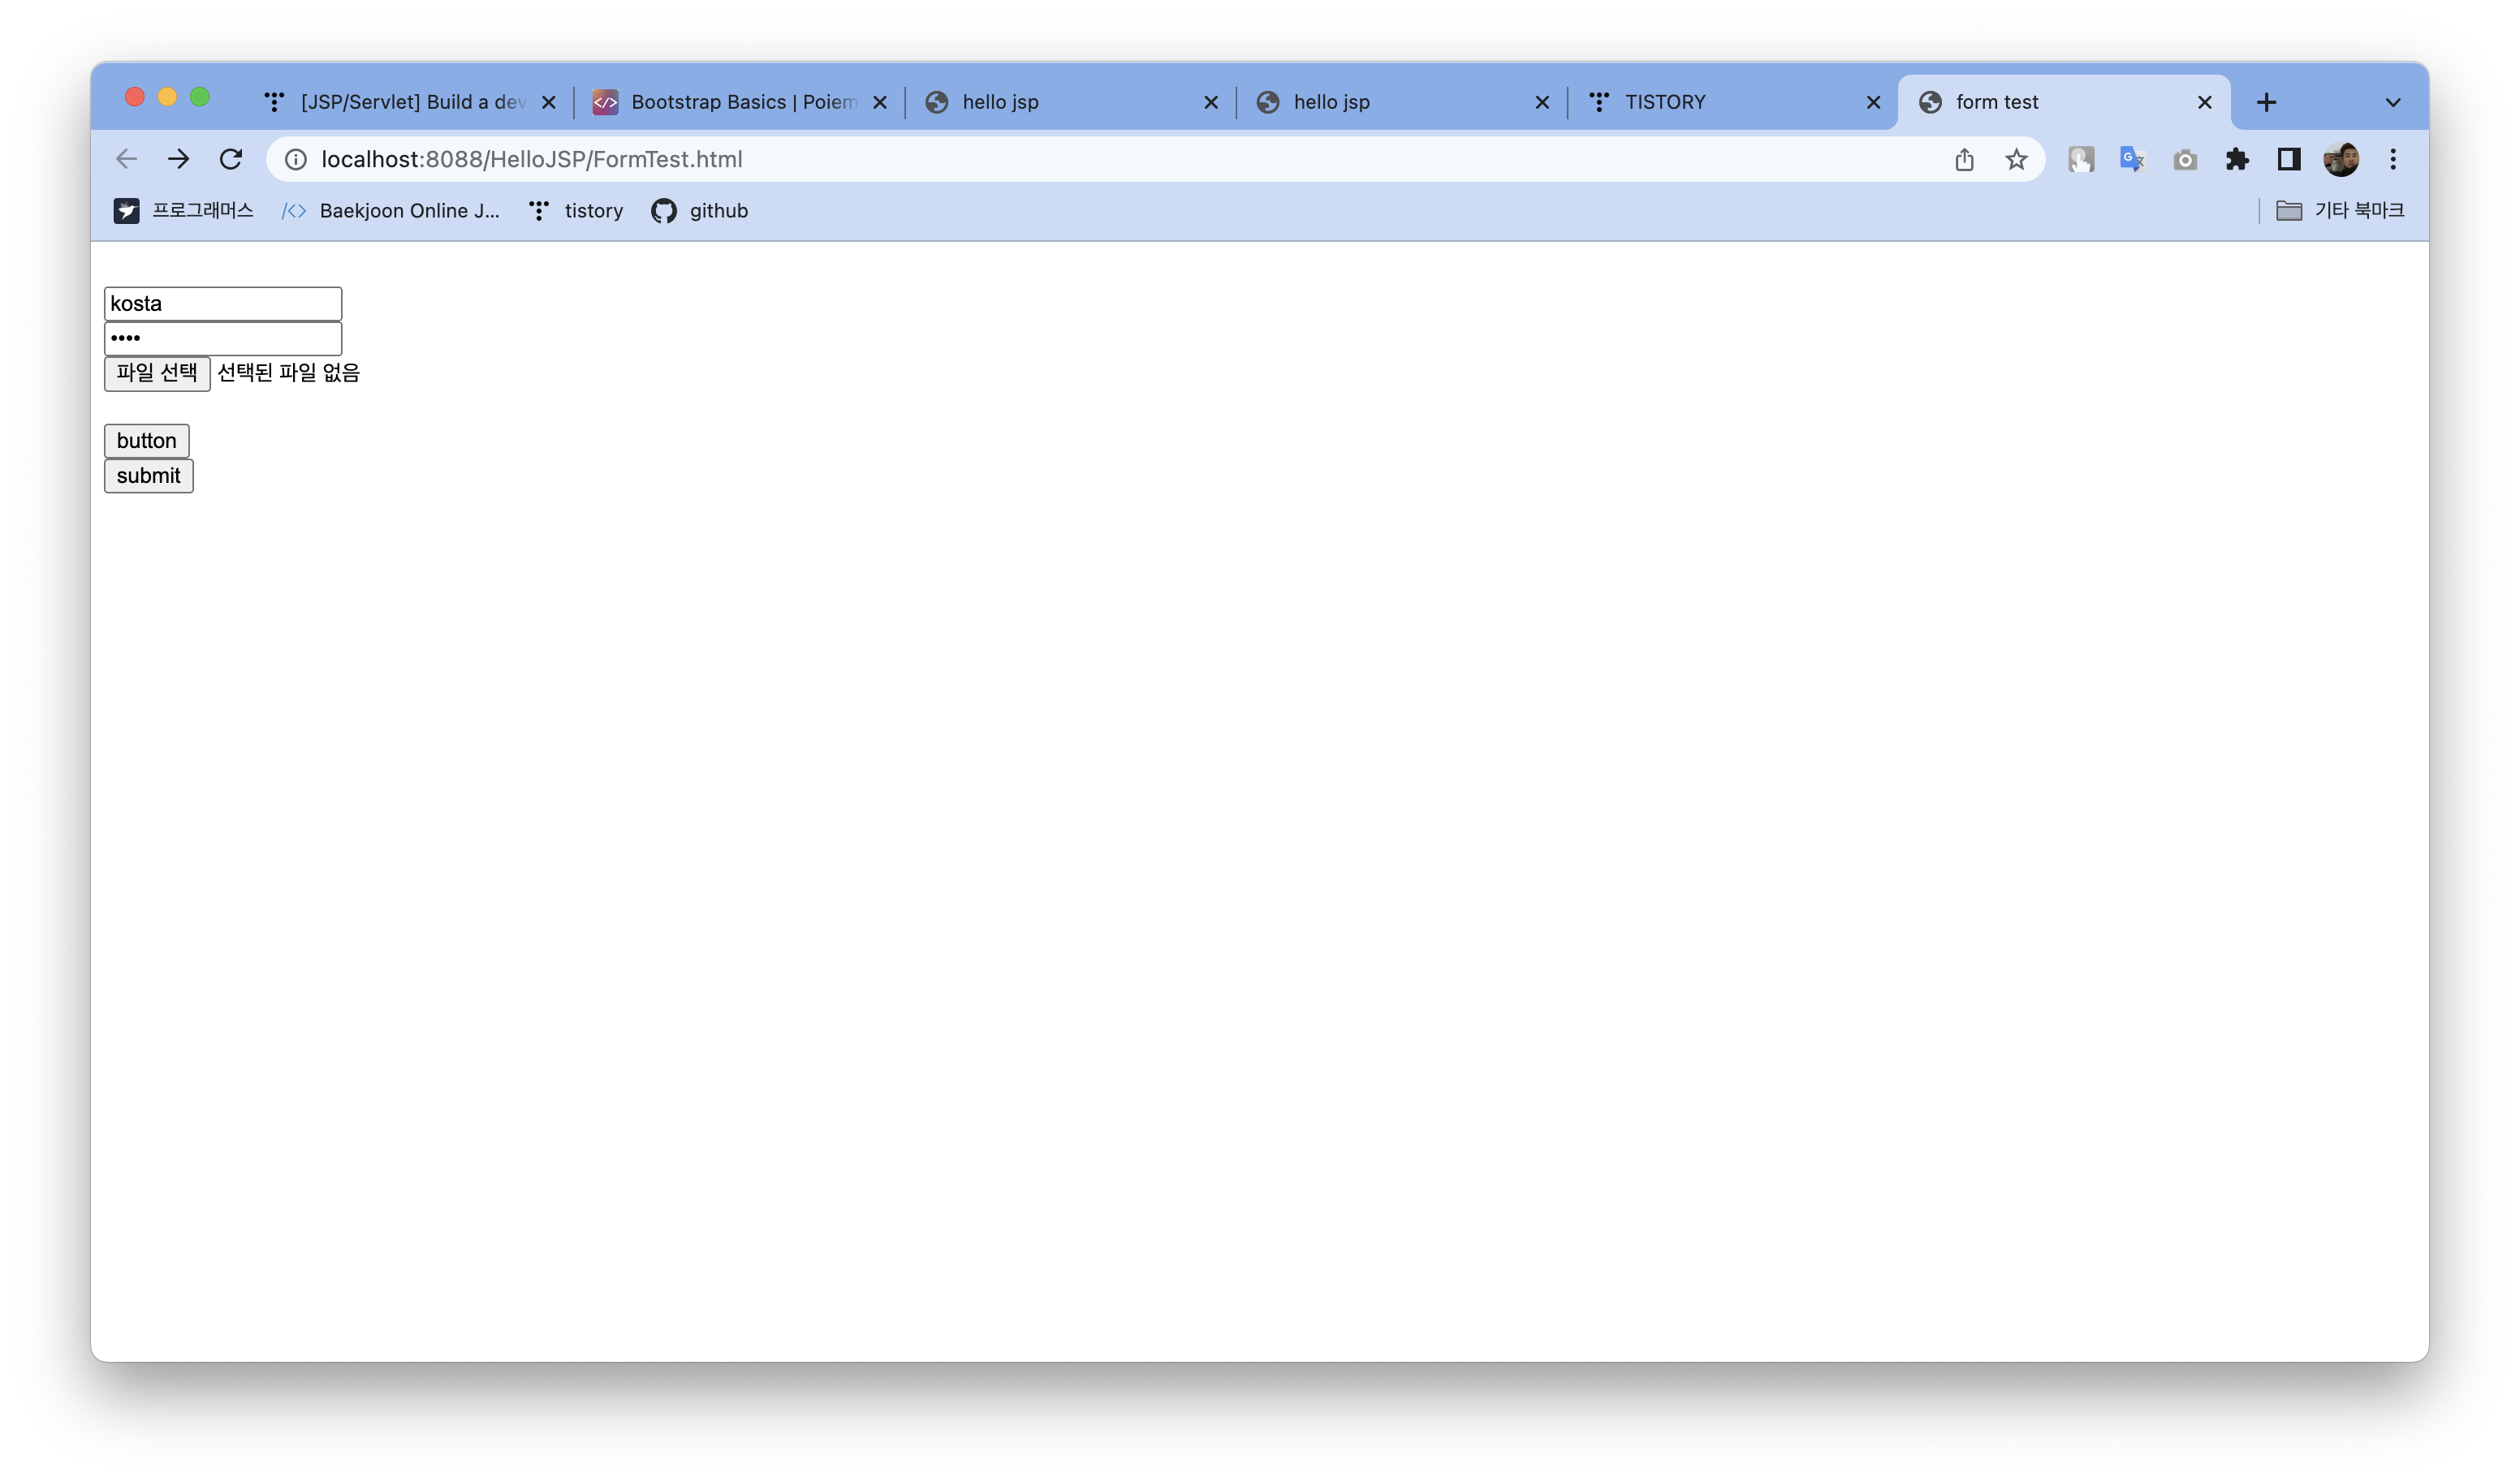
- post 방식 이용
<!DOCTYPE html>
<html>
<head>
<meta http-equiv="Content-Type" content="text/html; charset=UTF-8">
<title>form test</title>
</head>
<body>
	<form action = 'insert.jsp' method='post'> <br/>
		<input type ='text' name= 'id' value='kosta'/> <br/>
		<input type= 'password' name='password'/> <br/>
		<input type='file' name='file'/> <br/>
		<input type= 'hidden' name='authorId'/> <br/>
		<input type= 'button' name='button' value='button'/> <br/>
		<input type='submit' value='submit'/>
	</form>
</body>
</html>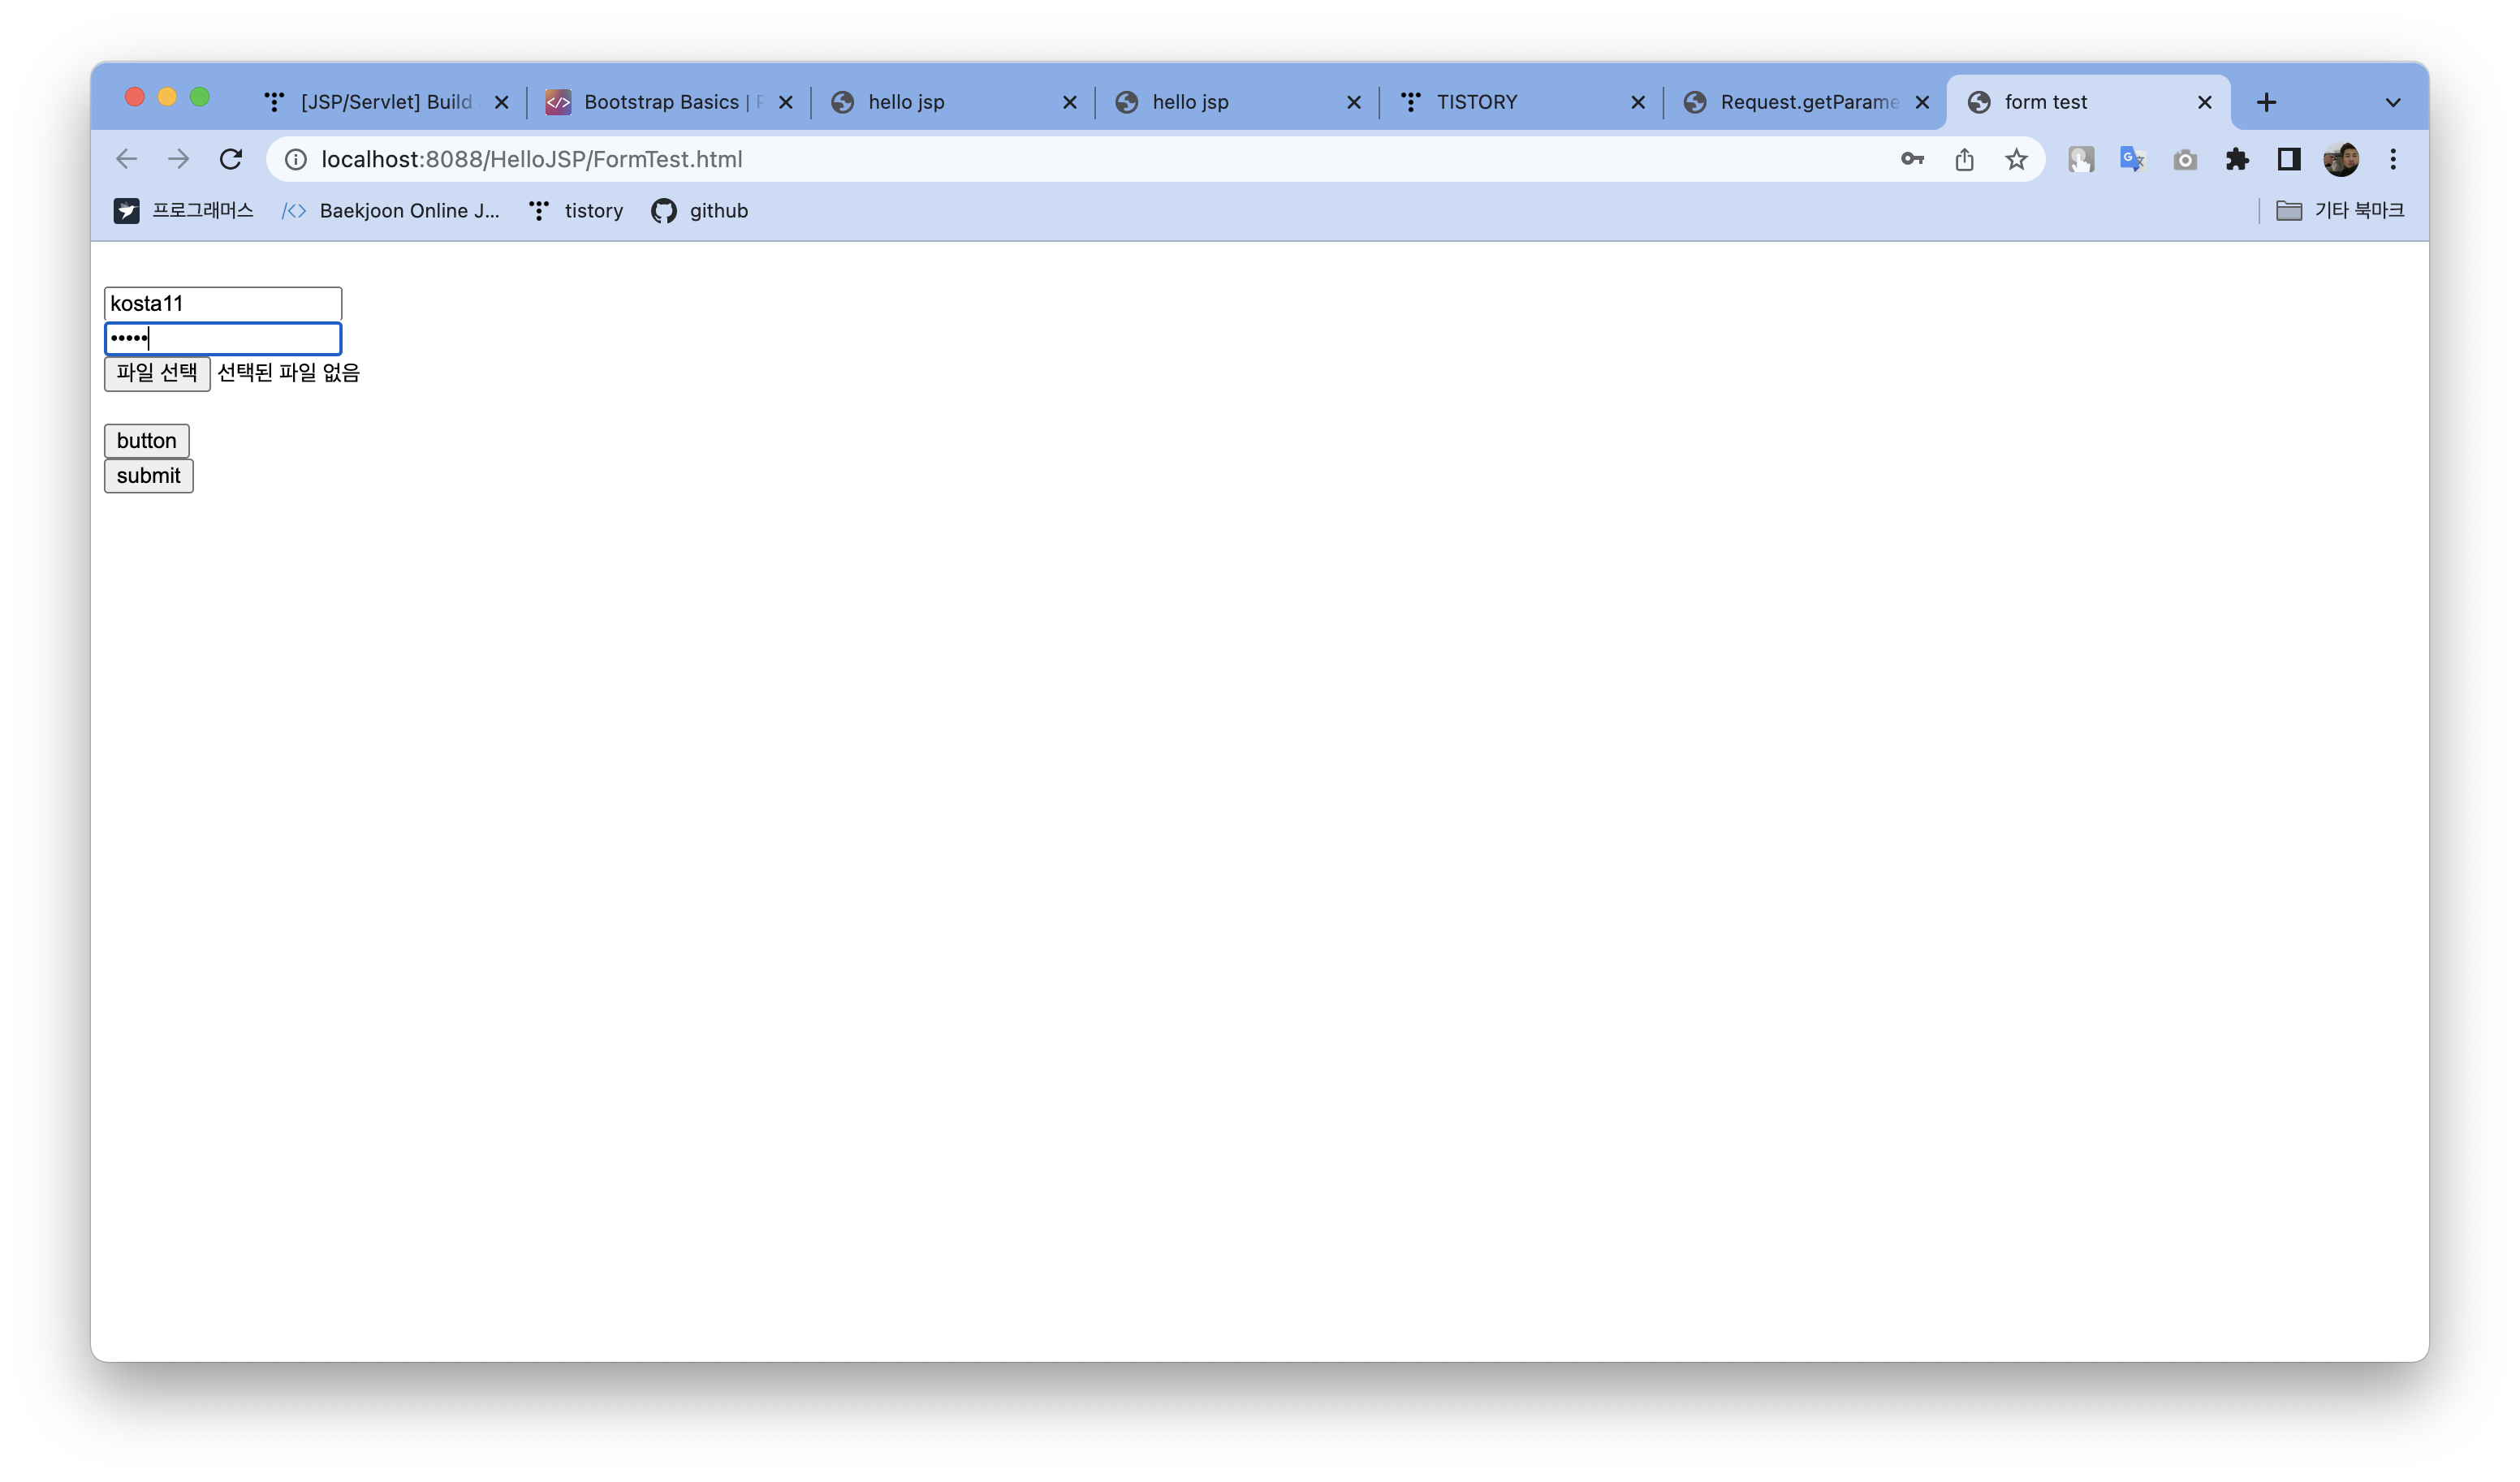

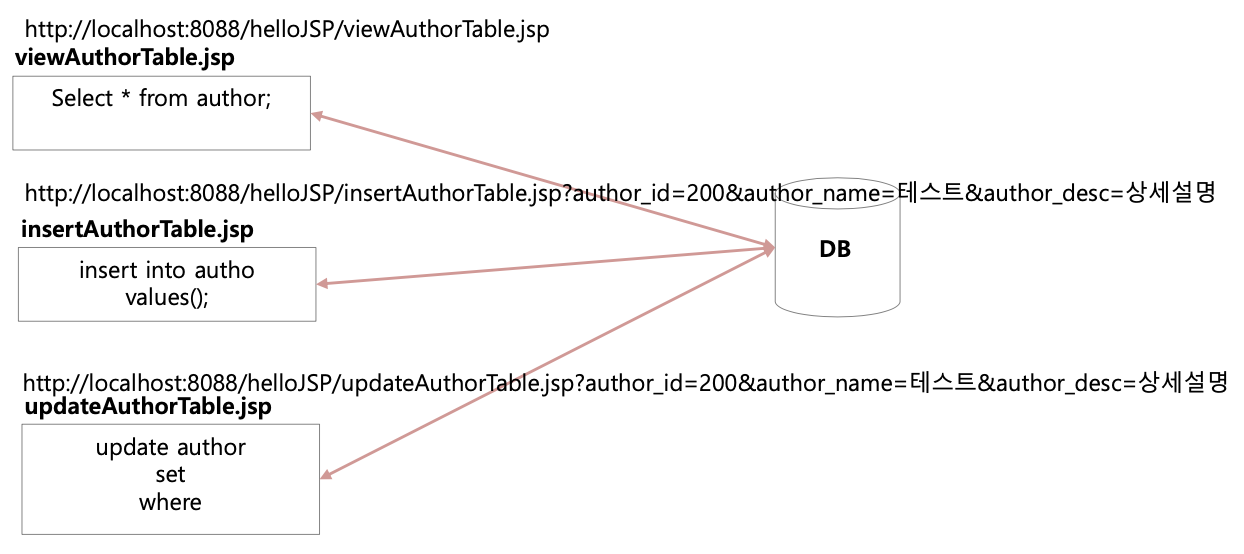
3.2 select insert update sql 실행 할 jsp들의 구조 및 호출 방법
'강의 > KOSTA' 카테고리의 다른 글
| [JSP/Servlet] Understanding Web programming (Day21) (0) | 2022.04.04 |
|---|---|
| [JSP/Servlet] JSP Basic Syntax (Day21~22) (0) | 2022.04.01 |
| [JSP/Servlet] Introduction to Web Development (Day20) (0) | 2022.03.31 |
| [Linux] Linux Introduction and Installation (Day17) (0) | 2022.03.29 |
| [Web] JavaScript (Day16~17) (0) | 2022.03.27 |