위 글은 해당 카테고리의 수업 강의 자료를 정리한 것입니다.
1. 지시자(Directive)의 종류 3가지
page, include, taglib
1.1 page 지시자

- info 속성 예시: <%@page info="JSPStudy.co.kr"%>
- language 속성 예시: <%@page language="java"%>
- contentType 속성 예시
- <%@page contentType="text/html"%>
- <%@page contentType="text/html"; charset="utf-8"%>
예제: page 지시자 (info, language, contentType 속성)
<%@page info="Copyright 2018 by JSPStudy.co.kr"
        language="java"
	      contentType="text/html;charset=UTF-8"
%>
<h1>Directive Example1</h1>
<%=this.getServletInfo()%>
예제: page 지시자 (import, session, buffer, autoFlush, isThreadSafe 속성)
<%@page contentType="text/html;charset=UTF-8"
        import="java.util.*"
        session="true"
        buffer="16kb"
        autoFlush="true"
        isThreadSafe="true"
%>
<h1>Directive Example2</h1>
<%
	Date date = new Date();
%>
현재의 날짜와 시간은?<p/>
<%=date.toLocaleString()%>
예제: page 지시자 (timeDirectiveWhitespaces 속성)
<%@page contentType="text/html;charset=UTF-8"%>
<%@page import="java.util.*"%>
<%@page session="true"%>
<%@page buffer="16kb"%>
<%@page autoFlush="true"%>
<%@page isThreadSafe="true"%>
<% Date date = new Date(); %>
<h1>trim Before</h1>
현재의 날짜와 시간은?<p/>
<%=date.toLocaleString()%>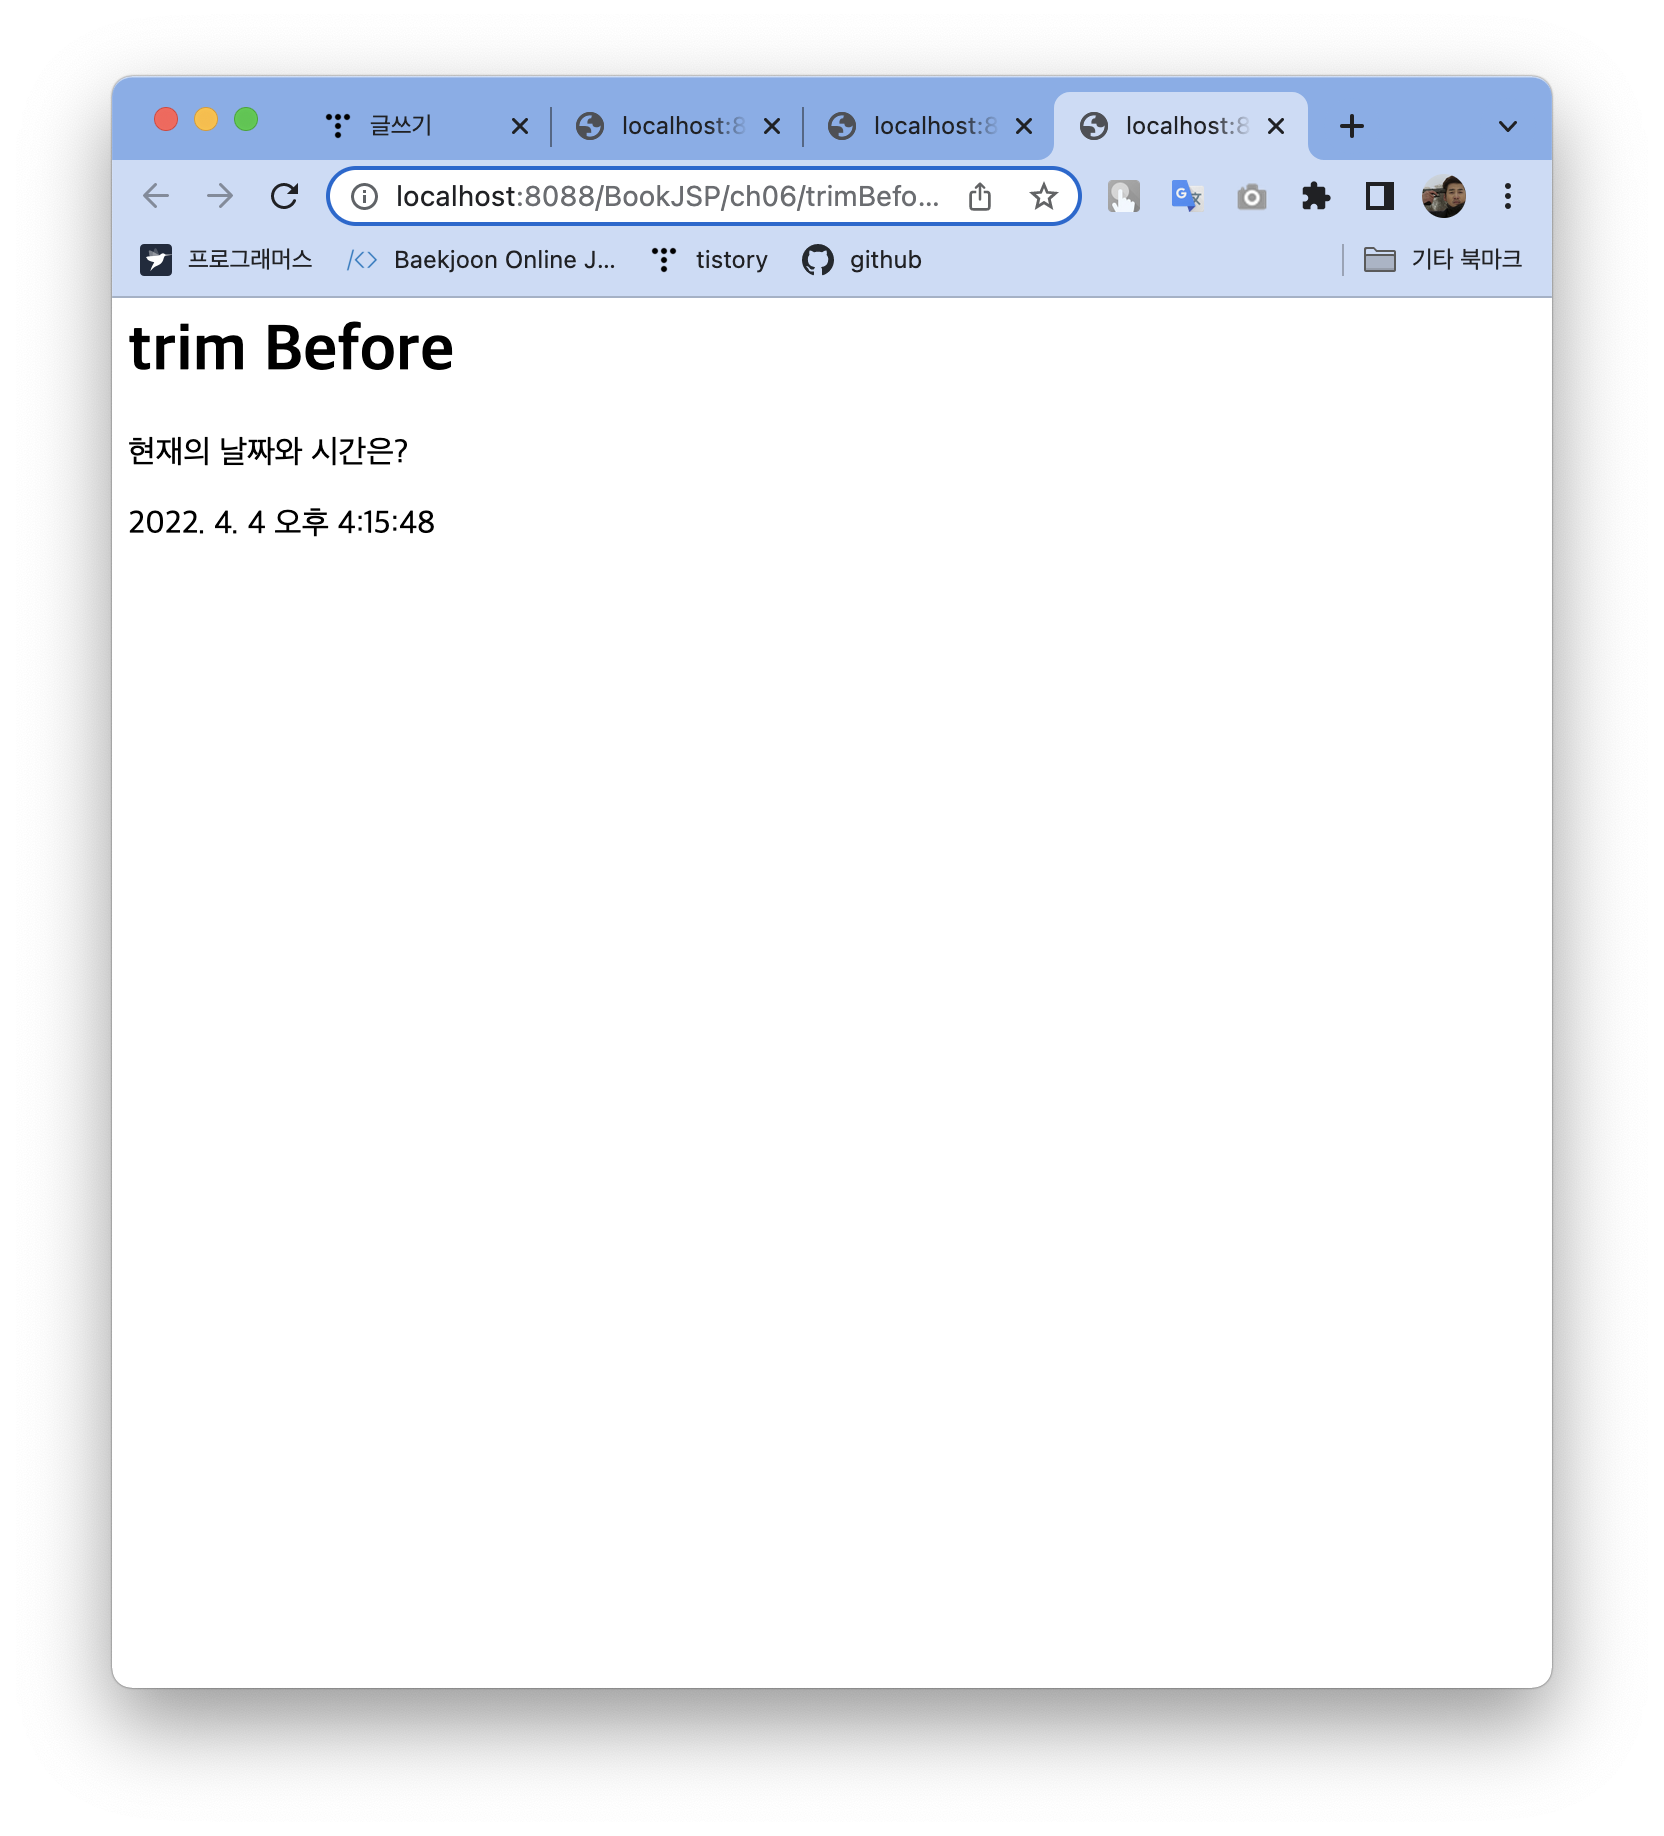

<%@page contentType="text/html;charset=UTF-8"%>
<%@page import="java.util.*"%>
<%@page session="true"%>
<%@page buffer="16kb"%>
<%@page autoFlush="true"%>
<%@page isThreadSafe="true"%>
<%@page trimDirectiveWhitespaces="true"%>
<% Date date = new Date(); %>
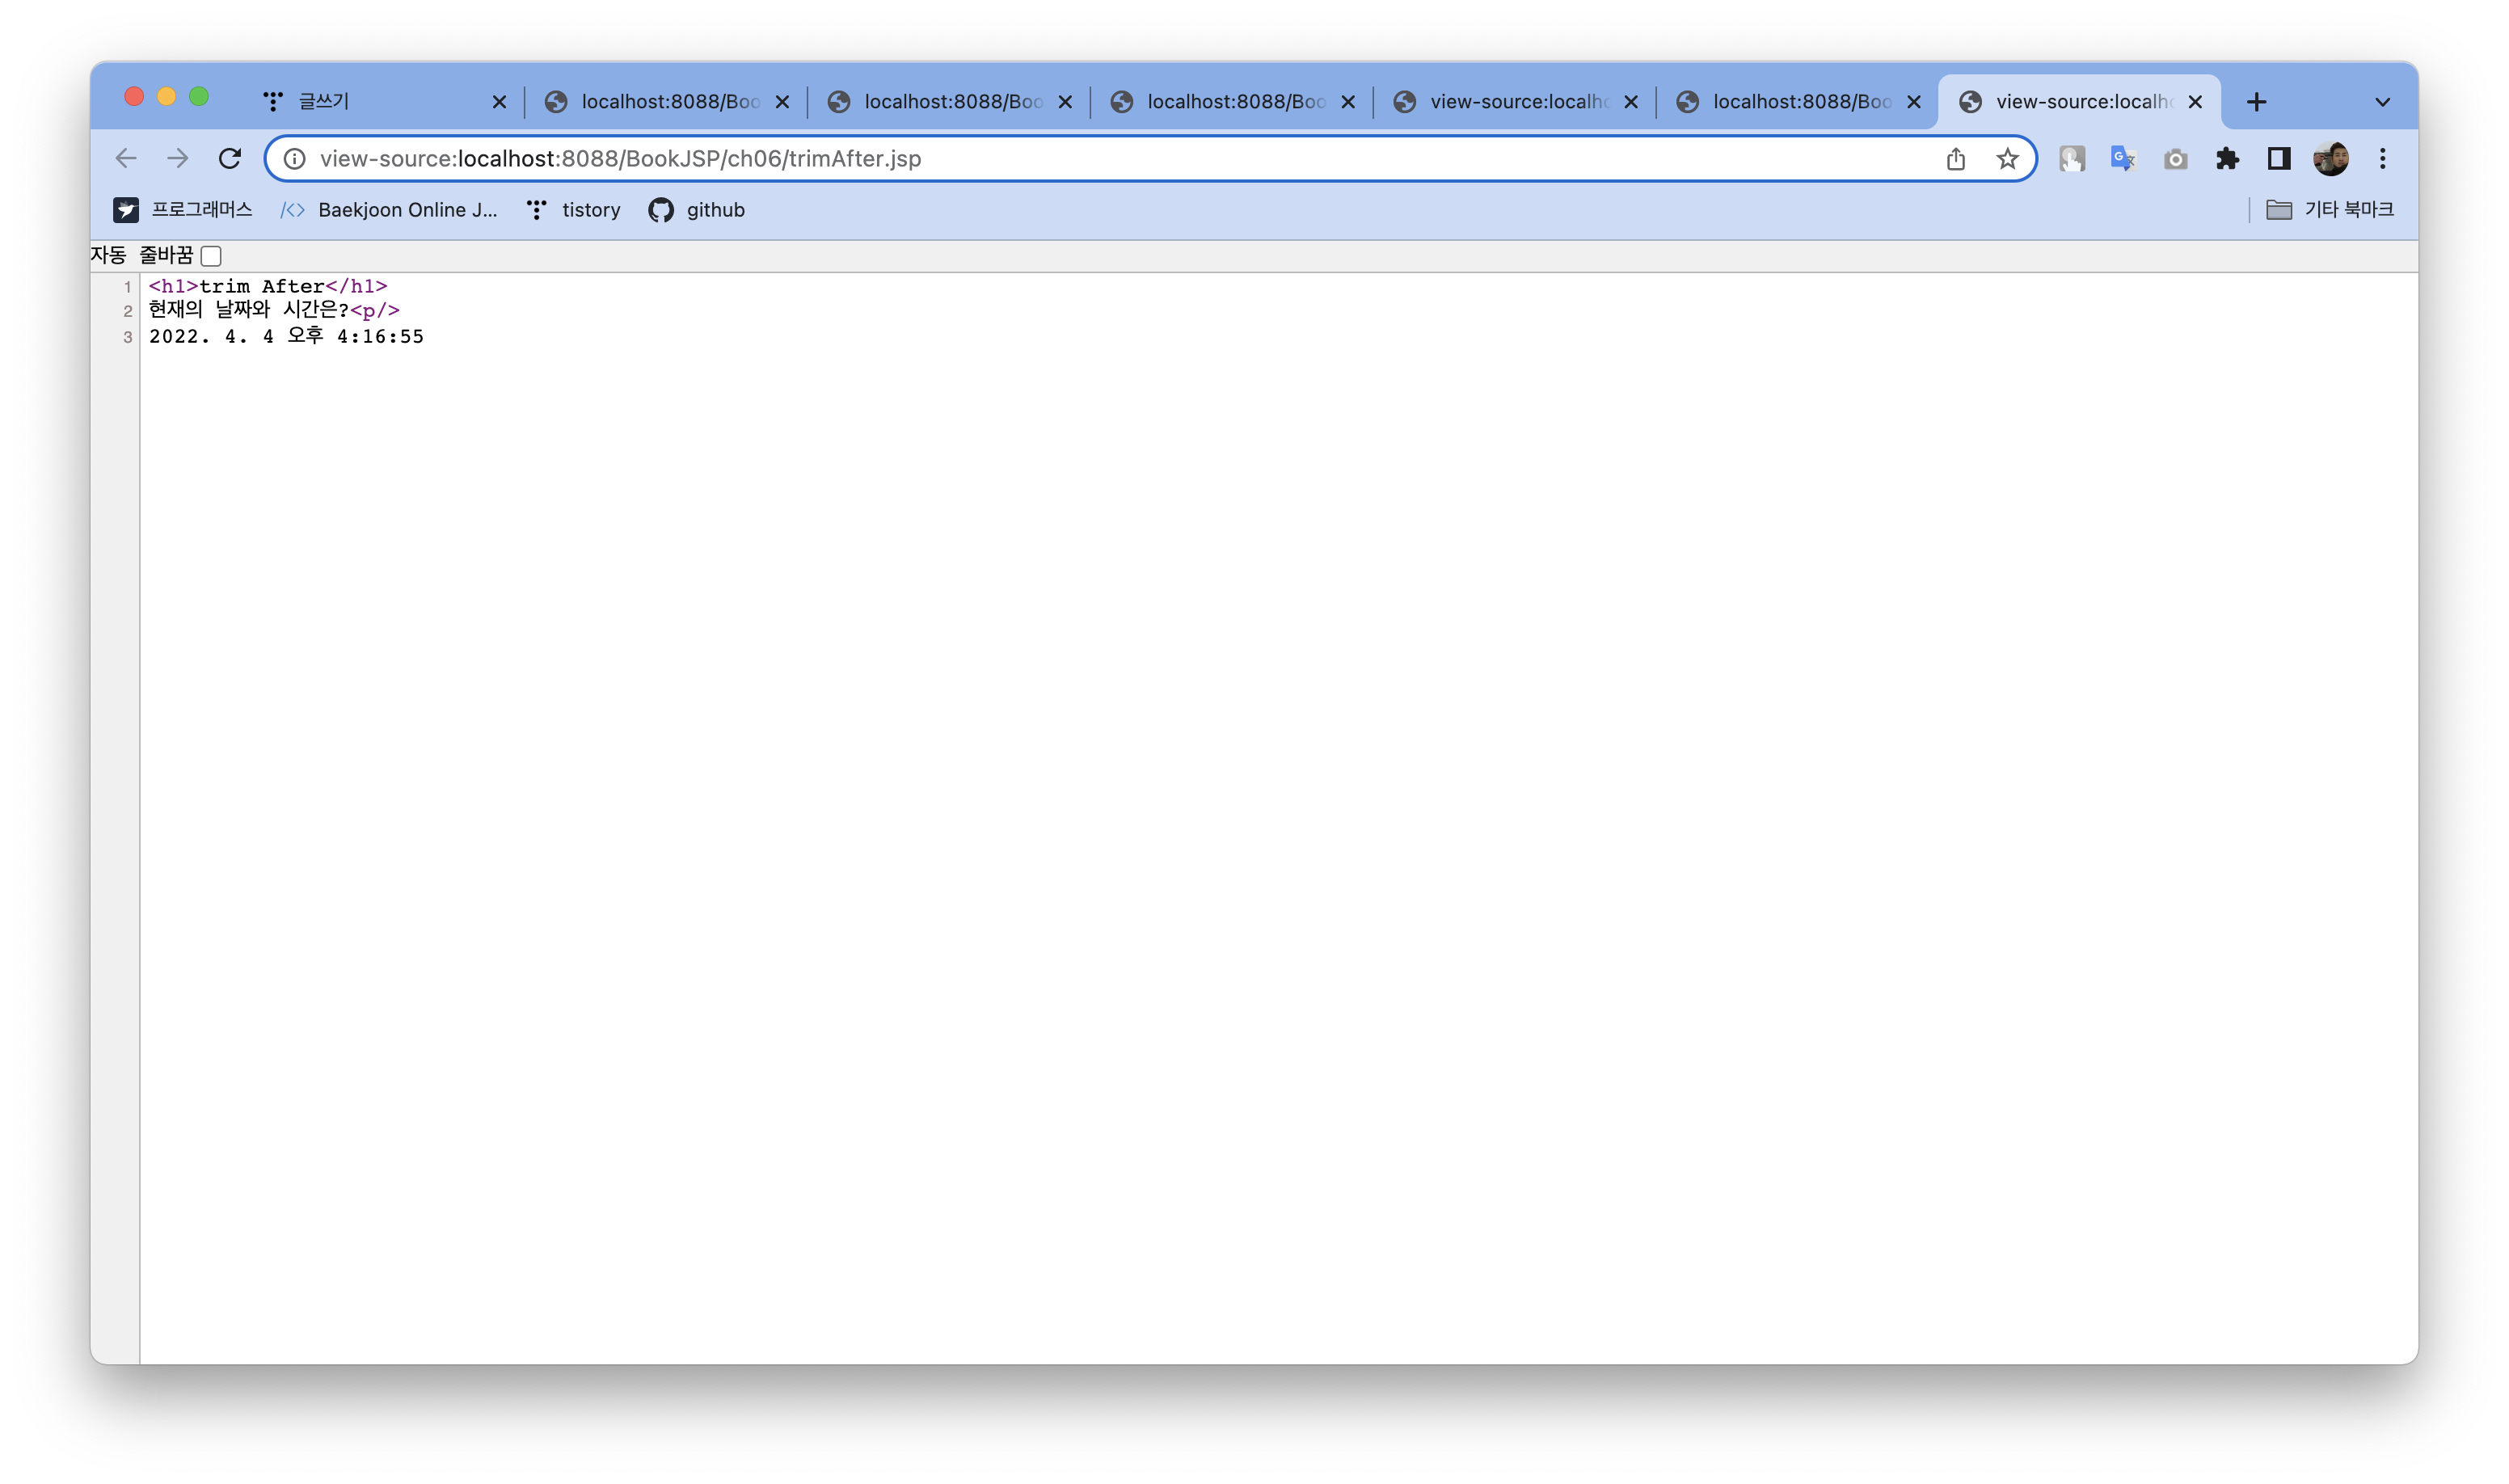
<h1>trim After</h1>
현재의 날짜와 시간은?<p/>
<%=date.toLocaleString()%>

예제: page 지시자 (errorPage, isErrorPage 속성)
<%@page contentType="text/html;charset=UTF-8"
        errorPage = "error.jsp" %>
<%
	int one = 1;
	int zero = 0;
%>
<h1>Directive Example3</h1>
one과 zero의 사칙연산<p/>
one+zero=<%=one + zero%><p/>
one-zero=<%=one - zero%><p/>
one*zero=<%=one * zero%><p/>
one/zero=<%=one / zero%><p/>
<%@page contentType="text/html; charset=UTF-8"
isErrorPage="true"%>
<h1>Error Page</h1>
<p>다음과 같은 예외가 발생하였습니다.<p/>
<%=exception.getMessage() %>
1.2 include 지시자
사용 예시: <%@include file = "로컬URL"%>

예제
<%@page contentType="text/html;charset=UTF-8"%>
<h1>Directive Example4</h1>
<%@include file="directiveTop.jsp"%>
include지시자의 Body 부분입니다.
<%@include file="directiveBottom.jsp"%>
<%@page contentType="text/html;charset=UTF-8"%>
<html>
<body>
include 지시자의 Top 부분입니다.
<hr/><%@page import="java.util.*"%>
<%@page contentType="text/html;charset=UTF-8"%>
<%
Date date = new Date();
%>
<hr/>
include 지시자의 Bottom 부분입니다.<p/>
<%=date.toLocaleString()%>
</body>
</html>
2. 액션 태그
2.1 액션 태그 종류
- include
- forward
- plug-in
- useBean
- setProperty
- getProperty
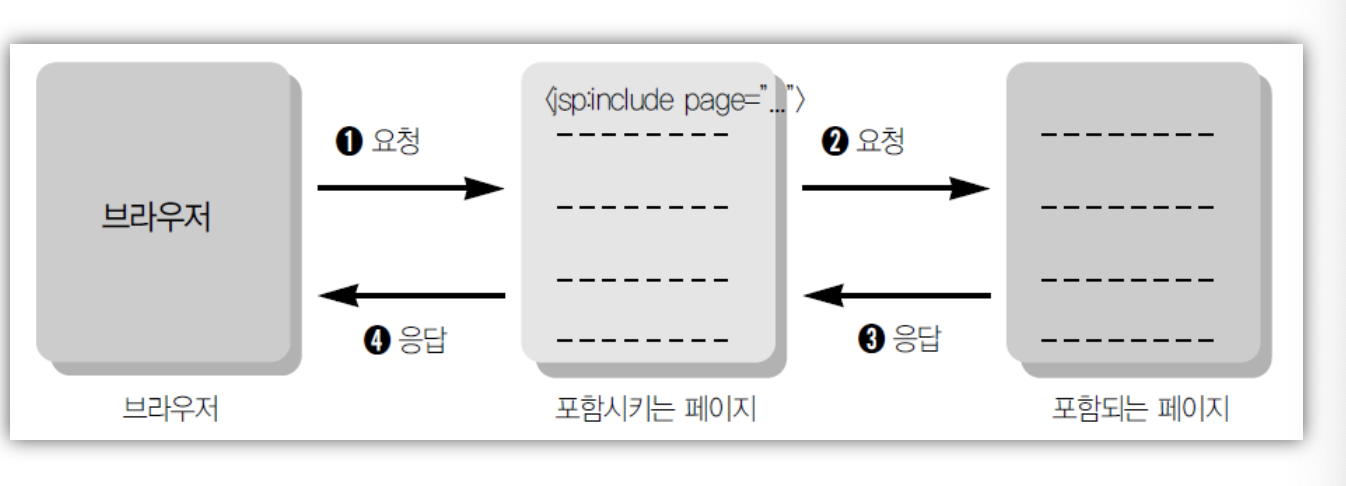
2.2 include 액션 태그
사용 예시: <jsp:include page="로컬URL" flush="true"/>
예제1
<html>
<head>
<meta http-equiv="Content-Type" content="text/html; charset=UTF-8"/>
</head>
<body>
<h1>Include Tag Example1</h1>
<form method="post" action="includeTag1.jsp">
이름 : <input name="name"><p/>
<input type="submit" value="보내기">
</form>
</body>
</html>
<%@page contentType="text/html;charset=UTF-8"%>
<%
request.setCharacterEncoding("utf-8");
String name = "Korea Football";
%>
<html>
<body>
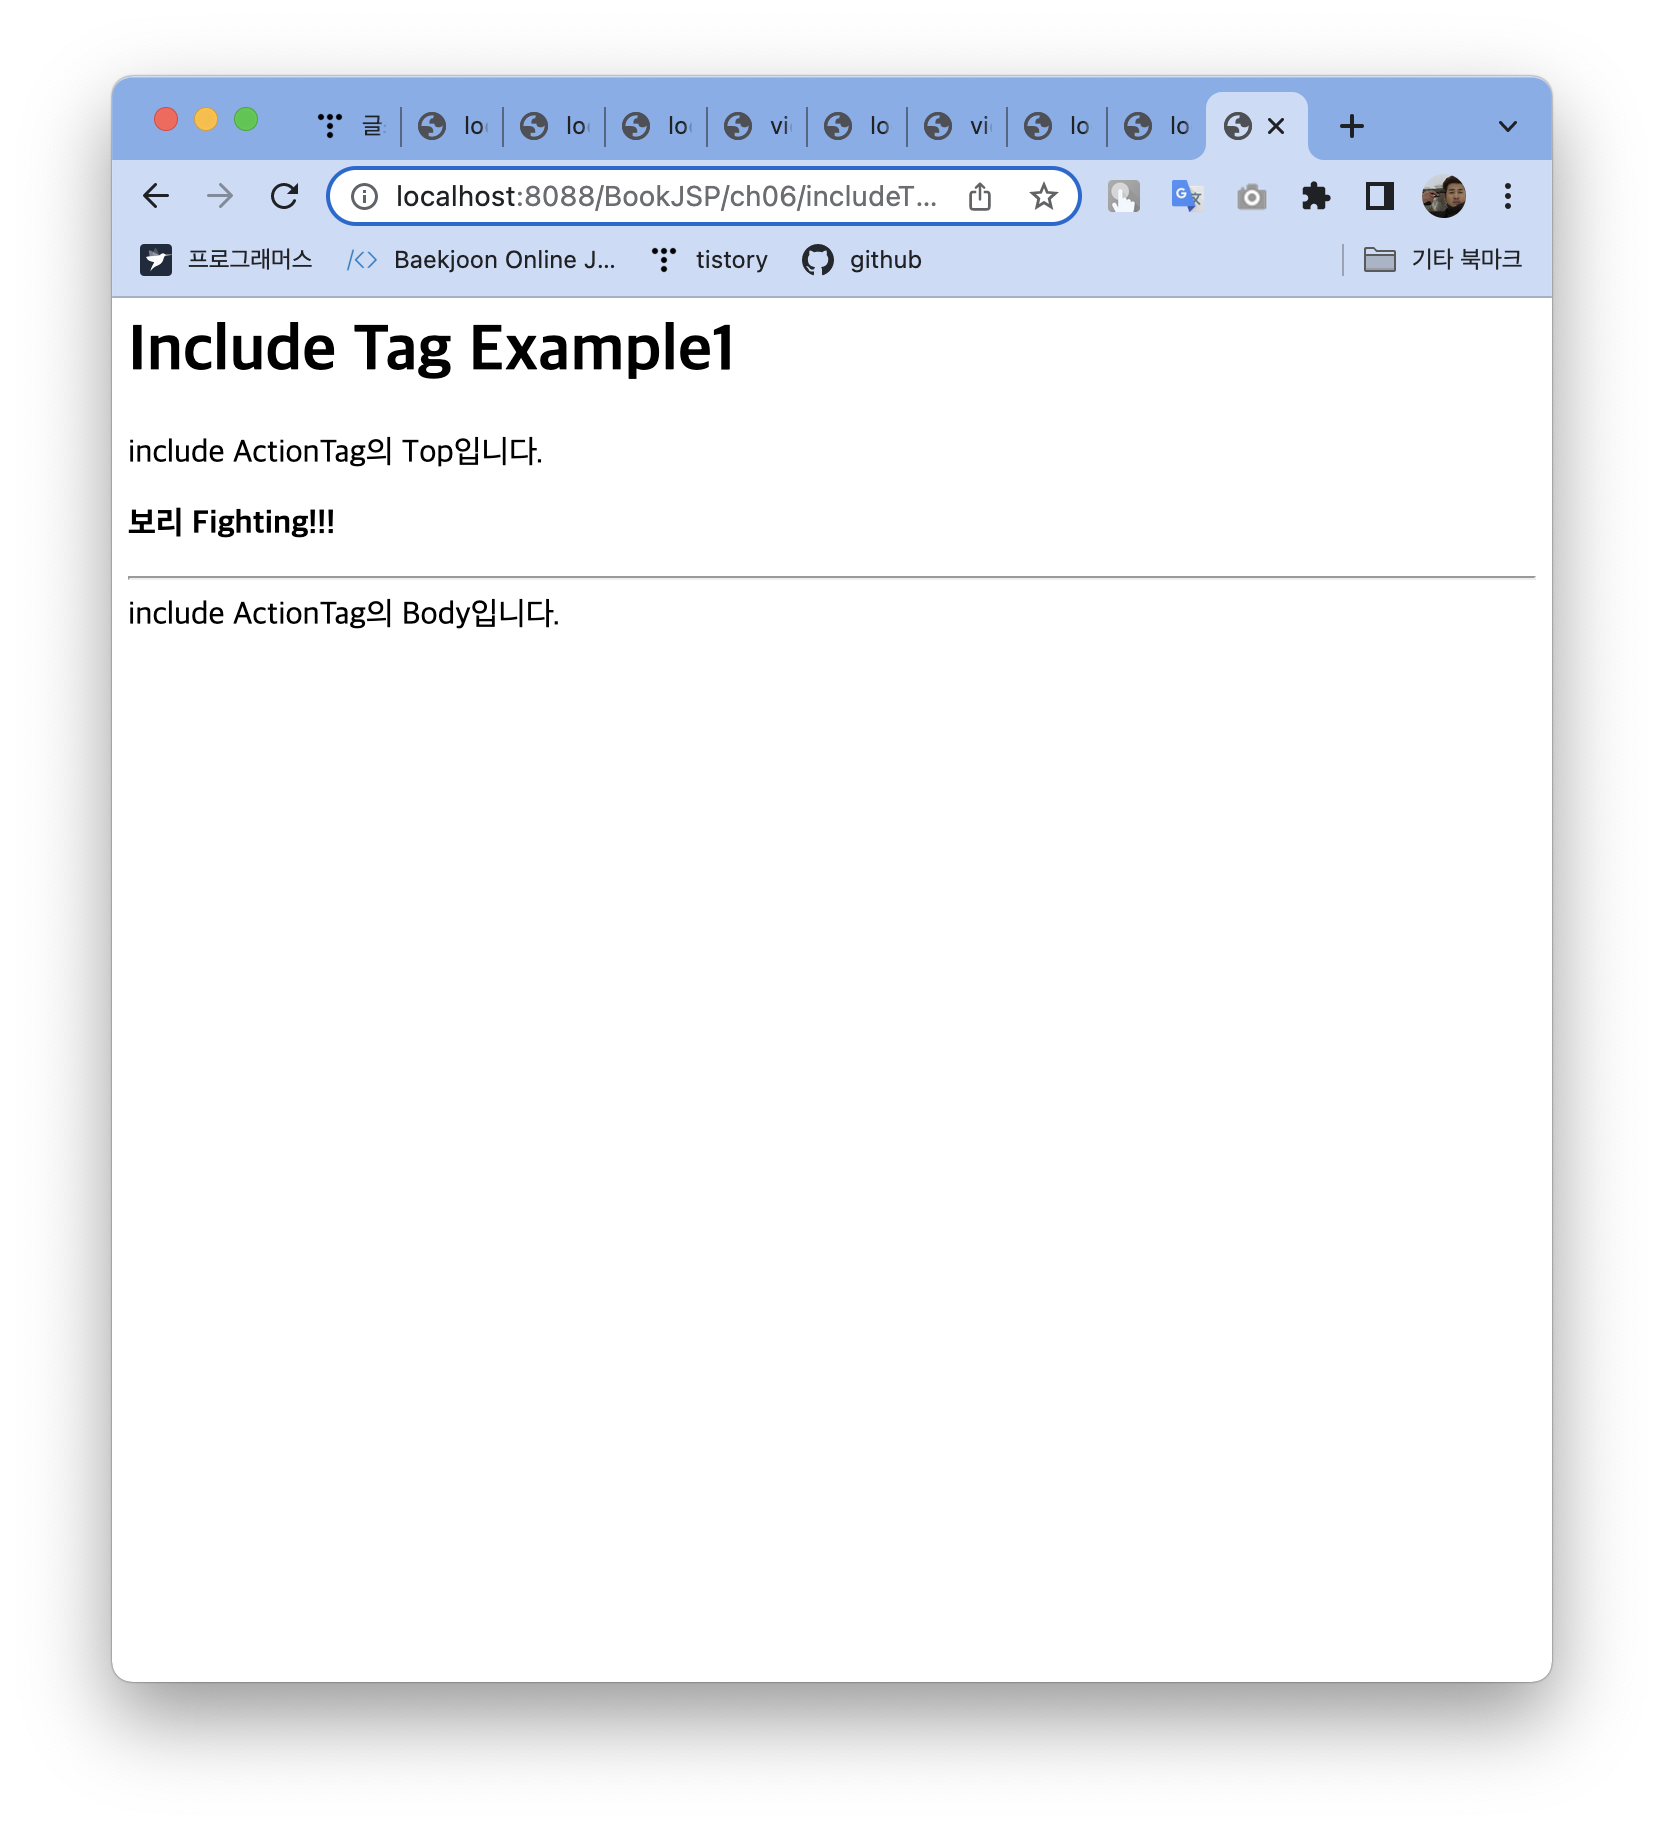
<h1>Include Tag Example1</h1>
<jsp:include page="includeTagTop1.jsp" />
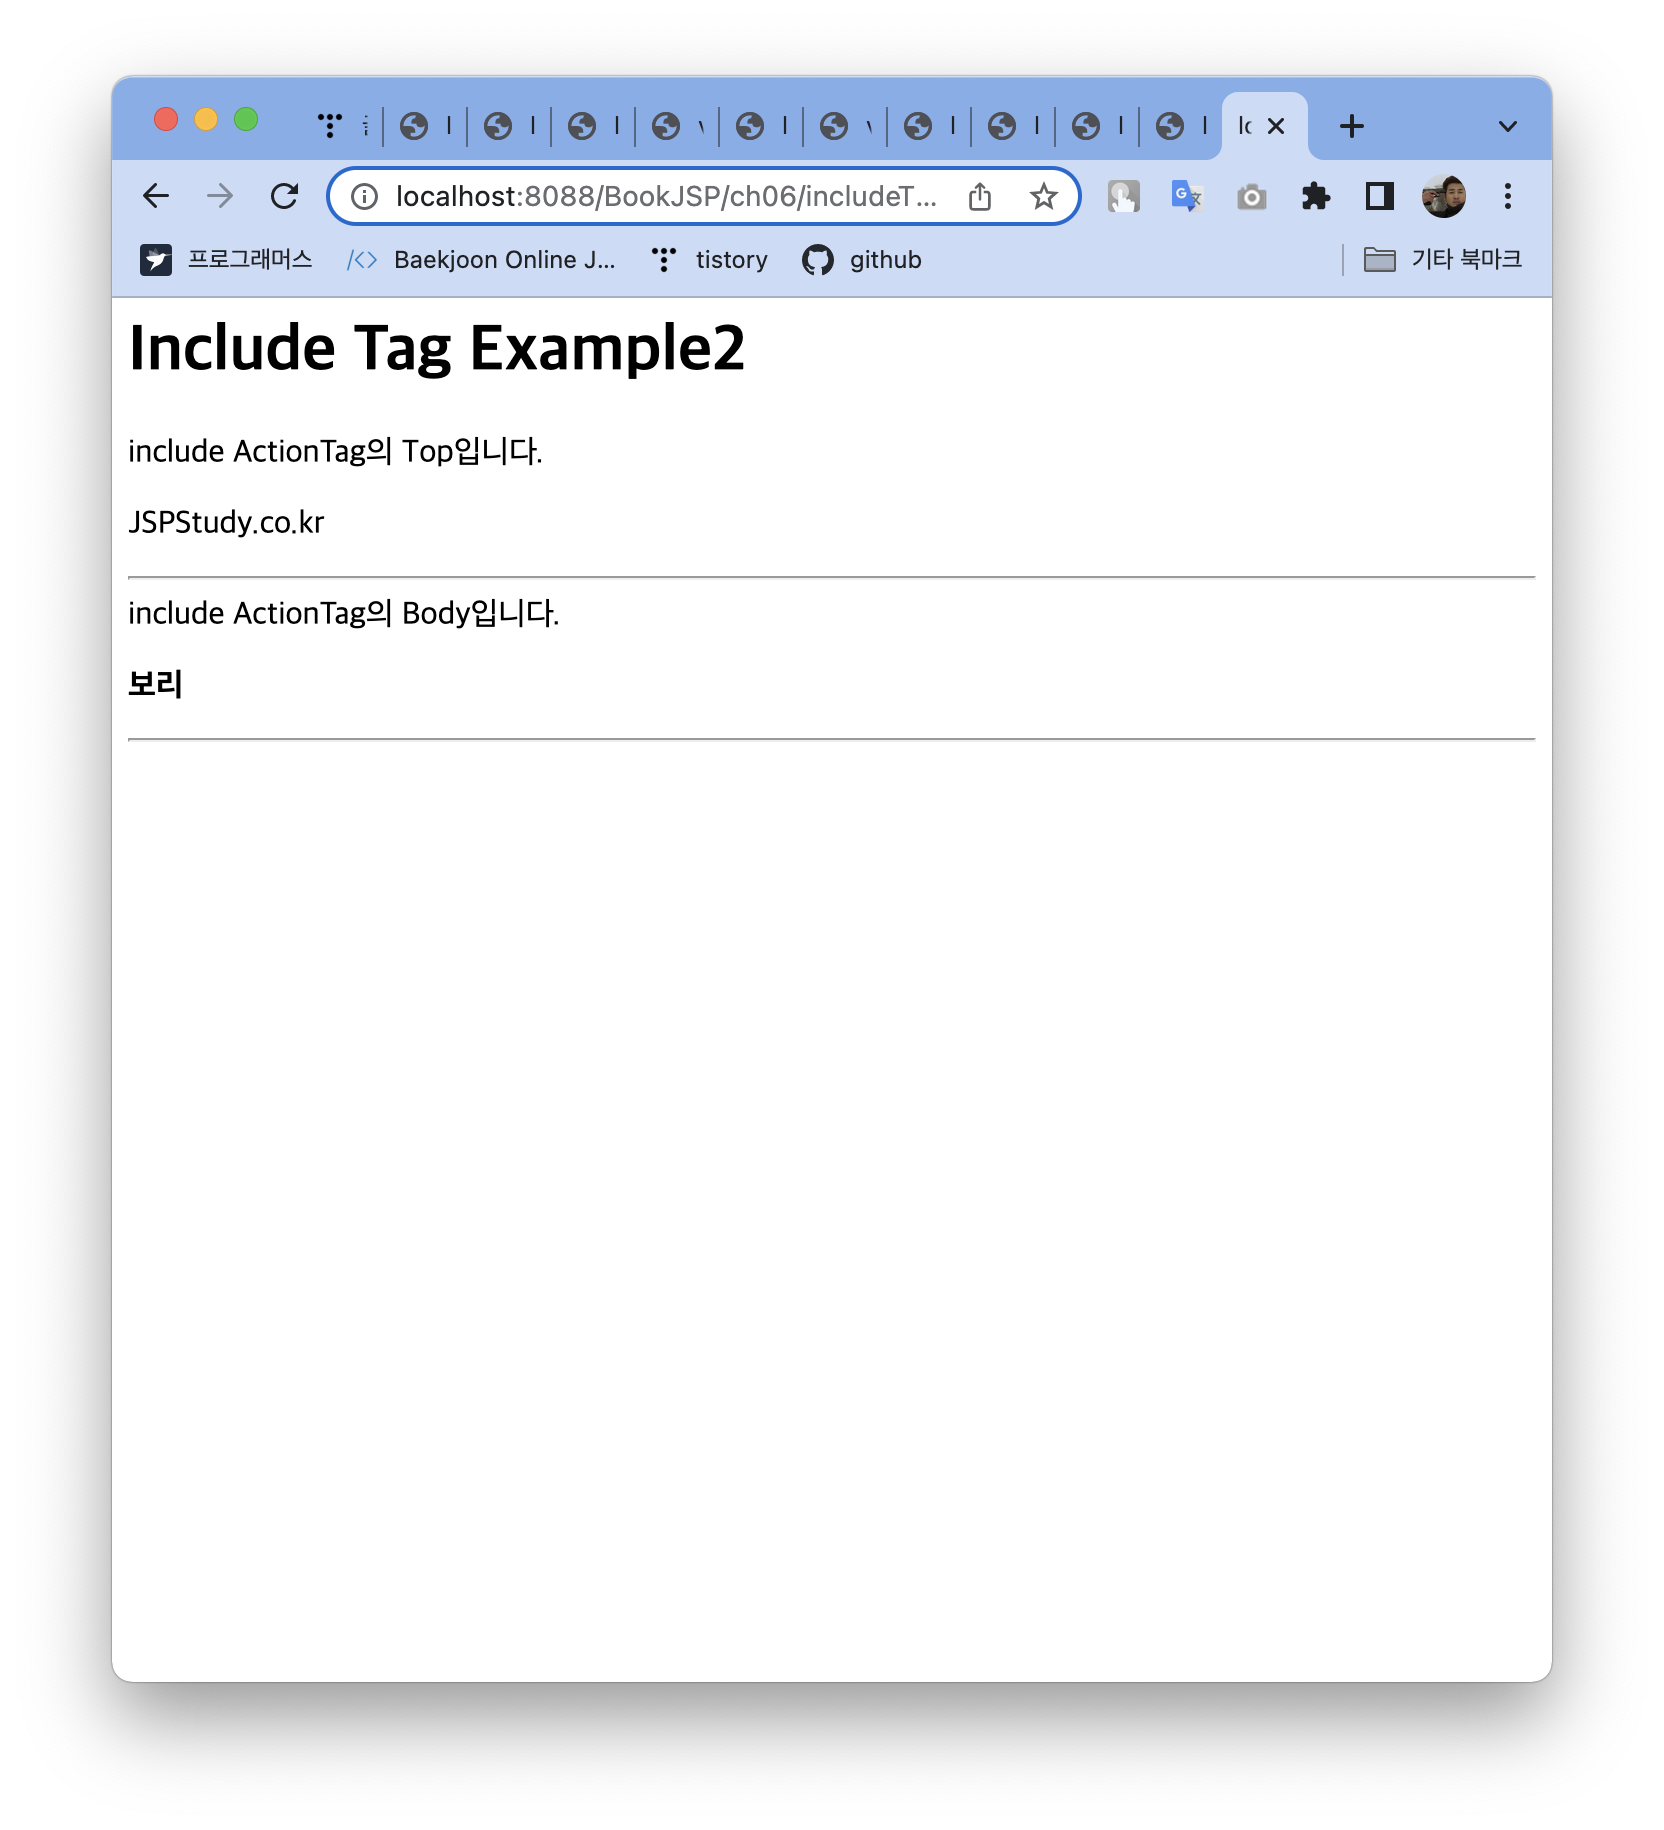
include ActionTag의 Body입니다.
</body>
</html><%@page contentType="text/html;charset=UTF-8"%>
<%
String name = request.getParameter("name");
%>
include ActionTag의 Top입니다.
<p/>
<b><%=name%> Fighting!!!</b>
<hr/>
예제2: 새로운 요청 파라미터 추가
<html>
<head>
<meta http-equiv="Content-Type" content="text/html; charset=UTF-8"/>
</head>
<body>
<h1>Include Tag Example2</h1>
<form method="post" action="includeTag2.jsp">
SITENAME : <input name="siteName"><p/>
<input type ="submit" value="보내기">
</form>
</body>
</html>
<%@page contentType="text/html;charset=UTF-8"%>
<%
request.setCharacterEncoding("UTF-8");
String siteName = request.getParameter("siteName");
%>
<html>
<body>
<h1>Include Tag Example2</h1>
<jsp:include page="includeTagTop2.jsp">
<jsp:param name="siteName" value="JSPStudy.co.kr" />
</jsp:include>
include ActionTag의 Body입니다.<p/>
<b><%=siteName%></b>
<hr/>
</body>
</html><%@page contentType="text/html;charset=UTF-8"%>
<%
String siteName = request.getParameter("siteName");
%>
include ActionTag의 Top입니다.<p/>
<%=siteName%>
<hr/>
2.3 forward 액션 태그
사용 예시
<jsp:forward page= "로컬URL"/>
<jsp:forward page= "로컬URL"></jsp:forward>
<jsp: forward page= '<%=expression%>'/>

예제1
<html>
<head>
<meta http-equiv="Content-Type" content="text/html; charset=UTF-8"/>
</head>
<body>
<h1>Forward Tag Example1</h1>
<form method=post action="forwardTag1_1.jsp">
아이디 : <input name="id"><p/>
패스워드 : <input type="password" name="pwd"><p/>
<input type="submit" value="보내기">
</form>
</body>
</html>
<%@page contentType="text/html;charset=UTF-8"%>
<%
request.setCharacterEncoding("UTF-8");
%>
<html>
<body>
<h1>Forward Tag Example1</h1>
Forward Tag의 포워딩 되기 전의 페이지입니다.
<jsp:forward page="forwardTag1_2.jsp" />
</body>
</html><%@page contentType="text/html;charset=UTF-8"%>
<%
String id = request.getParameter("id");
String pwd = request.getParameter("pwd");
%>
<h1>Forward Tag Example1</h1>
당신의 아이디는<b><%=id%></b>이고<p/>
패스워드는 <b><%=pwd%></b> 입니다.

예제2: 매개변수 값 추가
<html>
<head>
<meta http-equiv="Content-Type" content="text/html; charset=UTF-8"/>
</head>
<body>
<h1>Forward Tag Example2</h1>
<form method=post action="forwardTag2_1.jsp">
혈액형별로 성격 테스트<p/>
당신의 혈액형은?<p/>
<input type="radio" name="bloodType" value="A">A형<br/>
<input type="radio" name="bloodType" value="B">B형<br/>
<input type="radio" name="bloodType" value="O">O형<br/>
<input type="radio" name="bloodType" value="AB">AB형<br/>
<input type="submit" value="보내기">
</form>
</body>
</html>
<%@page contentType="text/html;charset=UTF-8"%>
<%
String name = "JSPStudy";
String bloodType = request.getParameter("bloodType");
%>
<h1>Forward Tag Example2</h1>
<jsp:forward page='<%=bloodType + ".jsp"%>'>
<jsp:param name="name" value="<%=name%>"/>
</jsp:forward><%@ page contentType="text/html;charset=UTF-8"%>
<h1>Forward Tag Example2</h1>
<%
String name = request.getParameter("name");
String bloodType = request.getParameter("bloodType");
%>
<b><%=name%></b>님의 혈액형은
<b><%=bloodType%></b>형이고
성실하고 하며 완벽주의자입니다.<%@ page contentType="text/html;charset=UTF-8"%>
<h1>Forward Tag Example2</h1>
<%
String name = request.getParameter("name");
String bloodType = request.getParameter("bloodType");
%>
<%=name%>님의 혈액형은
<b><%=bloodType%></b>형이고<p>
정확한 판단력을 가진 합리주의자입니다.<%@ page contentType="text/html;charset=UTF-8"%>
<h1>Forward Tag Example2</h1>
<%
String name = request.getParameter("name");
String bloodType = request.getParameter("bloodType");
%>
<b><%=name%></b>님의 혈액형은
<b><%=bloodType%></b>형이고
규격을 싫어하는 자유인입니다.<%@ page contentType="text/html;charset=UTF-8"%>
<%
String name = request.getParameter("name");
String bloodType = request.getParameter("bloodType");
%>
<h1>Forward Tag Example2</h1>
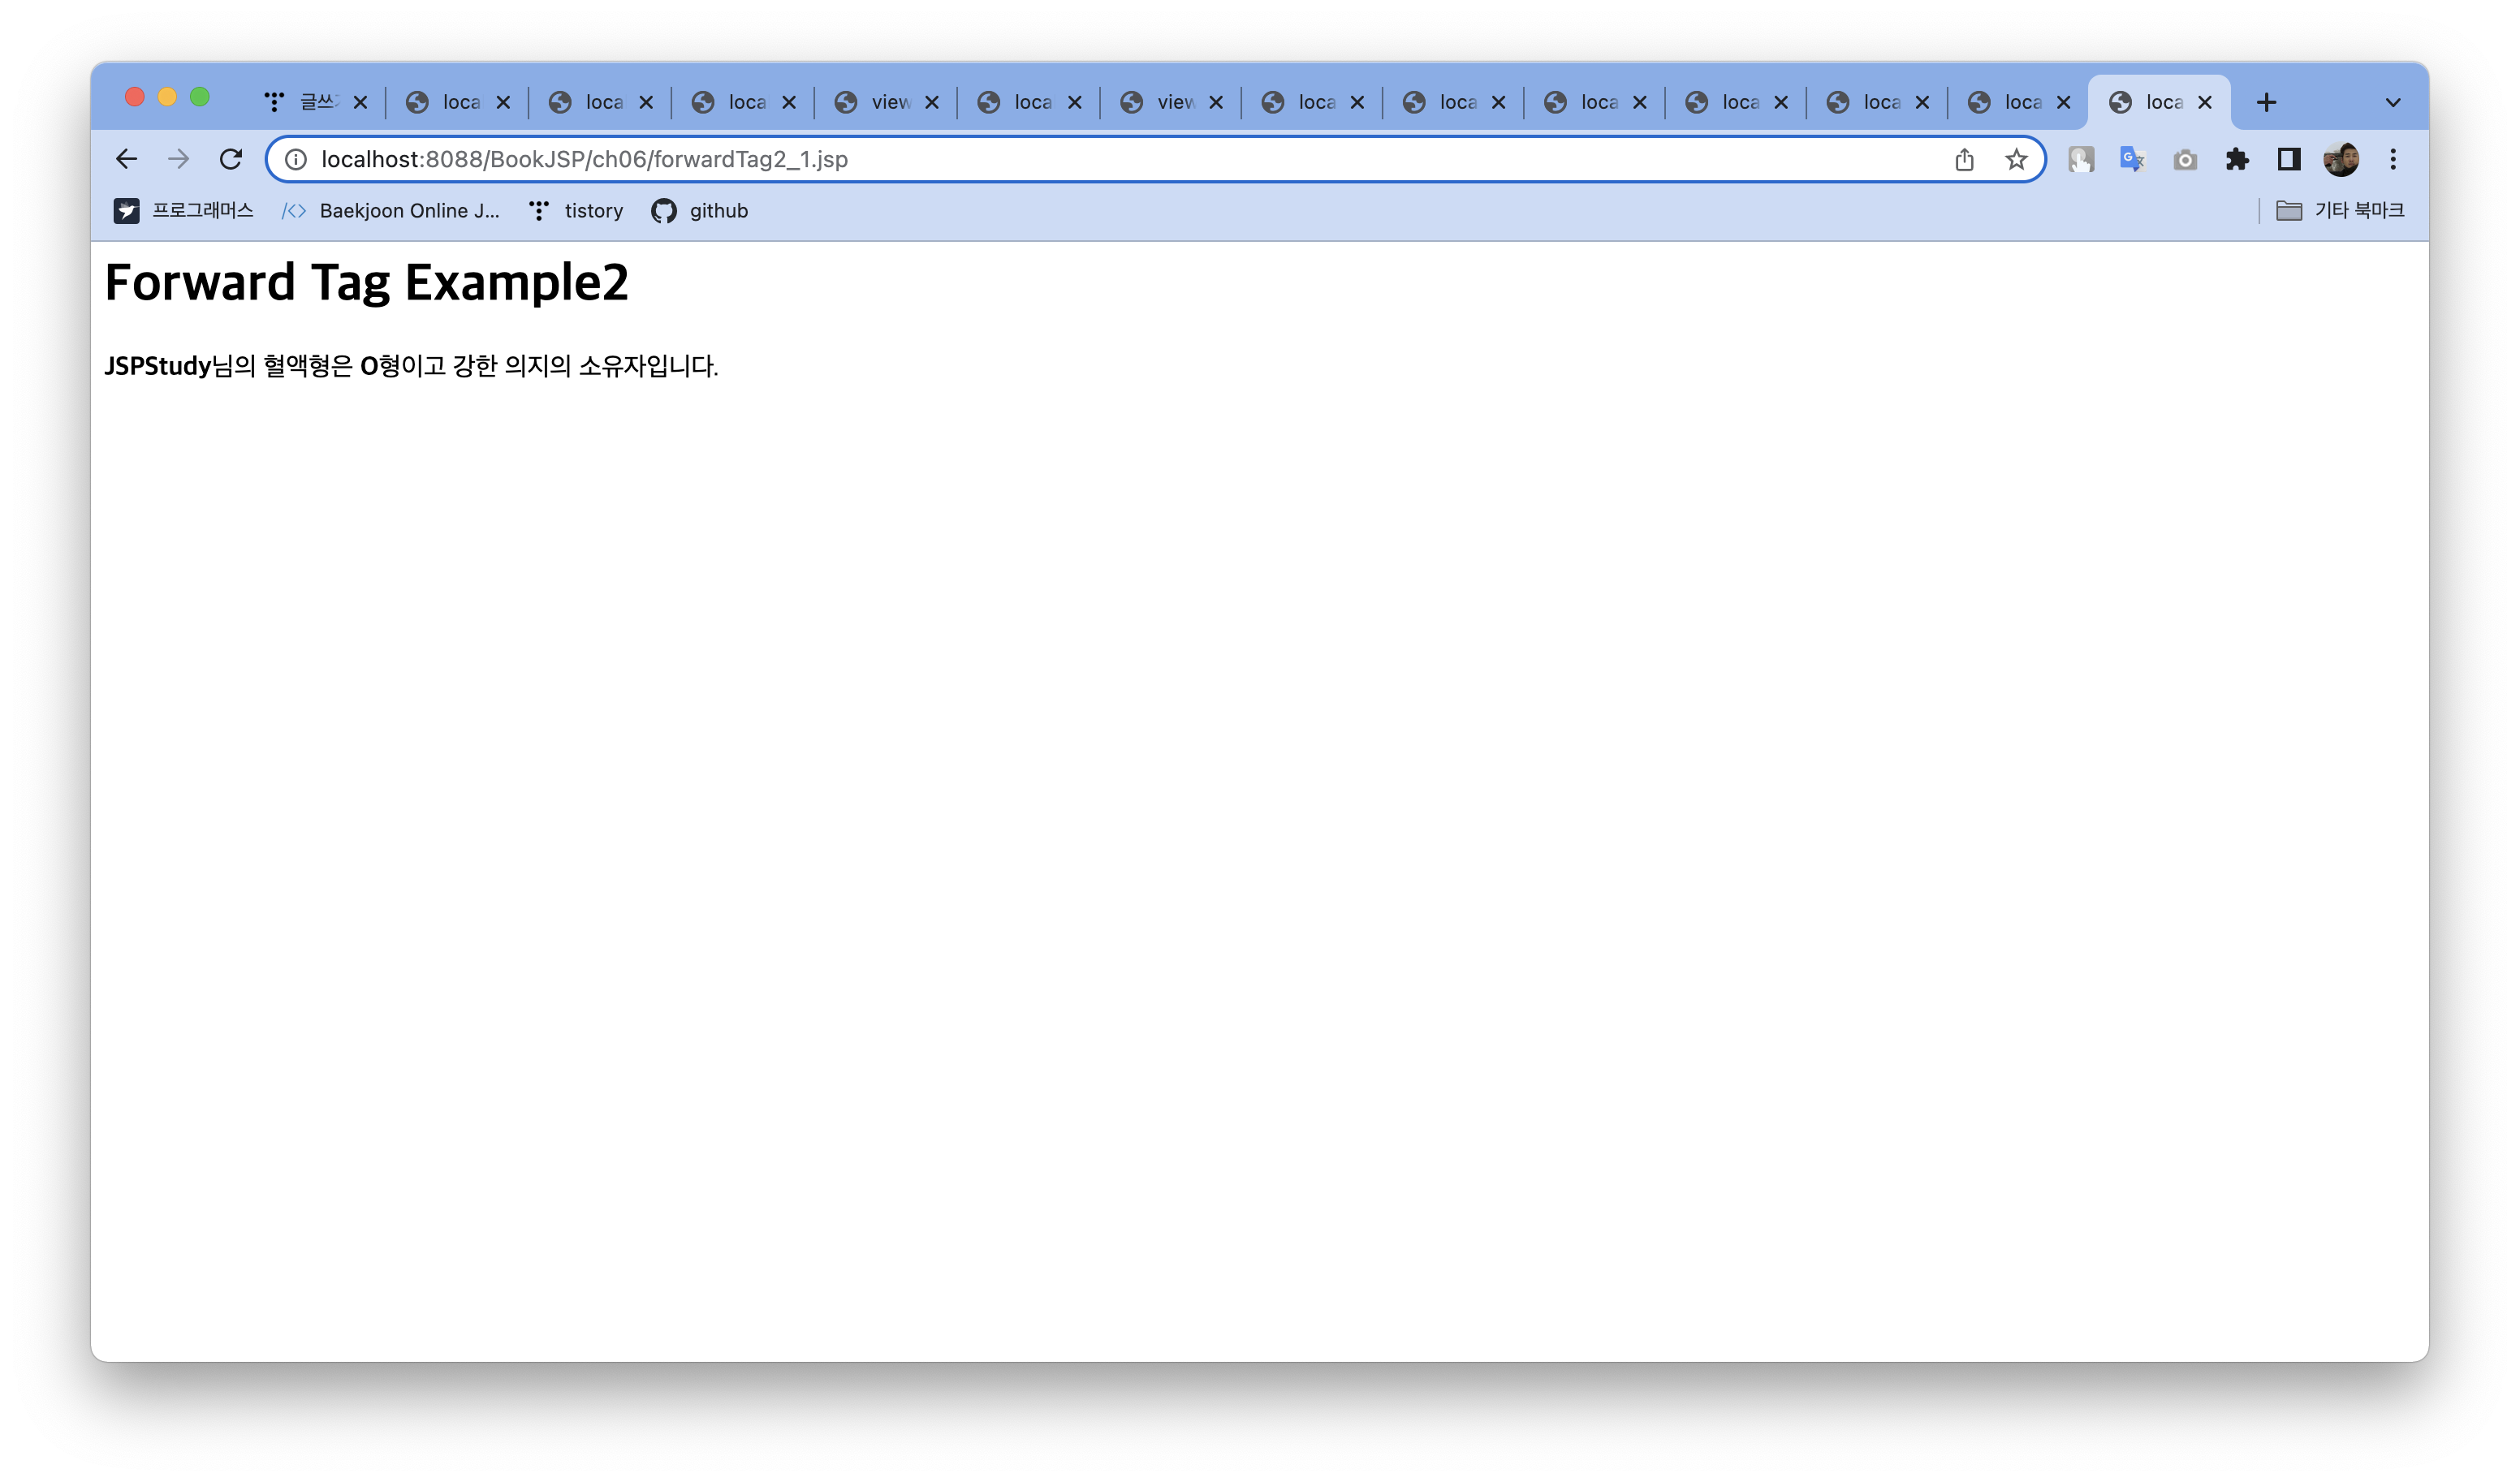
<b><%=name%></b>님의 혈액형은
<b><%=bloodType%></b>형이고
강한 의지의 소유자입니다.
2.4 스크립트 요소를 대체하는 액션 태그
사용 예시
<jsp:declaration>코드</jsp:declaration>
<jsp:scriptlet>코드</jsp:scriptlet>
<jsp:expression>코드</jsp:expression>
<jsp:directive.page content Type="text/html; charset=UTF-8">
<jsp:directive.include file="***.jsp"/>
예제
<jsp:directive.page contentType="text/html;charset=UTF-8" />
<html>
<body>
 <h1>Script Tag Example</h1>
 <jsp:declaration>
 	public int max(int i, int j){
 		return (i>j)? i : j;
 	}
 </jsp:declaration>
 <jsp:scriptlet>
    int i = 22;
    int j = 23;
 </jsp:scriptlet>
 i = <jsp:expression>i</jsp:expression>와
 j = <jsp:expression>j</jsp:expression> 중에 더 큰 숫자는?
 <b><jsp:expression>max(i,j)</jsp:expression></b>
</body>
</html>
2.5 plug-in 속성
<jsp:plugin> 액션은 자바 플러그인 (Java Plug-in)을 사용하여 자바 애플릿을 JSP 페이지에서 실행할 때 사용하는 액션 태그
2.6 useBean 속성
<jsp:useBean id="..." class="..." scope="..."/>
<jsp:setProperty name="..." property="..." value="..."/>
<jsp:getProperty name="..." property="..."/>
'강의 > KOSTA' 카테고리의 다른 글
| [JSP/Servlet] Servlet Basic Syntax (Day22) (0) | 2022.04.04 |
|---|---|
| [JSP/Servlet] JSP Internal Object (Day22) (0) | 2022.04.04 |
| [JSP/Servlet] How to JSP works and Servlet (Day21) (0) | 2022.04.04 |
| [JSP/Servlet] Understanding Web programming (Day21) (0) | 2022.04.04 |
| [JSP/Servlet] JSP Basic Syntax (Day21~22) (0) | 2022.04.01 |